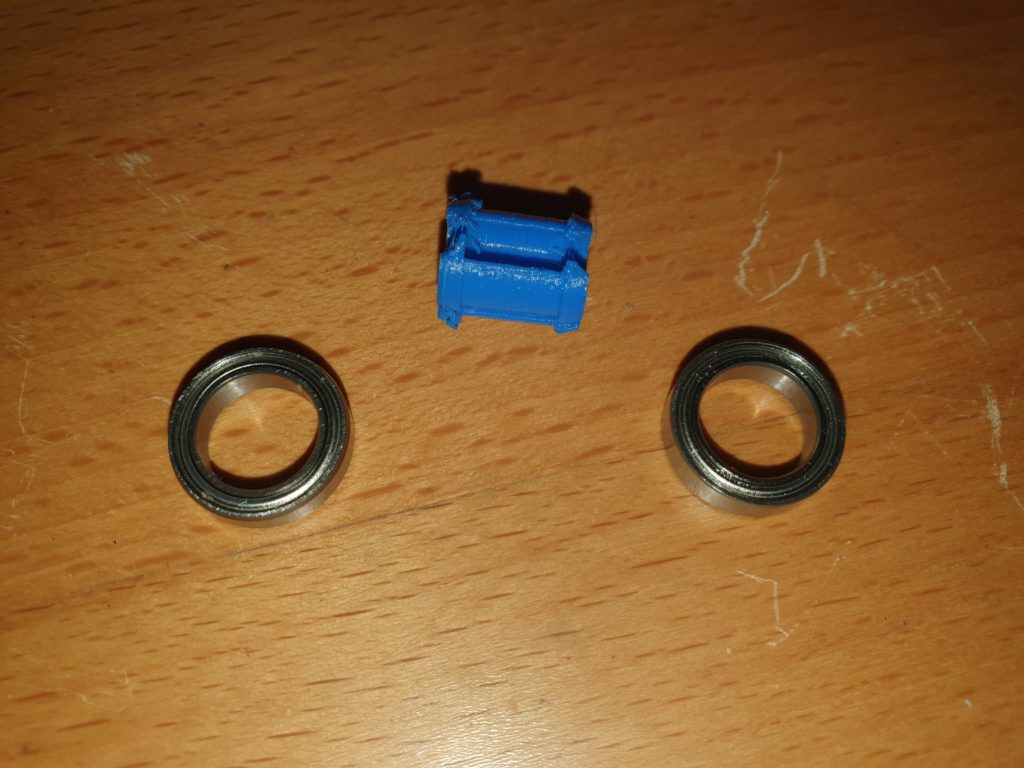
Take the Bearing holder and a couple of 15mm bearings and press them together.
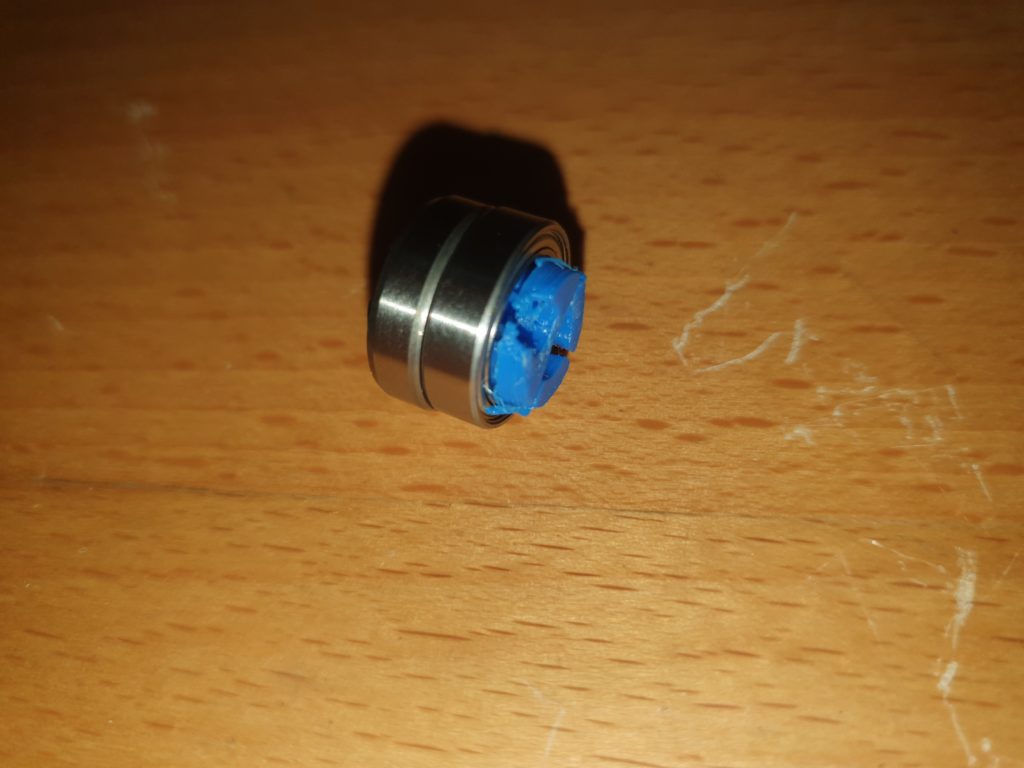
Making a bearing mount
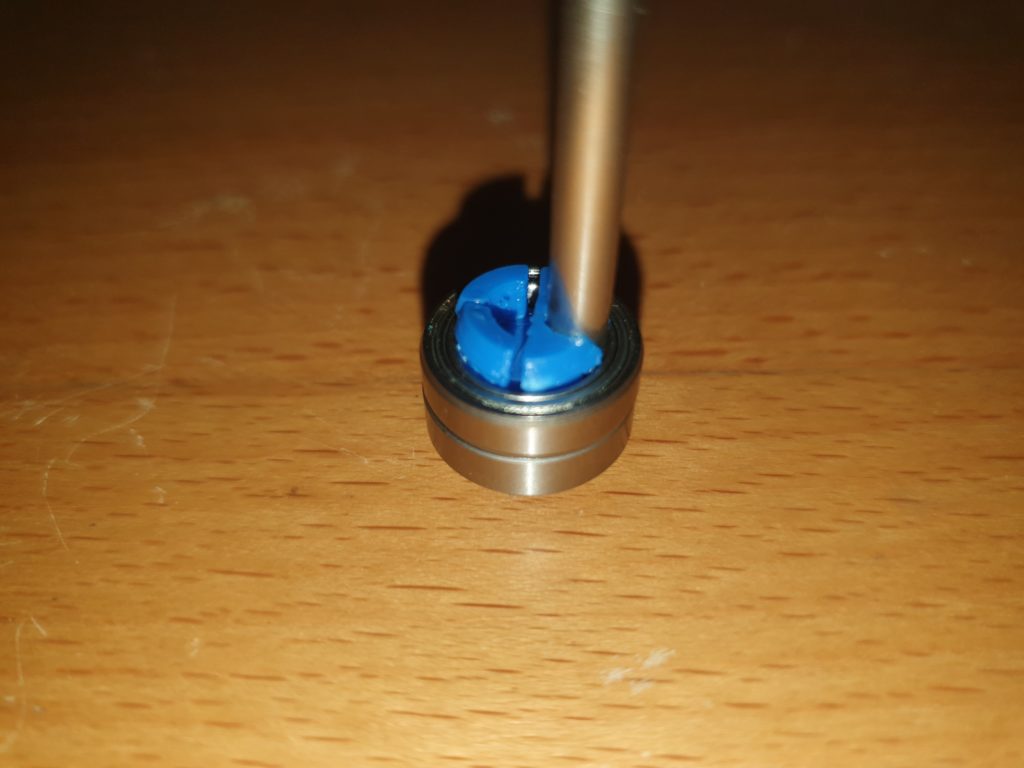
Push the axle through the bearing holder, ensuring that it is pushed through vertically. This is best done against a table top.
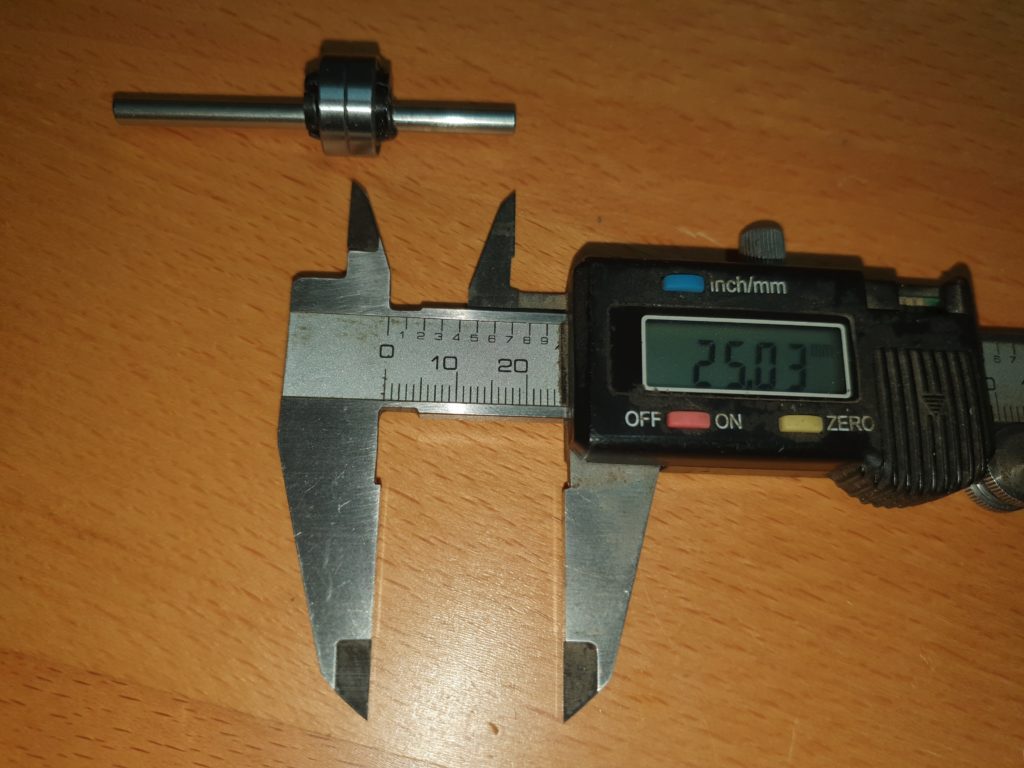
Move the bearing holder so the middle of the two bearings is 25mm from the end of the axle.
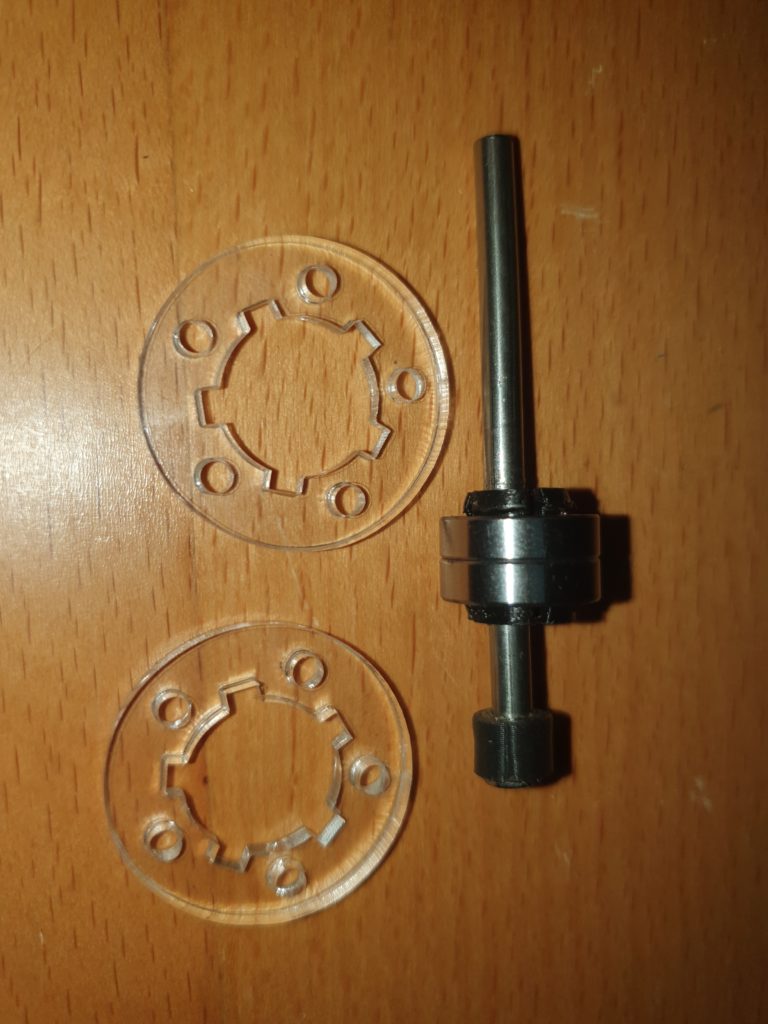
Find the two 5 way con rod holders and push onto each of the 15mm bearings.
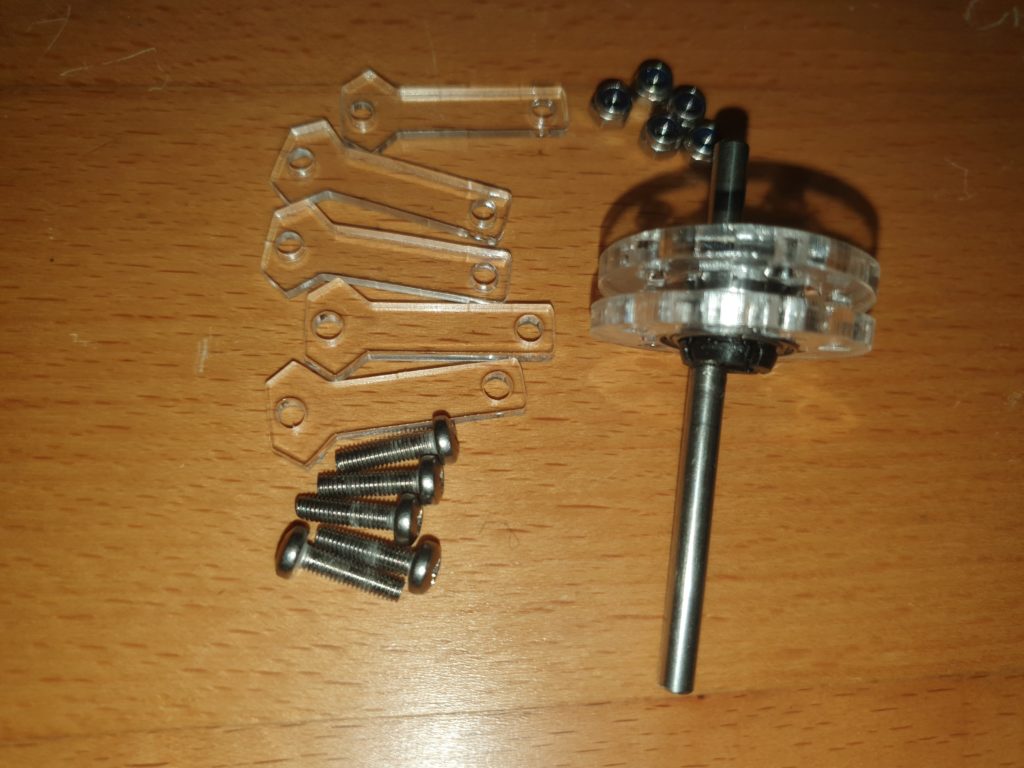
Using 5 x 12mmx 3mm bolts and 5 m3 nylock nuts
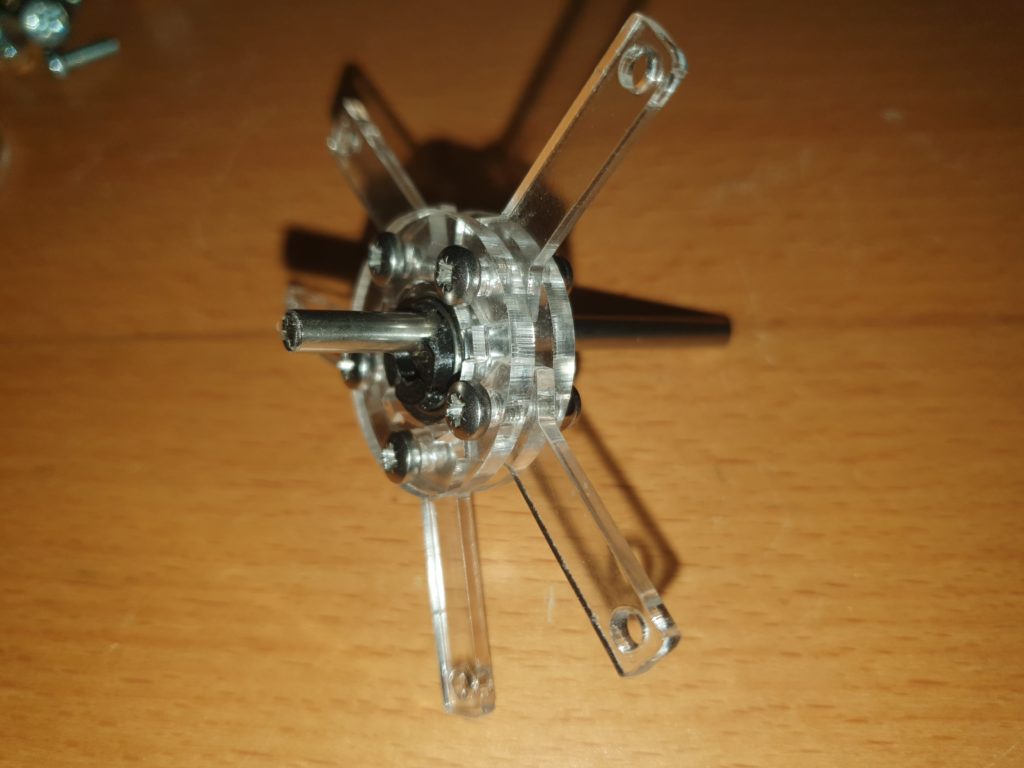
Bold in all of the con rods, Tighten them up so they still move easily in the holder.
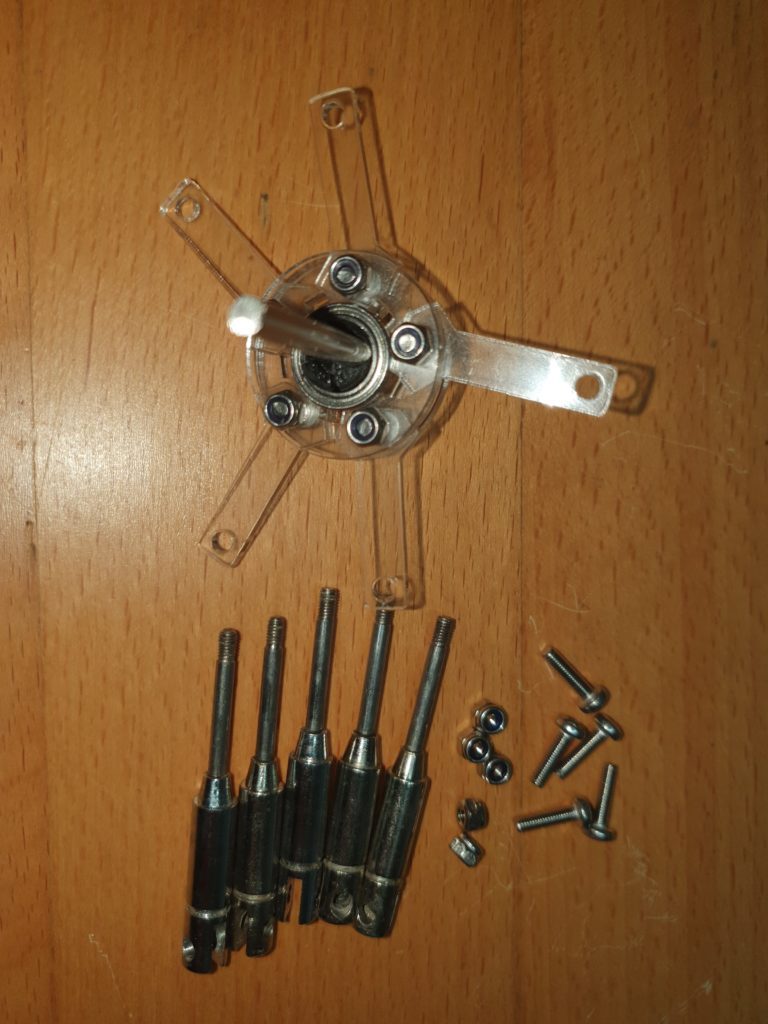
using the armatures removed from the solenoids, bolt them to the con rods with 5 12mm m3 bolts and 5 x nylock m3 nuts.
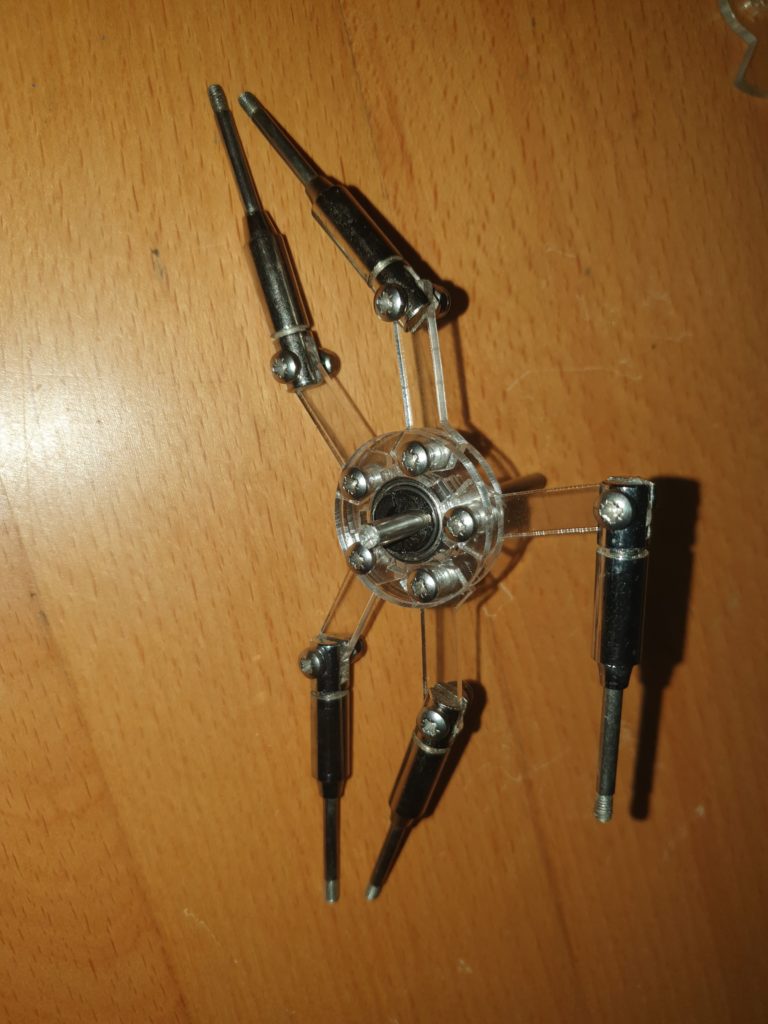
The assembled Axle.
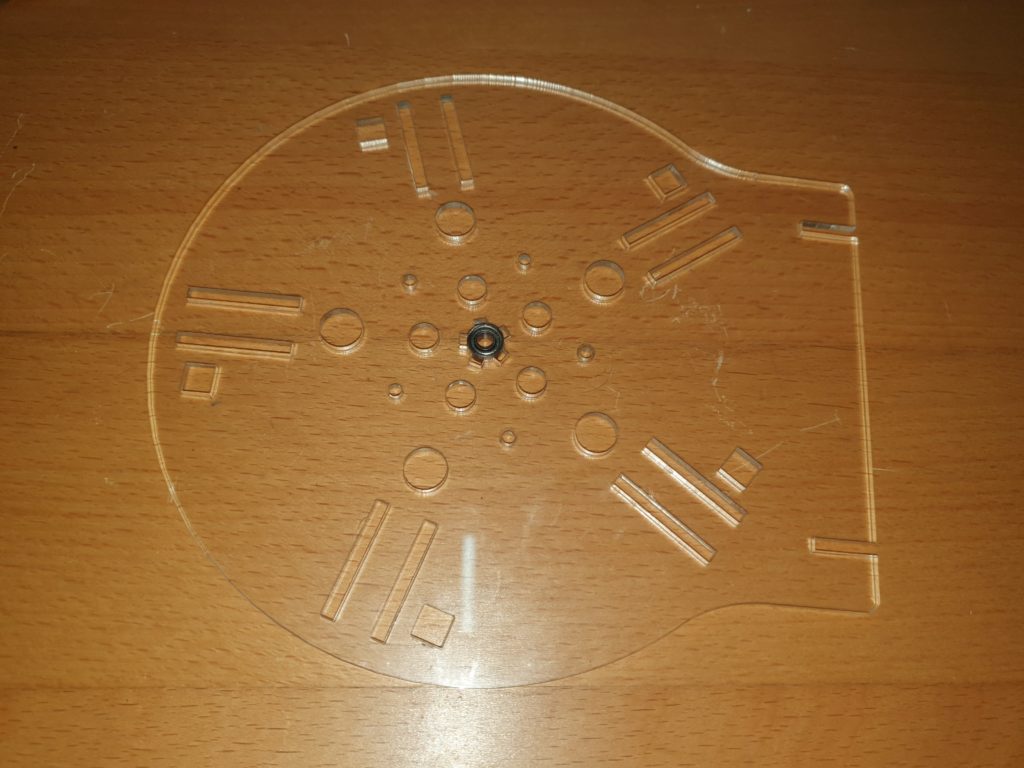
Push a 10mm bearing into the centre hole of the main engine plate.
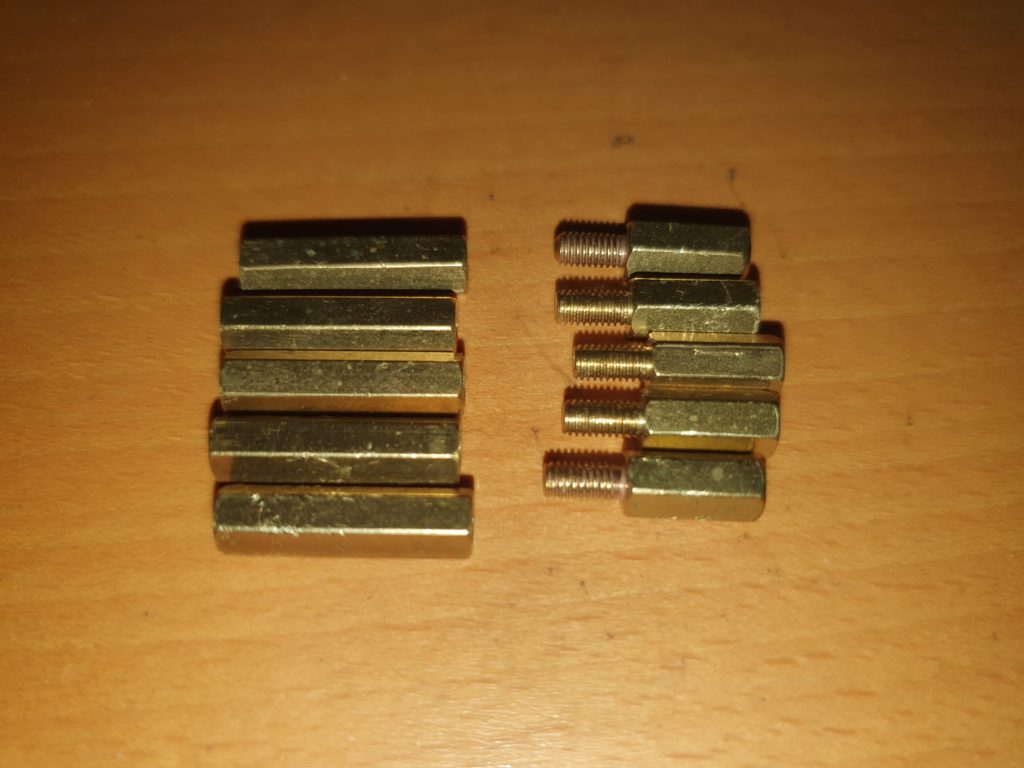
Take the 5 20mm standoffs and the 5 8mm+6mm standoffs.
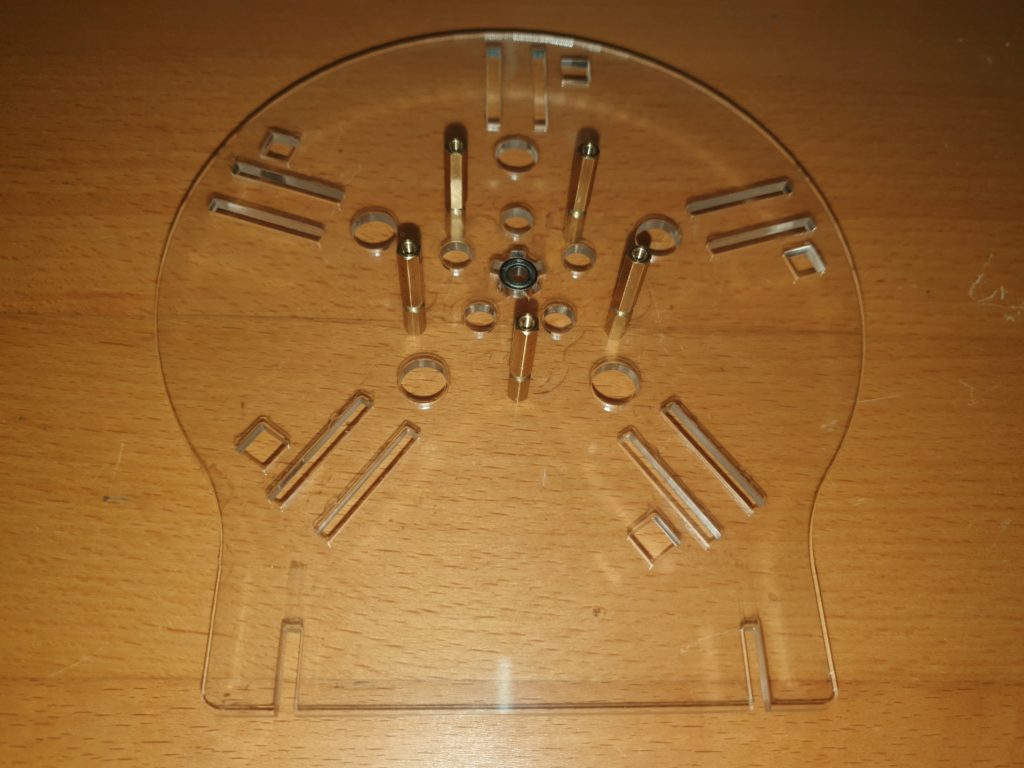
and bolt them tightly onto the plate.
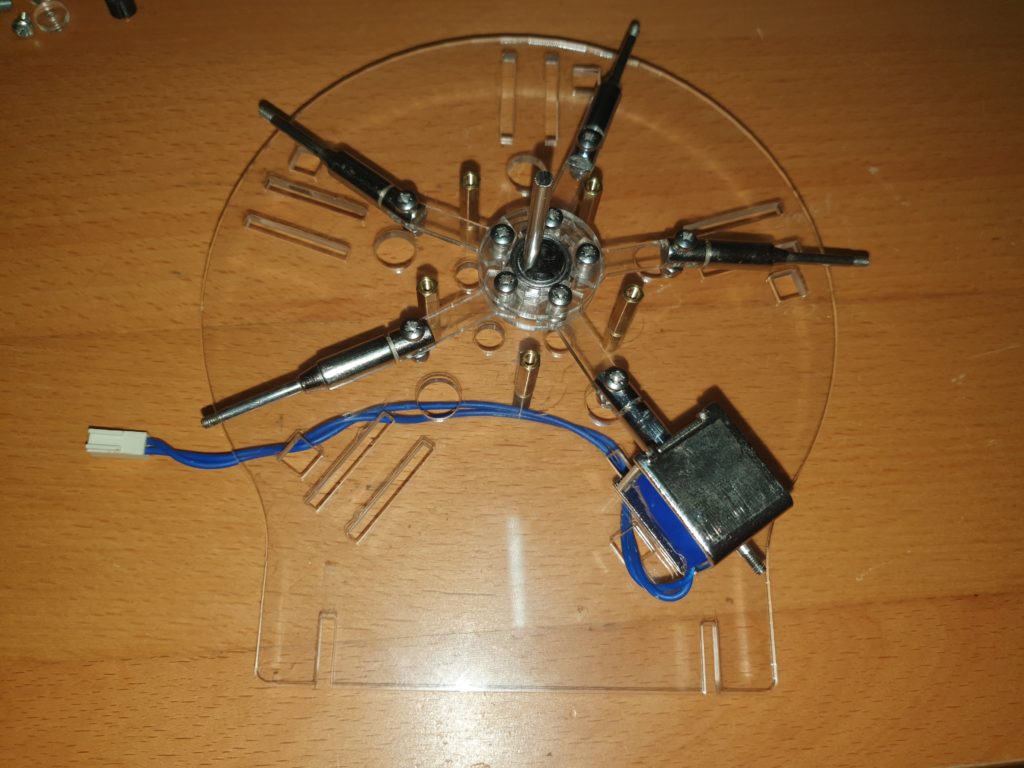
place the axel assembly into the 10mm bearing and allign an armature into a solenoid.
Screw down the solenoid with 6mm m3 bolts.
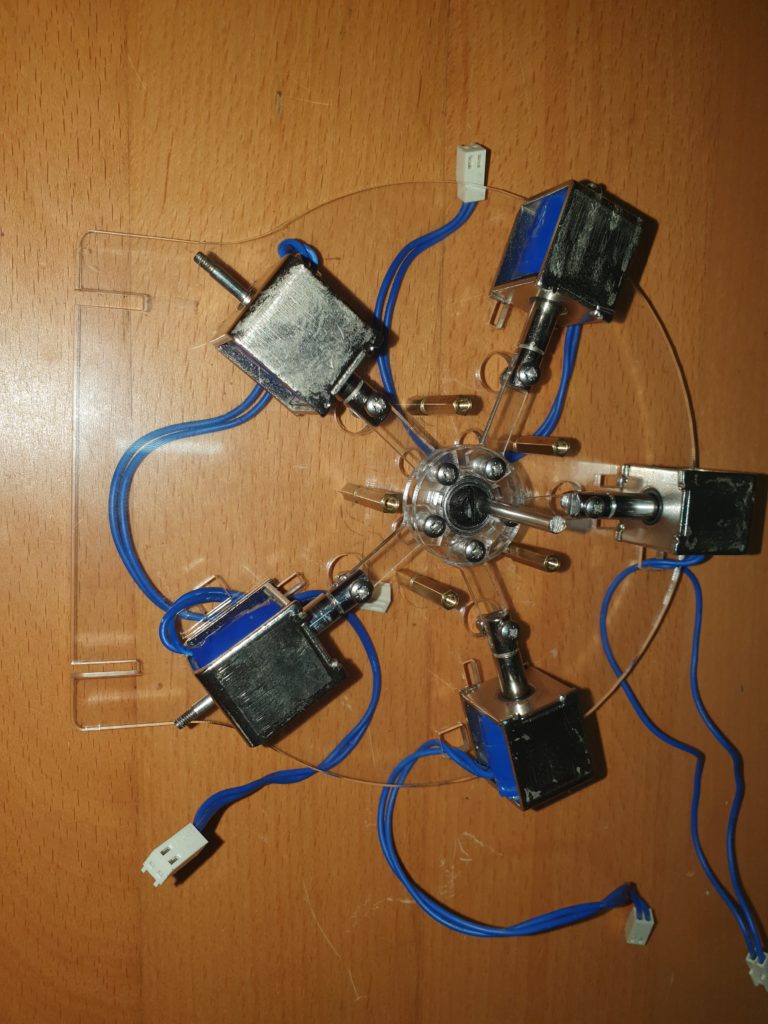
Continue around the engine plate securing the solenoids in place.
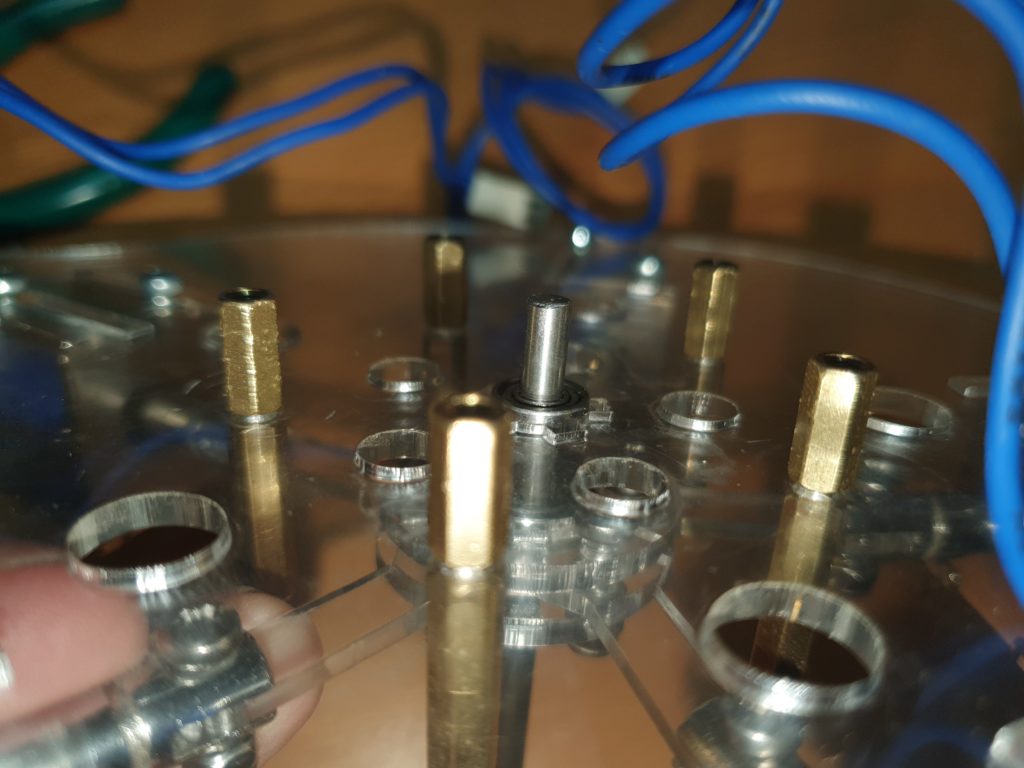
Please Read regarding the diamagnetic magnet and holder
On the short end of the axle, push on the diamagnetic magnet and holder.
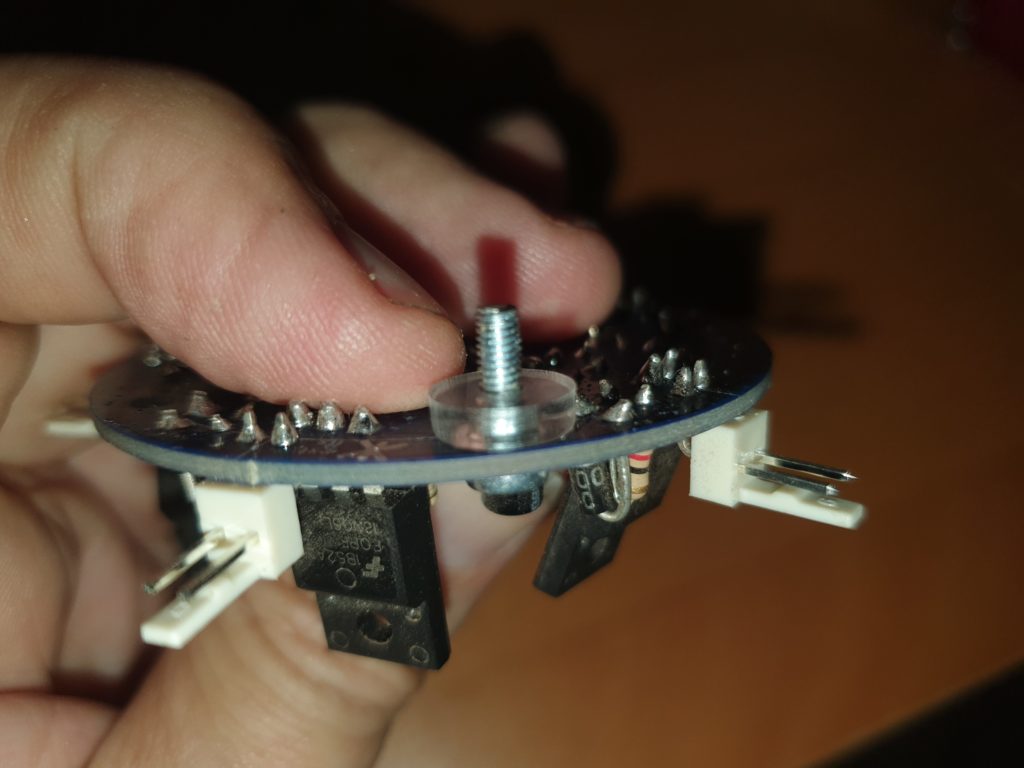
Screw on the completed electronics with 5 x 10mm m3 bolts and 5 3mm acrylic washers.
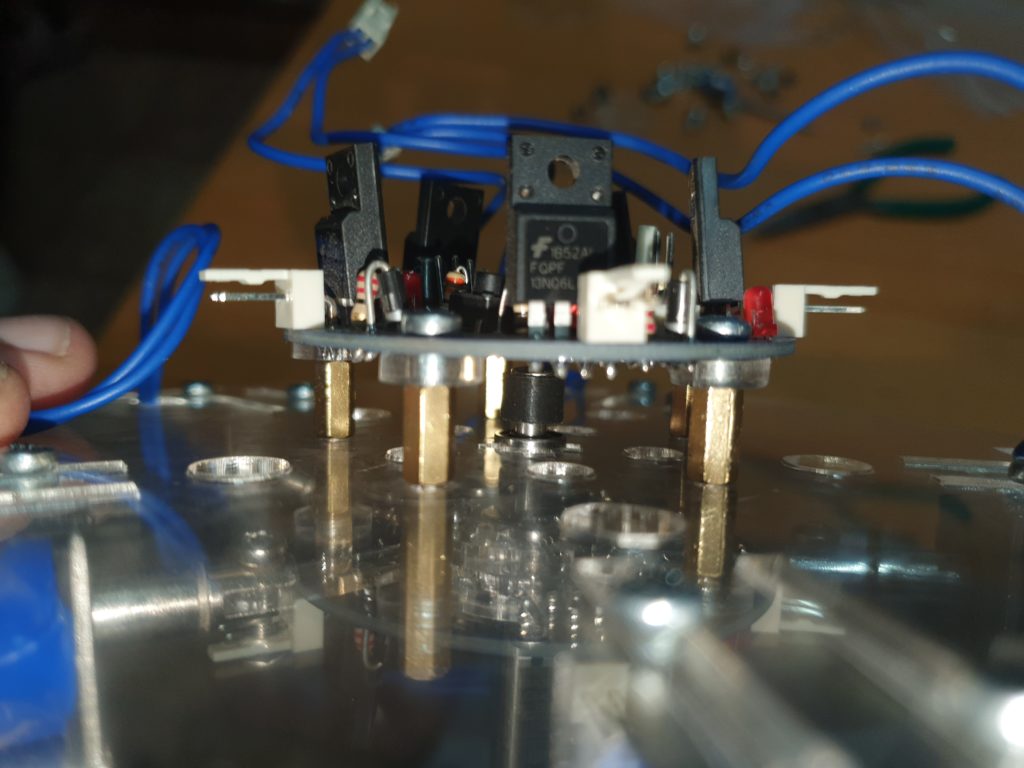
The chip on the base of the electronics should sit 1-2mm away from the diamagnetic magnet.
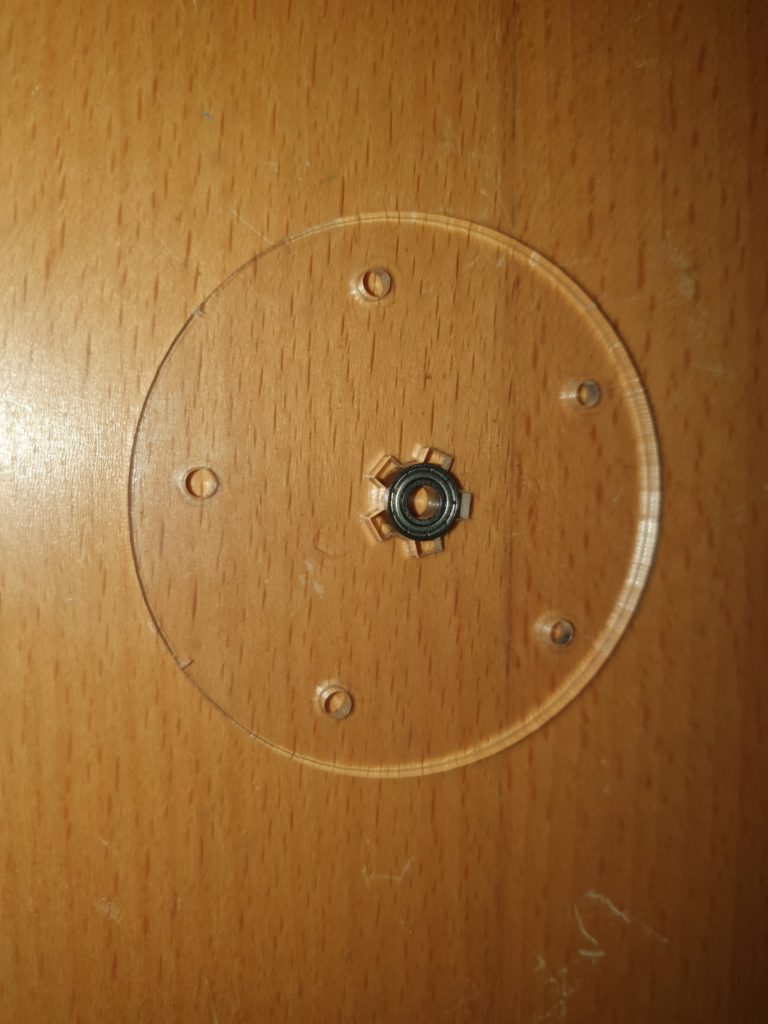
Push in a 10mm bearing into to the front axle bearing plate.
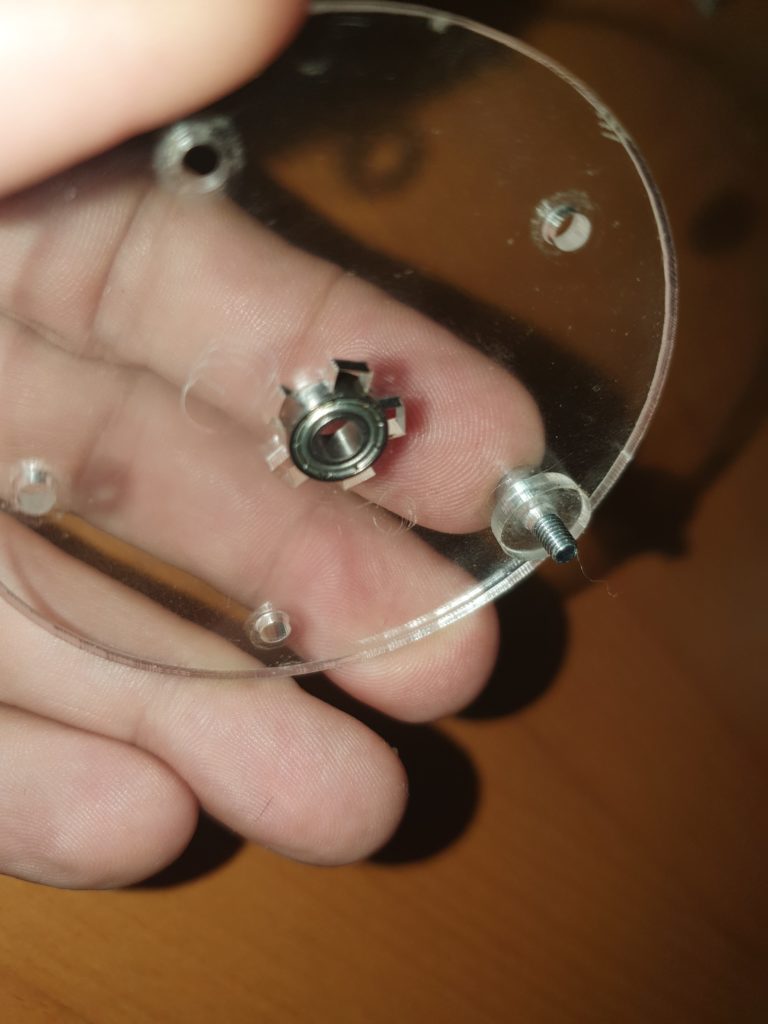
Screw the plate down to the 5 x20mm standoffs with 5 x m3 10mm bolts and 5 3mm acrylic washers.
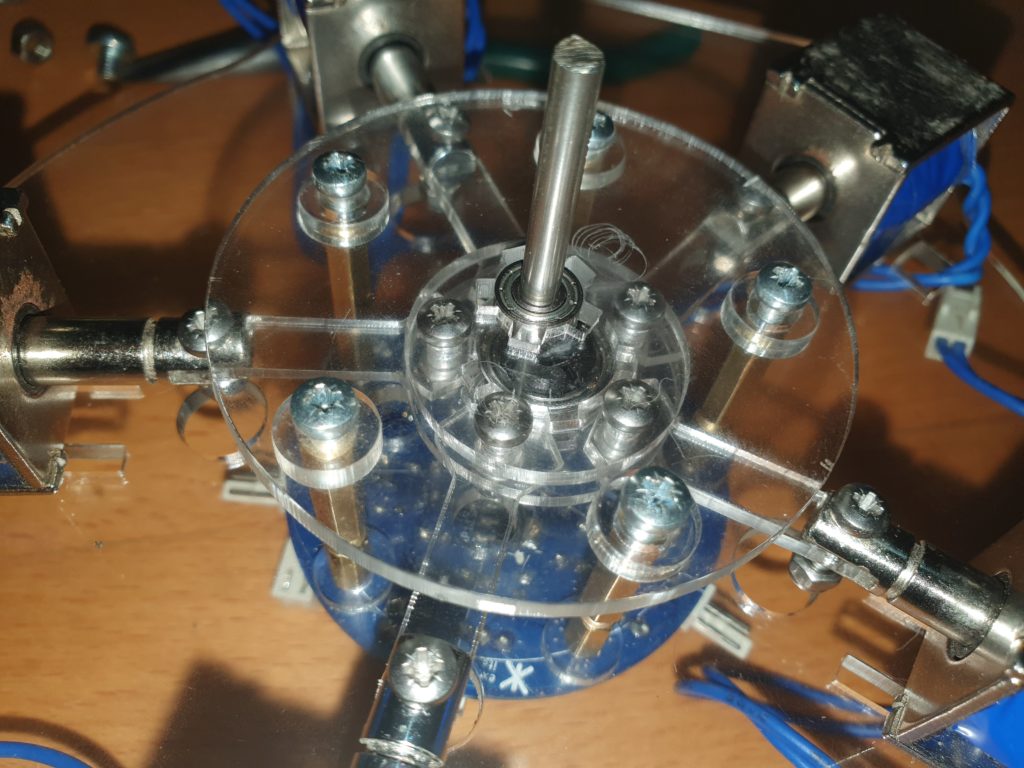
Allowing the axle to pass through the bearing.
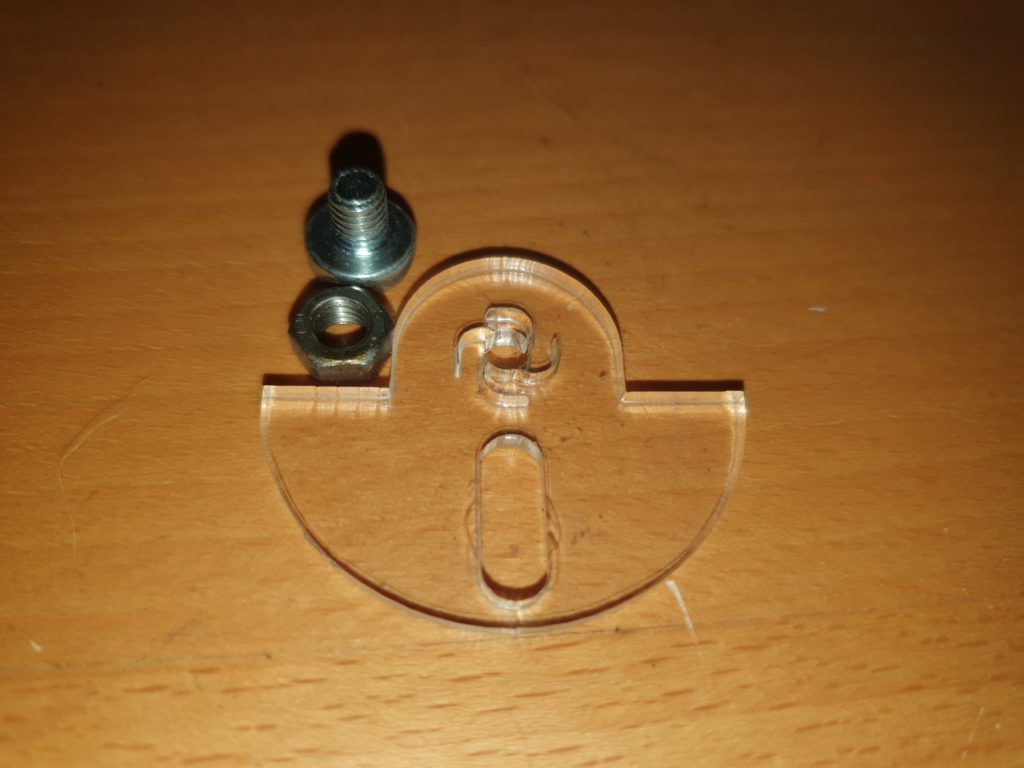
With 1 x M5 nut and 6mm M5 bolt screw together the balance weight.
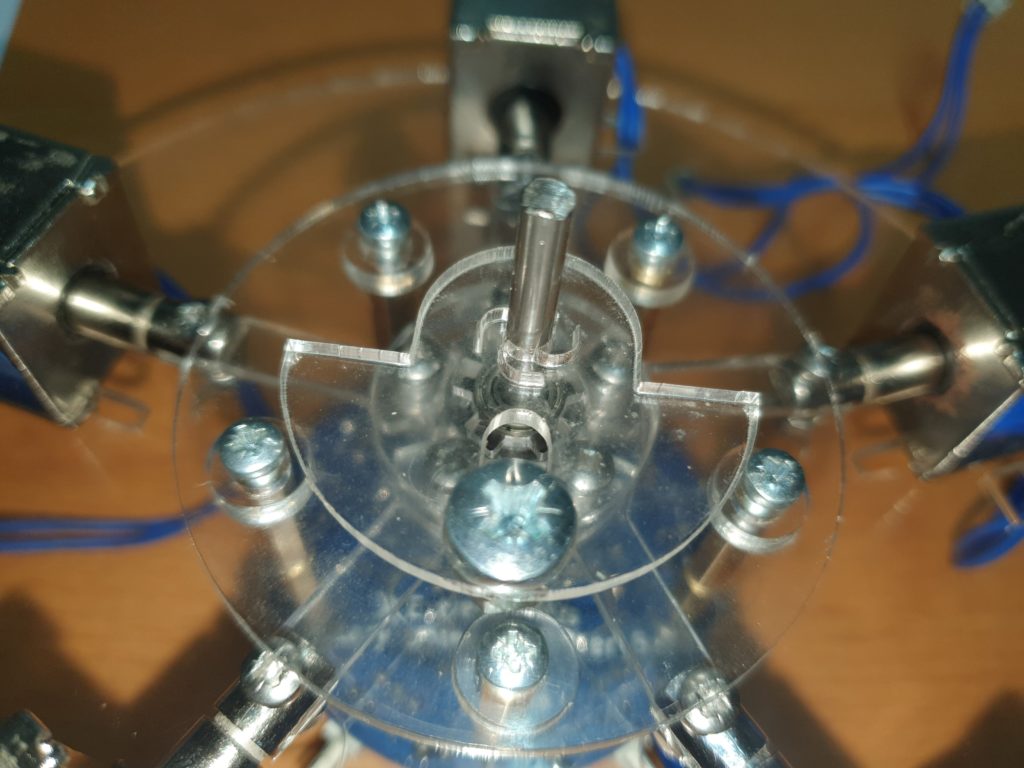
Push the balance weight on to the axle away from the off centre collection of con rods.
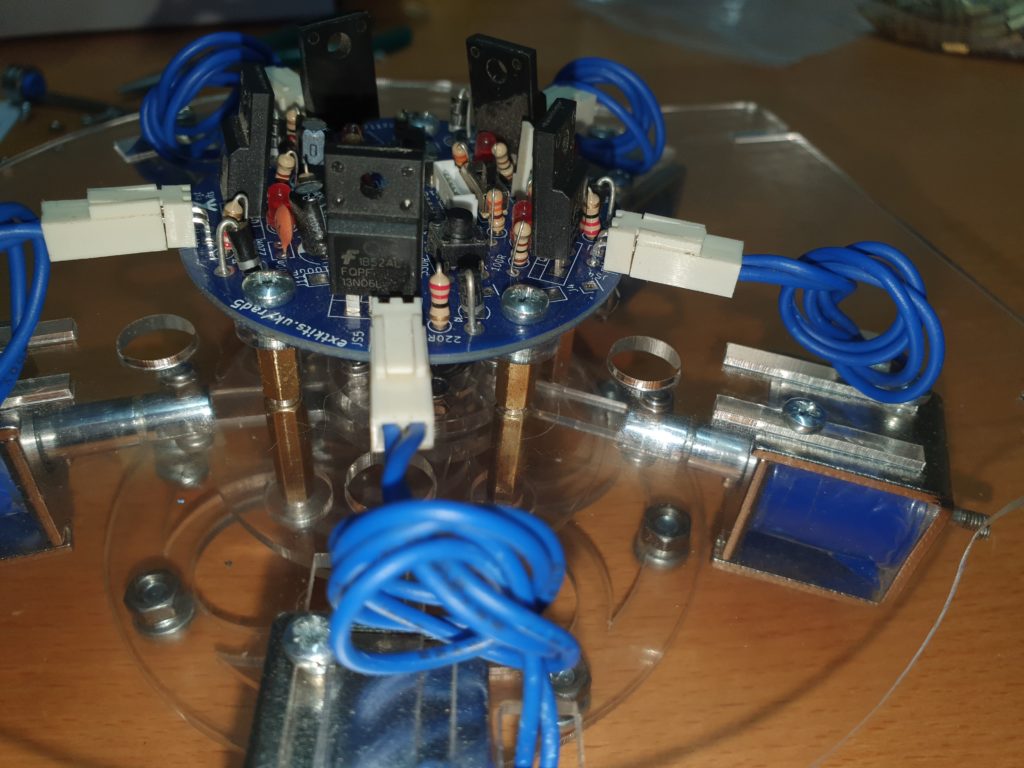
Neaten the solenoid leads, and plug them into the nearest connection on to the PCB.
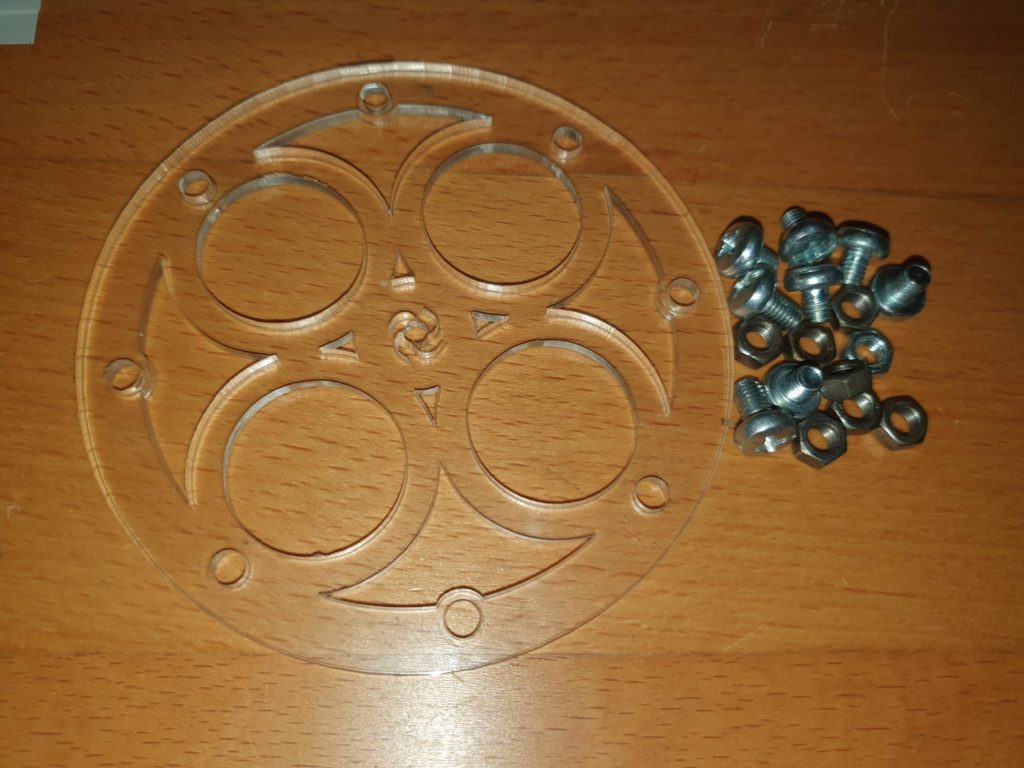
Take a flywheel and 5 M5 nuts and 6mm bolts
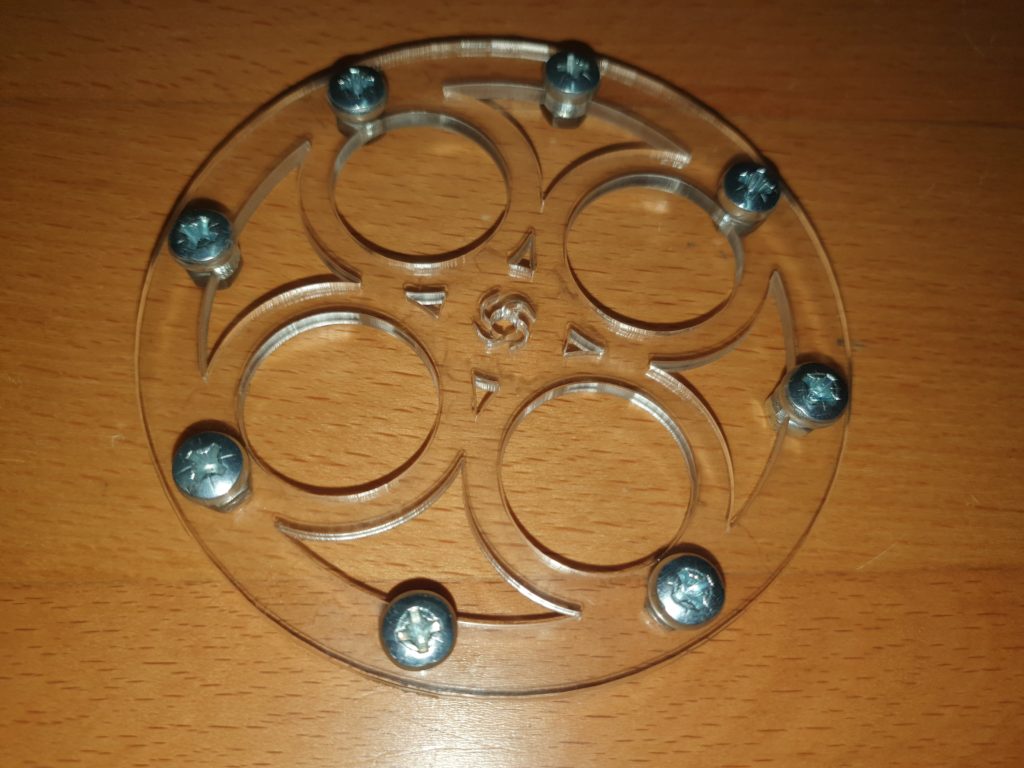
Screw them together to complete the flywheel. Push this onto the axel.
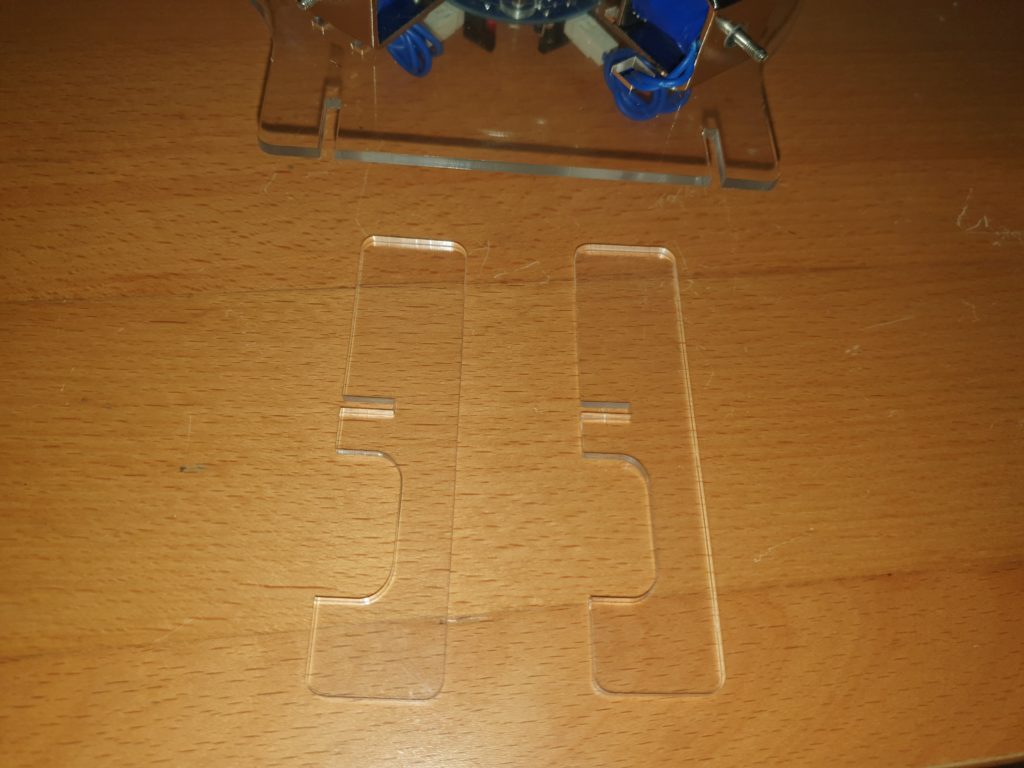
Take the two feet and slot into the base of the mail engine plate.
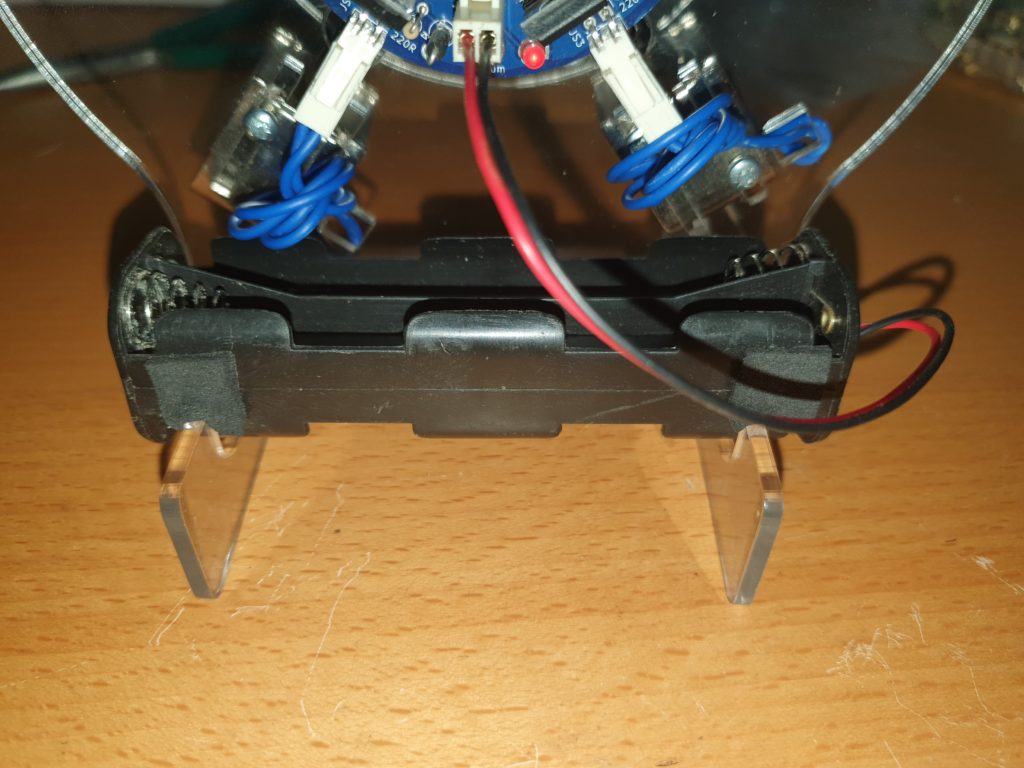
Mount the Battery holder and plug into the PCB.
