
An easily built 3D printable electrostatic motor for use with Extreme Kits 150mm Van De Graaff and 400mm Van De Graaff kits.
Licence
You are free to use copy and modify this for any non-commercial purpose, as long as you credit Ext Kits and www.extkits.co.uk as the source. These files and instructions come with no warranty or support.

This work is licensed under a Creative Commons Attribution-NonCommercial 4.0 International License.
3D Print
The files below were printed with ABS filament although PLA should work too. They were printed with no supports and no bed adhesion. The wall thickness was set at 1.6mm to ensure the walls had zero infill (being 2mm thick)
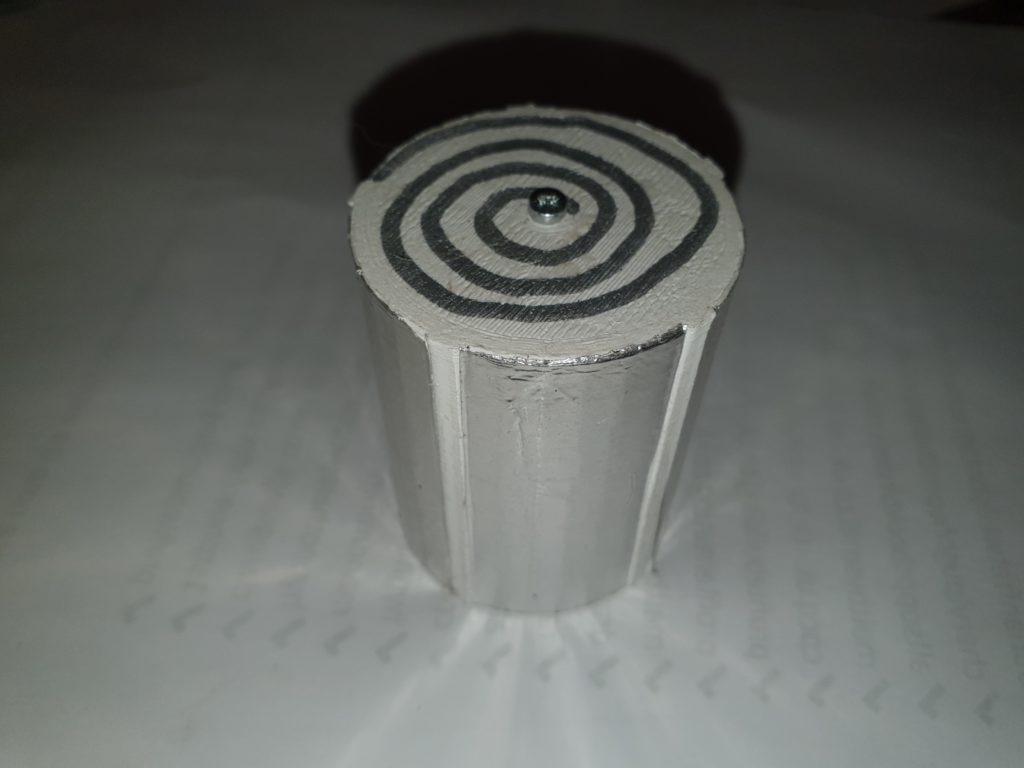
Stator and axle
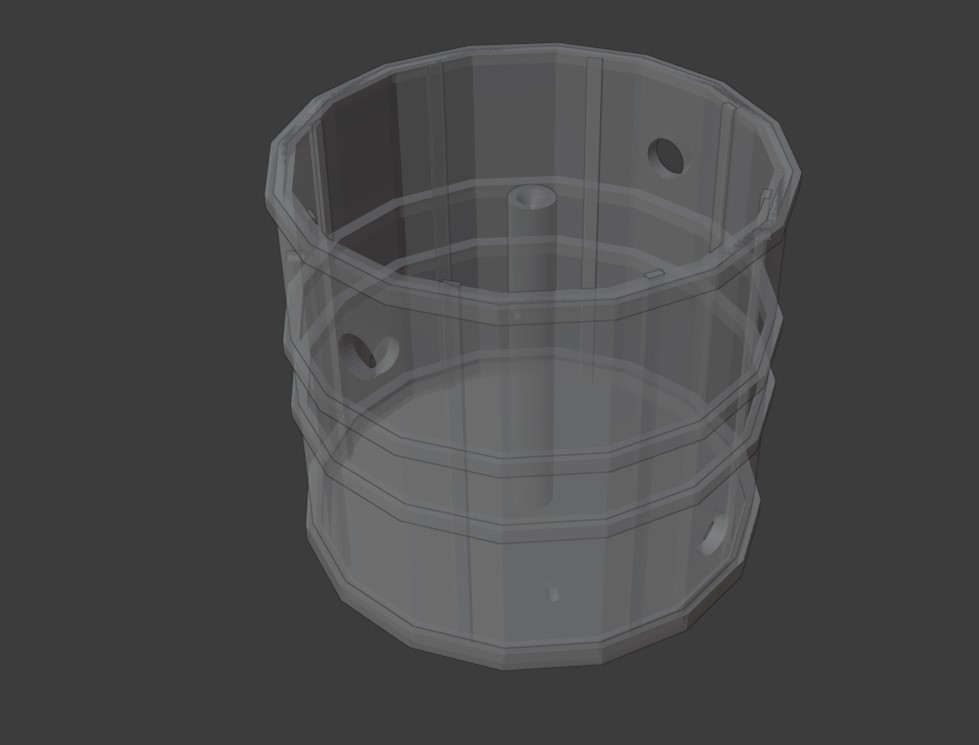
This is a single print in STL file

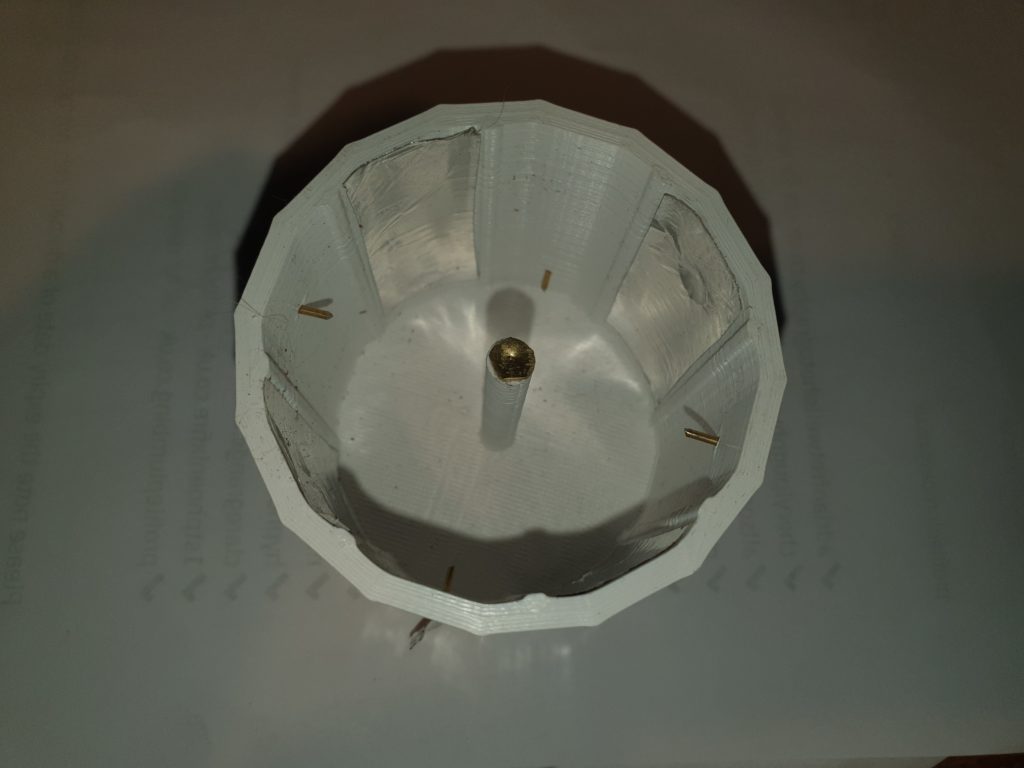

After printing remove any printing artefacts. Adhesive foil needs to be applied on the inside to each of the sectors that have a large hole. The easiest way to do this is to put a larger piece of foil on the sector, overhanging the dividers, then with a sharp knife run down the inside of the divider and remove the excess tape. Only 4 internal sectors must be covered.
Place 4 drawing pins through the 4 smaller holes. Cut a thin piece of aluminium tape 8mm wide and 200mm long. Run this tape around the two larger holes and the two drawing pins in the top outer path and the same over the bottom two holes and drawing pins in the bottom path.
Press together the foil where it meets though the 4 large holes so it makes contact with the foil on the inside.
With a couple of short strips of foil make a folded tag and stick on to the upper an lower rings of tape to allow a crocodile clip to be attached to them.
Using a pair of crocodile clip leads attach the bottom ring to earth and the top ring to your Van De Graaff generators dome.
To make a better bearing centre punch a thin piece of brass and cut around this at a diameter of 6mm. Glue this into the divot on the top of the axle. The motor should run without this, but this will improve performance.
Rotor
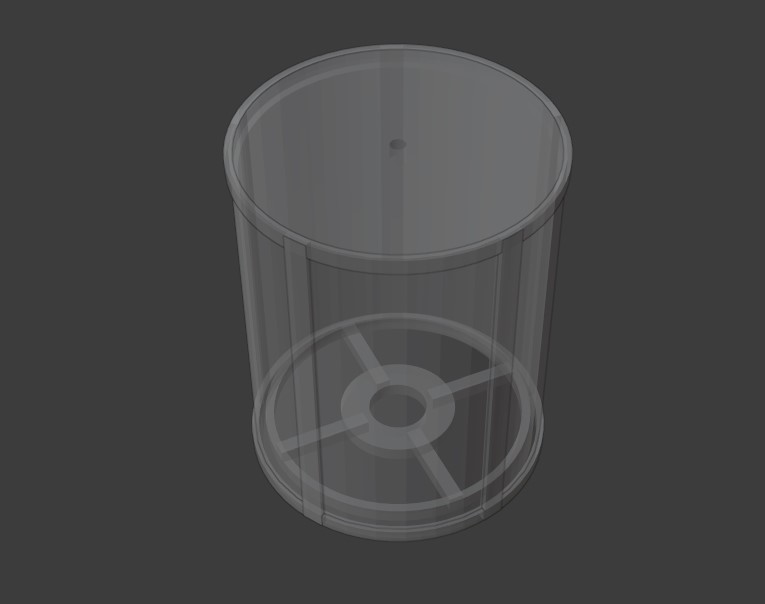
The Rotor is contained in two files one for the outer and another for the rotor bottom, The rotor bottom will need to be glued in place.
After printing remove any printing artefacts. Adhesive foil needs to be applied on the outside of each of the sectors without covering the dividers. The easiest way to do this is to put a larger piece of foil on the sector, overhanging the dividers, then with a sharp knife run down the inside of the divider and remove the excess tape. All 5 external sectors must be covered.
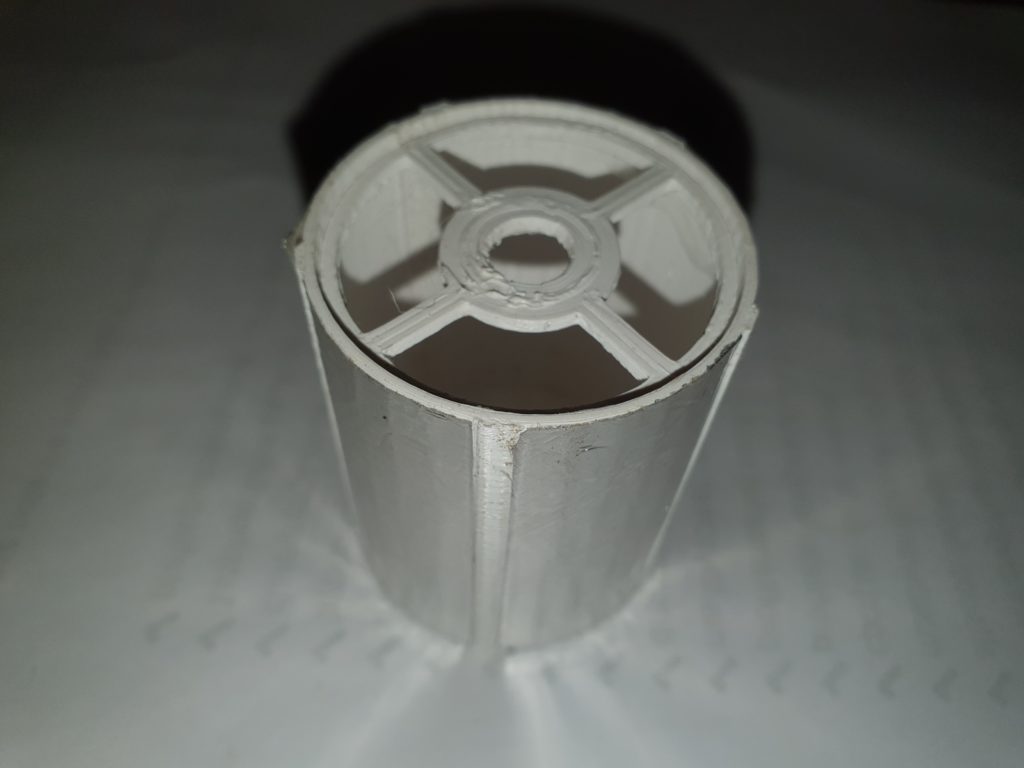
An M2 x 6 cone point grub screw or anM2 x 6mm bolt with the end filed into a point needs threading into the top hole of the rotor with a nut. Tighten the nut and bolt with a pair of long nosed pliers.
Using Super glue fix the bottom of the rotor a couple of mm’s down into the rotor.
Running
Ensure everything is connected and your motor is clean and DRY (some filaments are hygroscopic and may absorb water if left in damp conditions)
Once connected to your Van de Graff power up the VDG. If your VDG has a speed control, you will need to adjust this so there is little or no arcing from the motor.
If all is well when there is around 10Kv on the motor the rotor should start spinning. Depending on the quality of your print you may have to start the motor by gently blowing on the rotor.
