
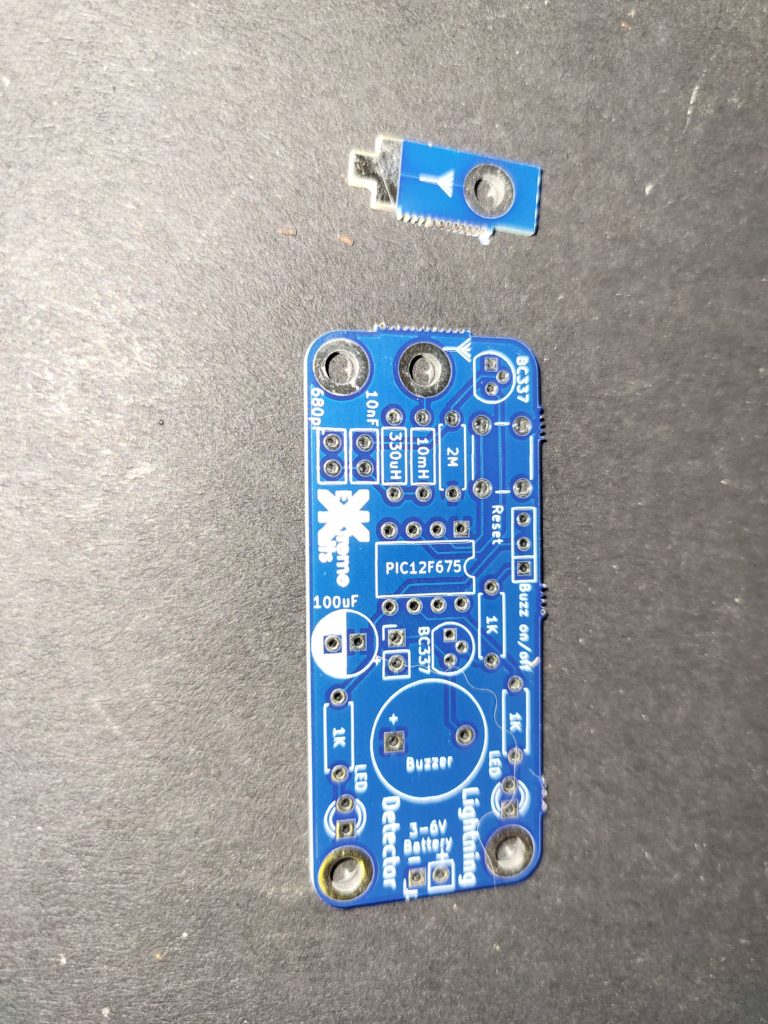
Take the PCB, break off the ariel bracket, and file flat any remaining mouse bites on the sides of the PCB
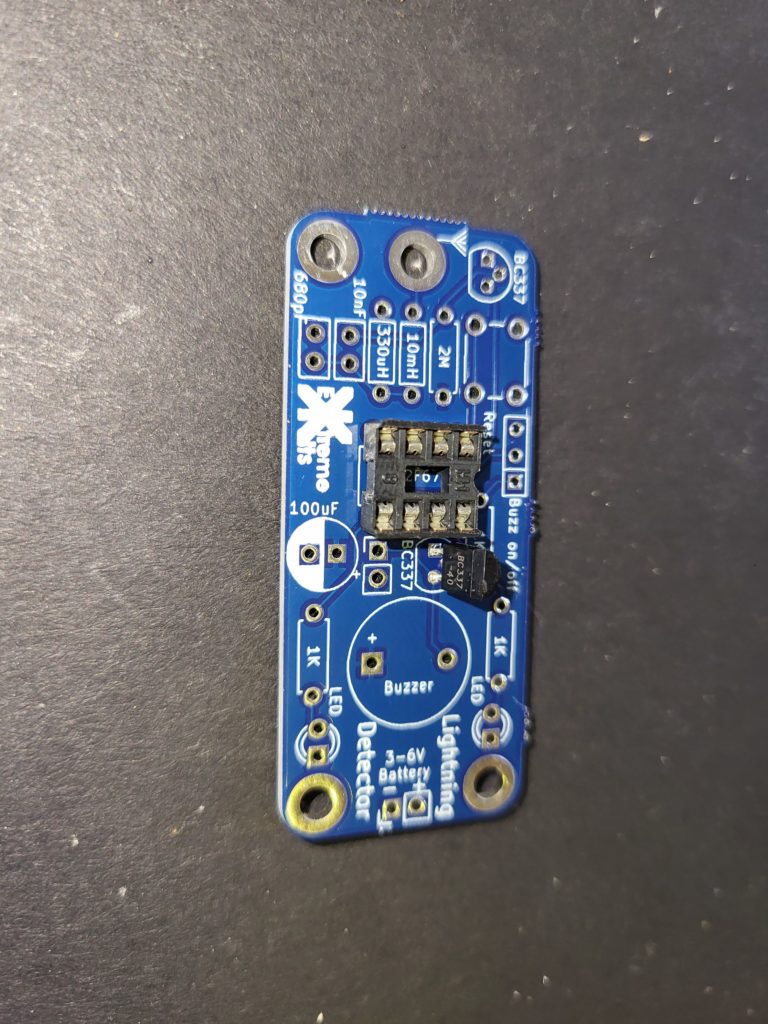
Take the IC socket and solder in to place ensuring the cut out for pin 1 matches the silkscreen on the PCB.
Take one of the BC337 transistors and solder next to the IC socket, ensuring that the D shape of the case matches the D shape on the PCB silkscreen.

Insert and solder into place the 2M resistor and the two inductors.
2M10mH
330uH

Insert and solder into place the two capacitors
10nF – 103
680pF – 681

Insert and solder into place the second BC337 and the button.
Please note on V1 (only) versions of the PCB this transistors silkscreen is inverted. So you will need to solder the transistor with the flat facing towards the right edge of the PCB

This is fixed on later PCB versions

Solder in the 100uF capacitor. Ensuring the -v side goes to the filled in semi-circle on the PCB silkscreen.

Solder in the 3x 1K resistors.
1K
Solder in the two LED’s Ensuring that the short lead of the LED goes to the square pad on the PCB.
Solder in the sounder, ensuring that the + on the sounder matches the + on the silkscreen.
and solder in the switch where indicated on the PCB
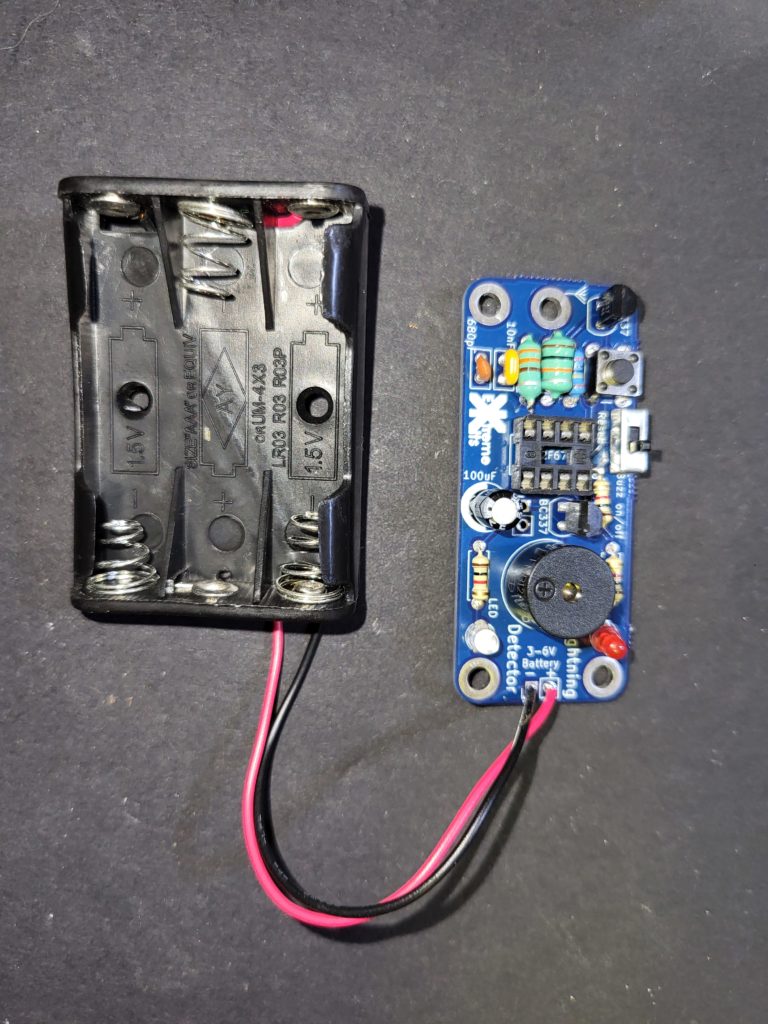
Solder on the battery holder, ensuring the red wire goes to the + and the black wire goes to the – on the PCB

Solder in the Ariel Bracket, Ensure it doesn’t contact the leg of the 10mH inductor.
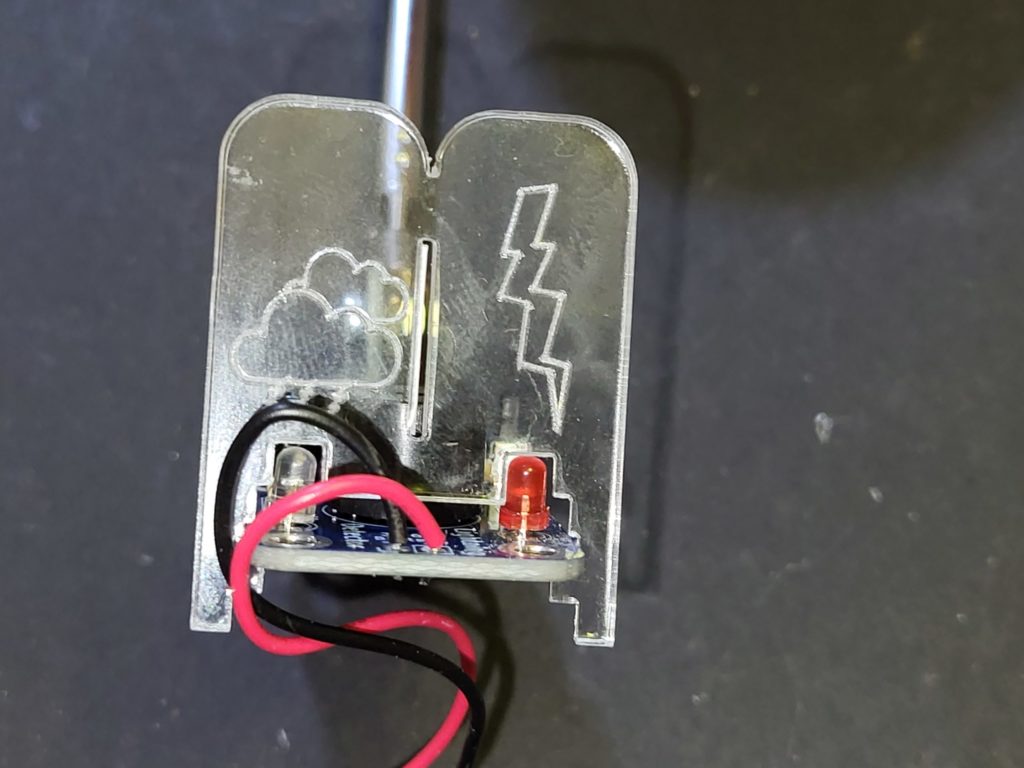
Pass the Engraved Acrylic over the base of the PCB, ensuring the Cloud is over the Green (clear) LED

Slot the Acrylic into the two square holes in the base acrylic and loosely Screw down the PCB with two m3 x 10mm screws and nuts.
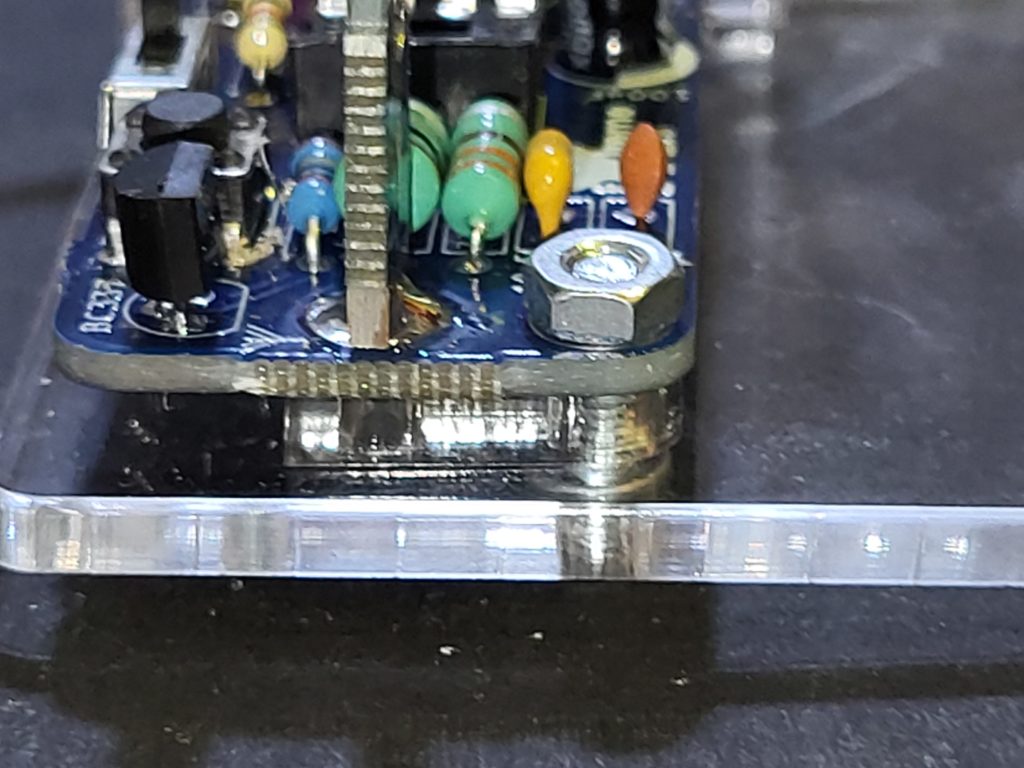
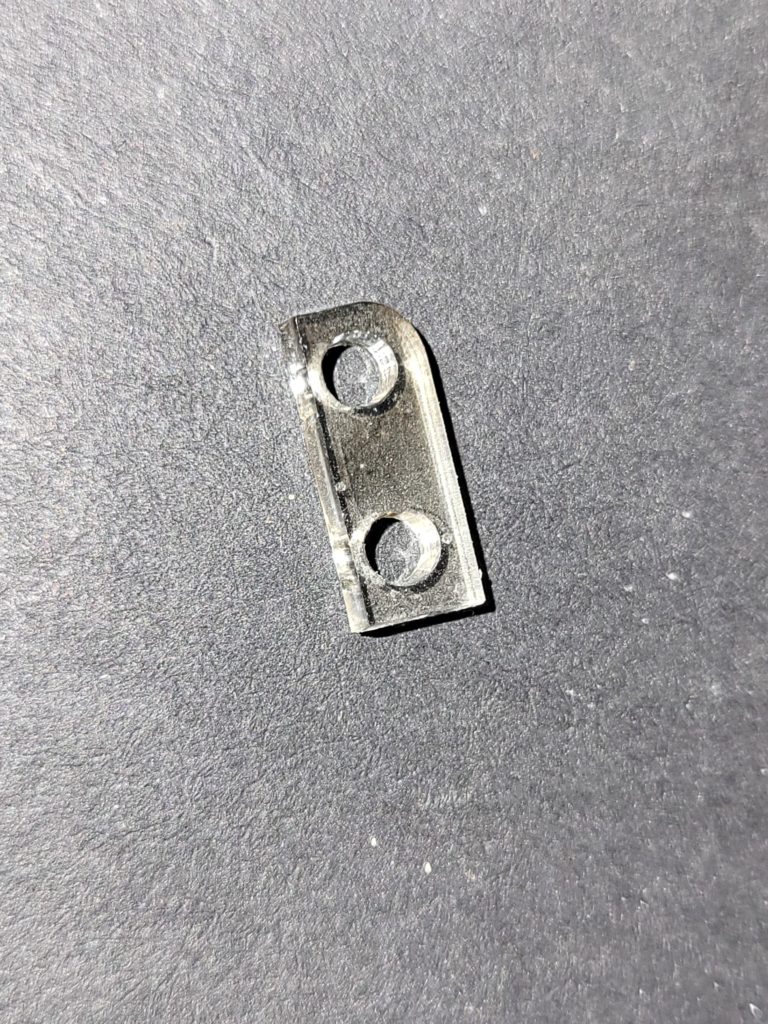
Place the small piece of acrylic with two holes under the ariel and secure the acrylic and pcb with a m3 x 10mm nut and bolt.
Tighten the other nuts and bolts to secure the PCB to the base.
Screw on the aerial with a 6mm bolt.
(some ariel bases are not threaded, these will come with a separate m3 nut)
and insert the IC into the socket, ensuring that the cut out on the IC matches the cut out in the socket and the PCB ident.

Place the 4 feet on the bottom of the PCB
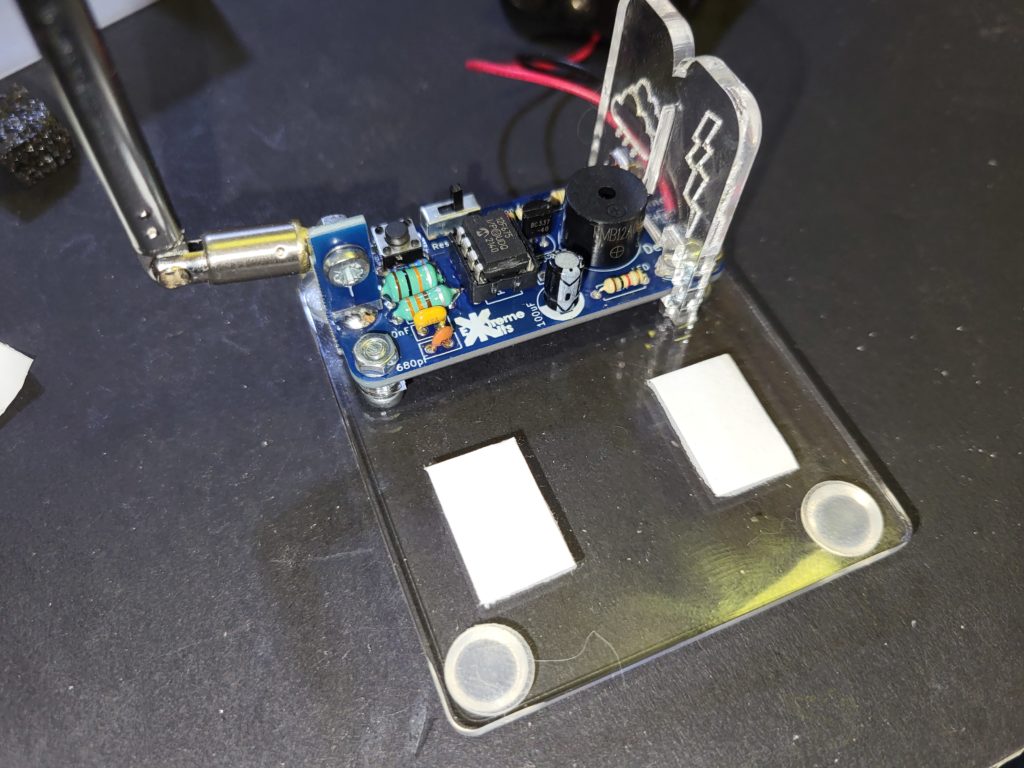
Stick the two double sided pads on the base acrylic.

and attach the battery holder.
Your Lightning detector is complete.
See using your lightning detector kit for more information.
