
 The Pieces of the Wave Kit
 Take the two base pieces and the two joining plates. using the two m3 x 10mm bolts and m3 nuts
 Bolt the pieces together
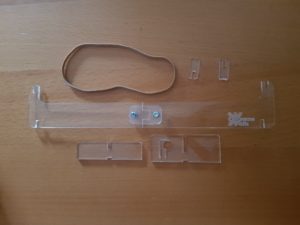 Take the two feet and the two elastic guides and the elastic
Place the two feet into the base
 Place the two guides into the slots at the top of the base
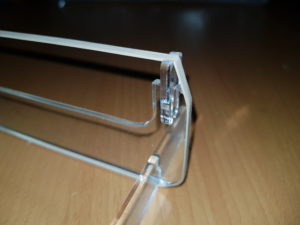 Pass the elastic over the guides and around the base, using the slots in the feet
 Ensure that there are no twists in the elastic and the elastic is spread evenly over the base frame.
 Push the motor into the hole in the foot, so it grips the white gear case of the motor.
 Take the gear wheel, pushrod and the wave element with the holes, two m2 x 8mm screws and washers.
 Attach the push rod to the gear wheel with a m2 screw, place a washer between the rod and the wheel.
 Attach the push rod to the wave element with a m2 screw , place a washer between the rod and the wave element.
 Clip the element onto the elastic
 ensure the push rod is straight up from the wheel
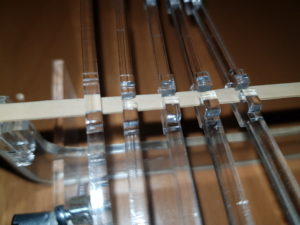 Add the other elements at roughly 5mm intervals, note that the top of the wave elements has the elastic.
 Ensure that the elastic is not pinched, but fits smoothly onto the elastic
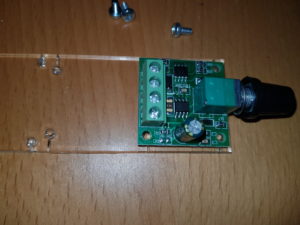 Place the speed controller onto the power base, screw down with 4 x 8mm m3 screws
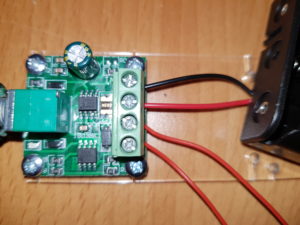 Connect the two wires from the battery onto the power board and screw down. Ensure thay are in the correcct terminal and the correct way around. The terminal description is on the underside of the board.
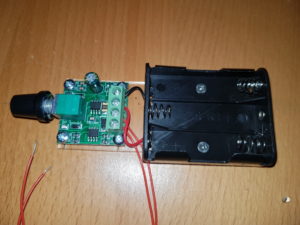 Screw down the battery holder to the power board with two countersunk m3 x 5mm screws
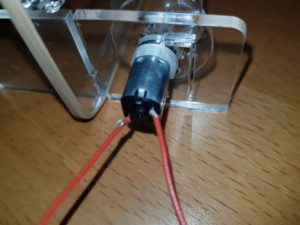 Connect the two wires from the power board onto the motor. If you have access to a soldering iron I recommend soldering these on for a more reliable connection.
 Insert three AA batteries into the holder, and turn on the speed controller.
You have waves 🙂
