
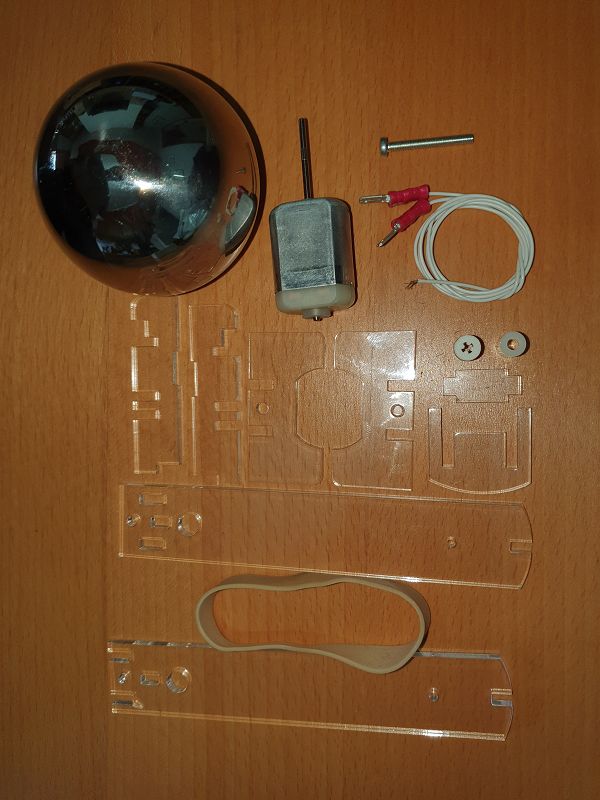
Before making your kit, it is a good idea to wash your hands and work area, dirt and grease are the enemy of static electricity.
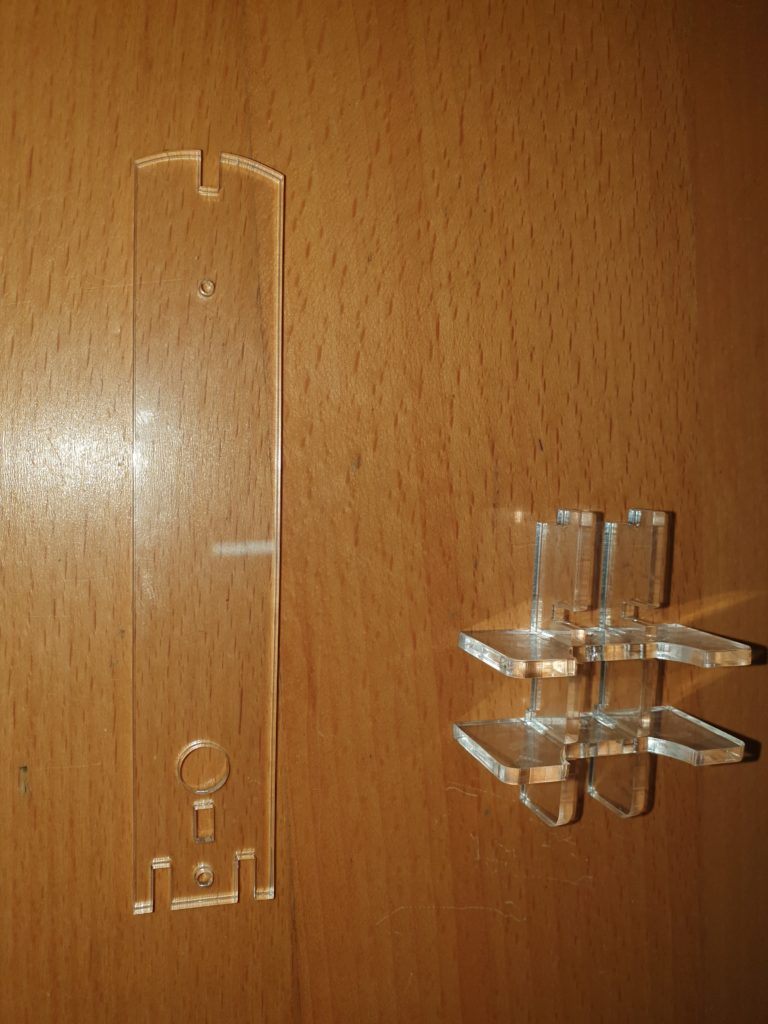
Remove the backing plastic from all of the acrylic parts, and ensure that all of the holes and slots are clear of remnants.
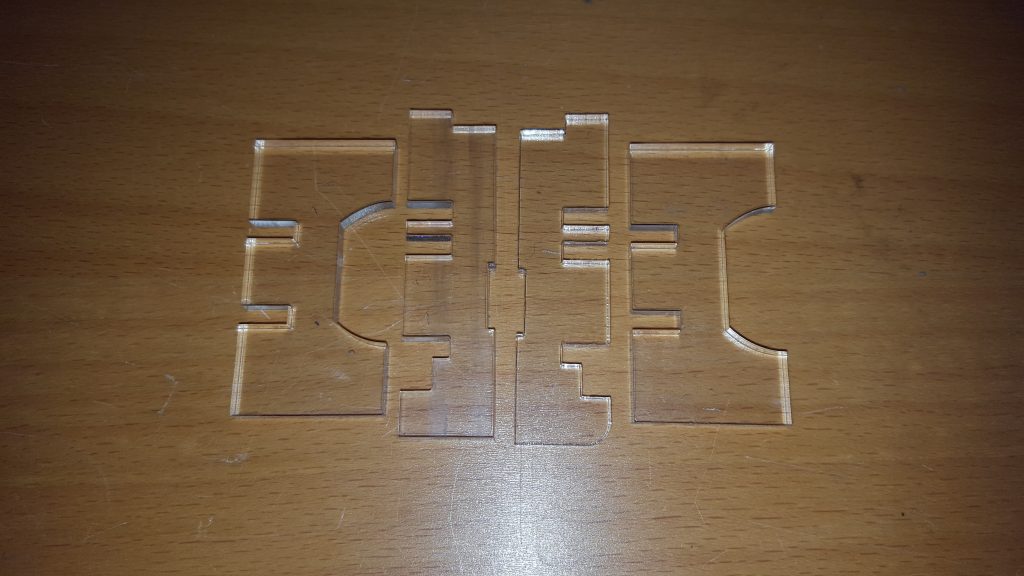
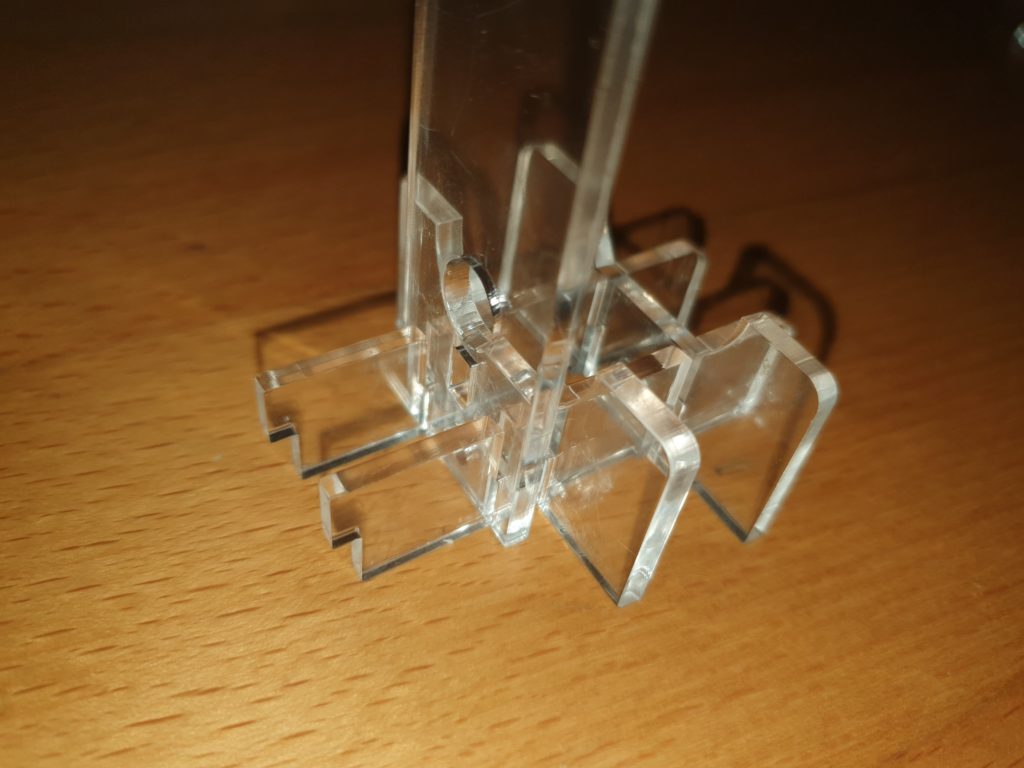
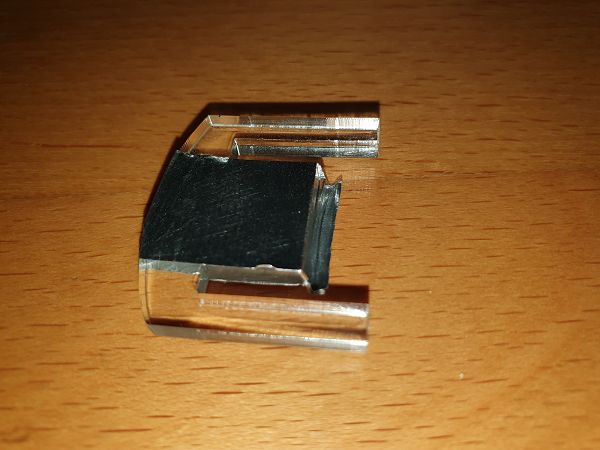
Select the 4 pieces to make up the motor cradle.
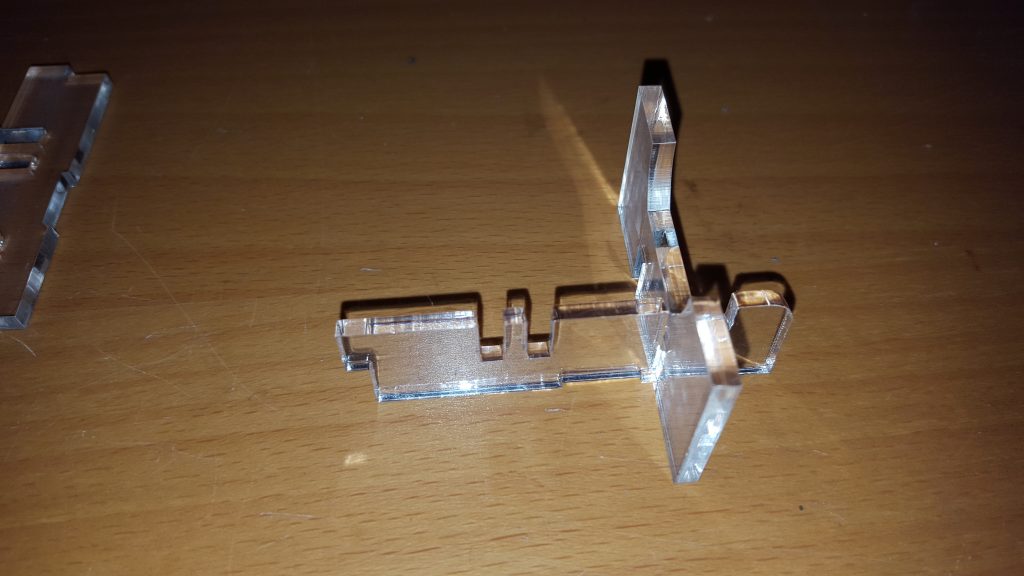
Slot them together,
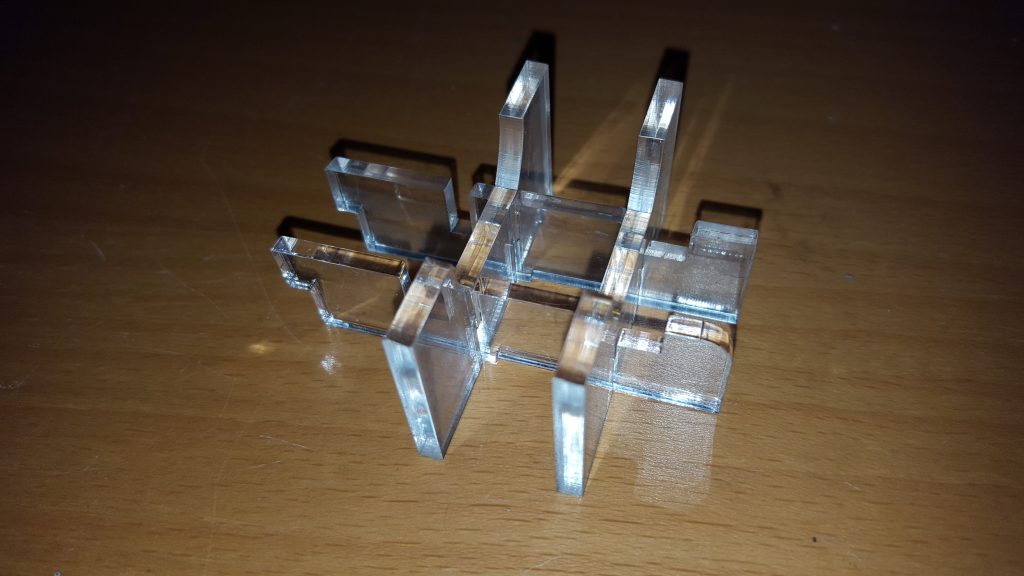
to form a complete motor cradle.
There are two types of motor it will either have slots or lugs
Instructions for the Slotted type….
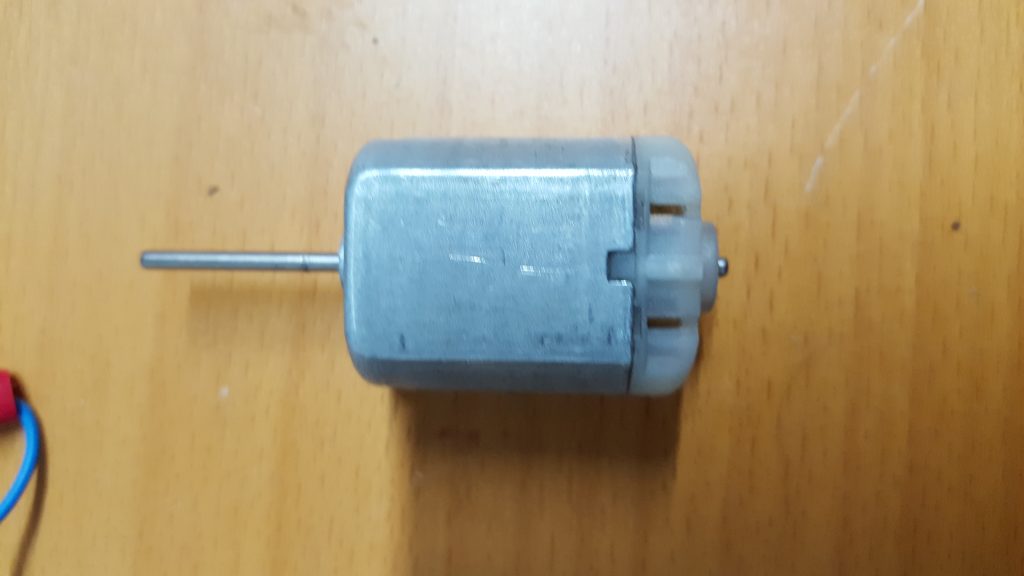
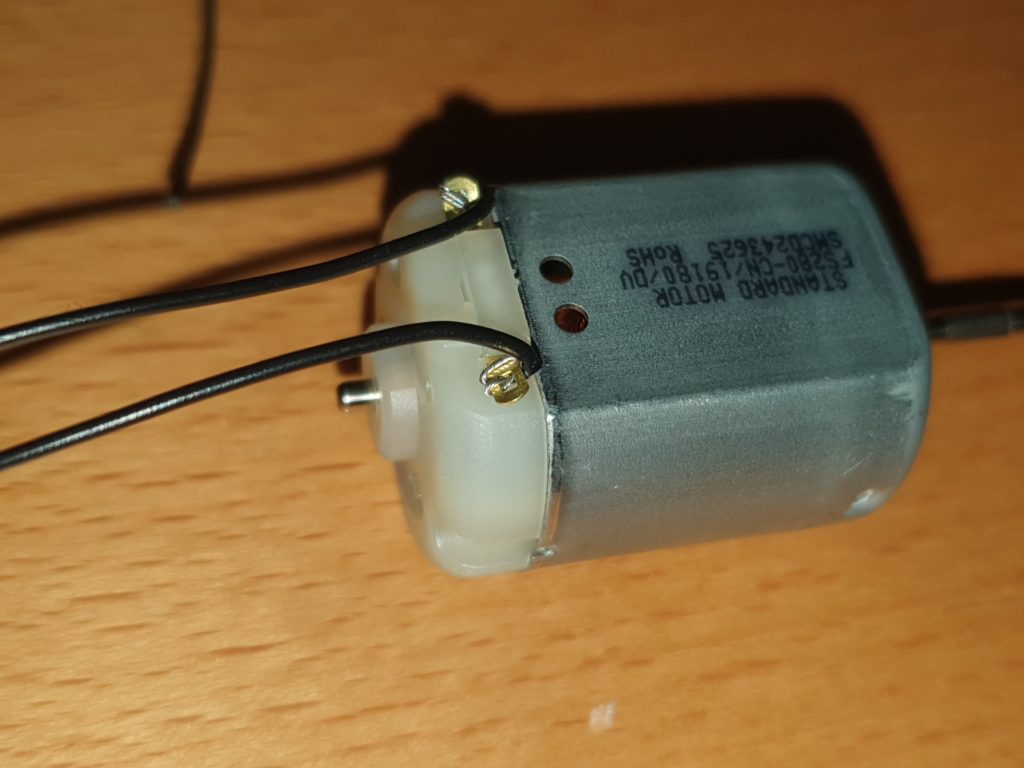
Take the motor, (Slotted connector type, See below for the lugged type.)
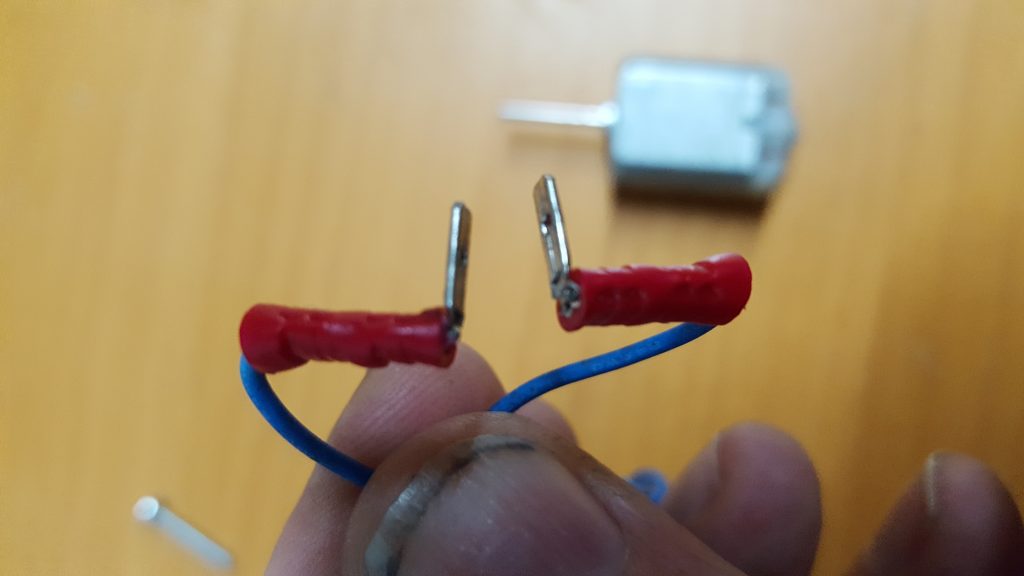
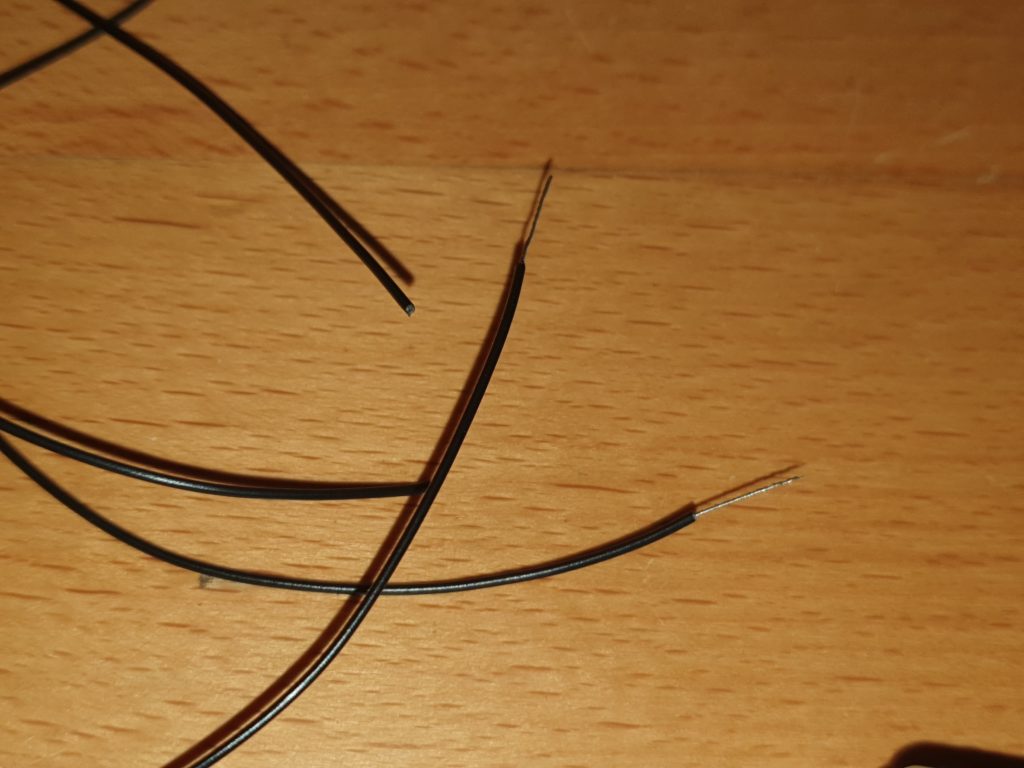
and a pair of leads, bend the ends of the leads as shown,
and insert into the two slots on the top of the motor.
(DO NOT put them into the rear of the motor as this will damage the motor)
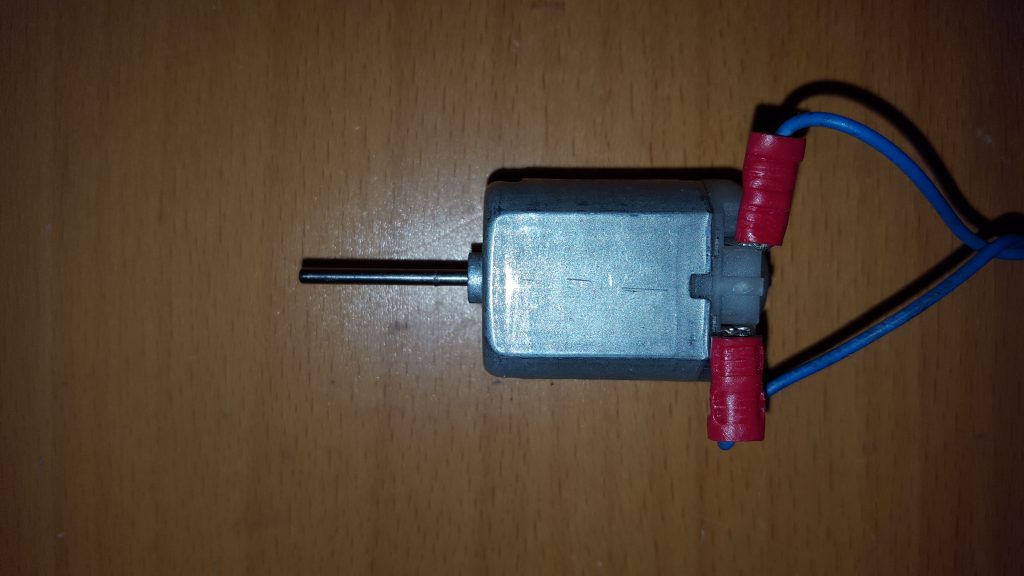
Instructions for the lug type of motor.
Take the motor, (The Type with Lugs)
Take the wires and using a pair of cutters strip away 10mm of insulation. Twist the conductors to stop them from fraying.
Push the wires through the holes in the lugs and wrap the wire around a couple of time. If you have access to a soldering iron you can solder these.
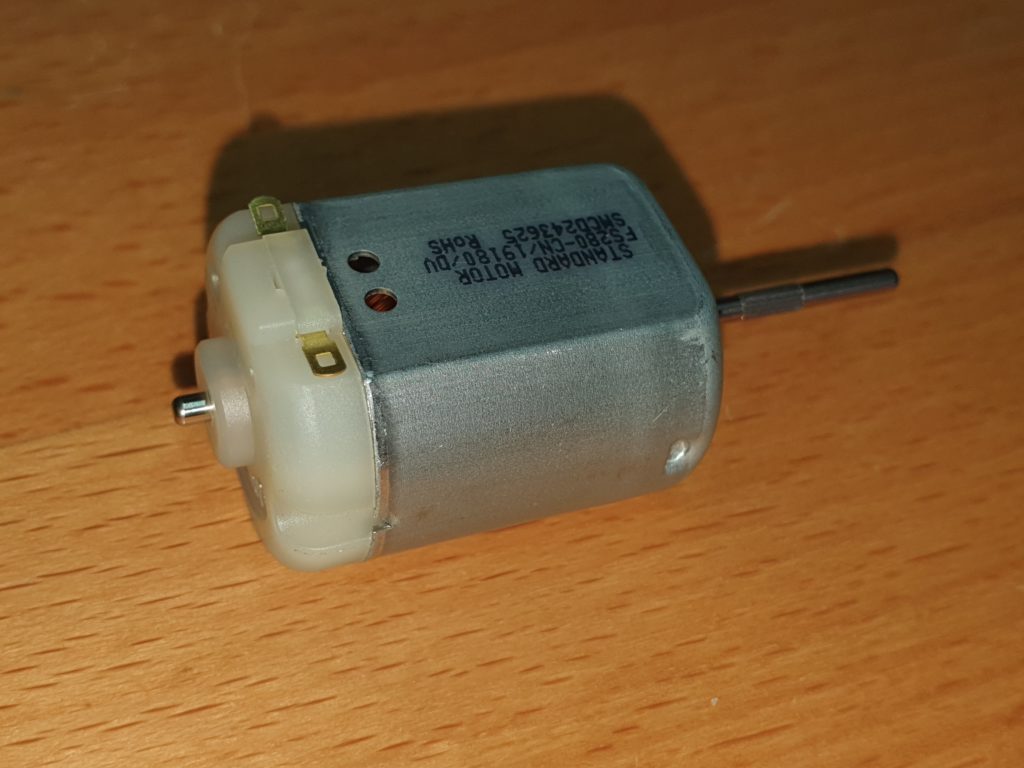
All type of motor continue here.
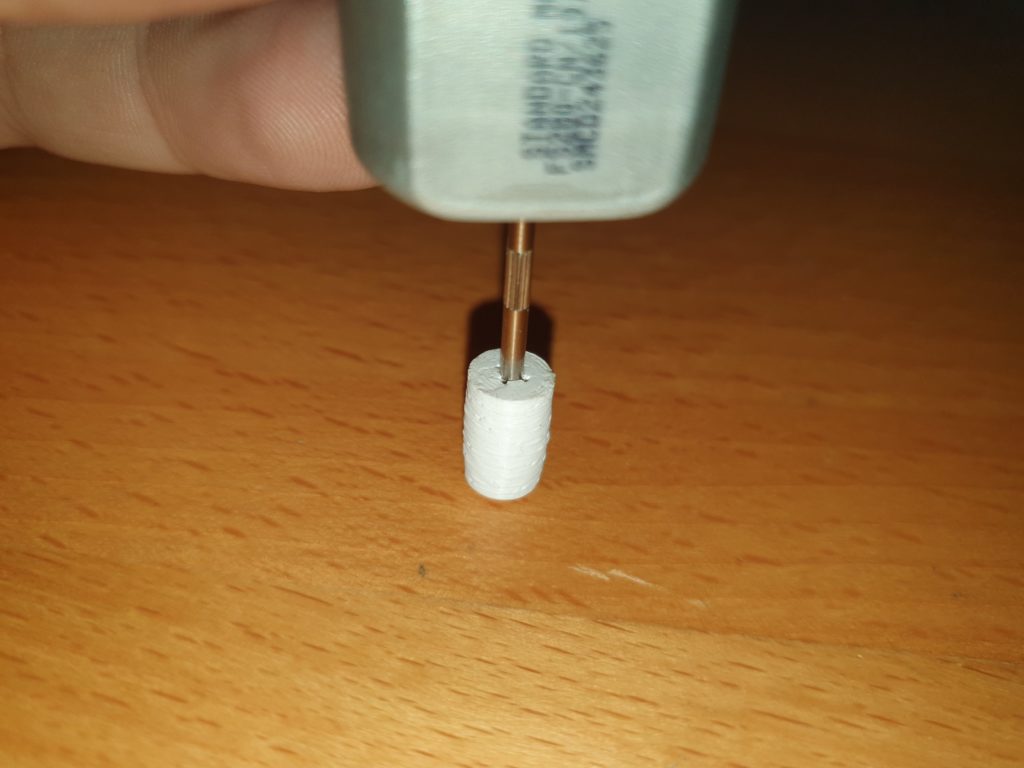
Taking the roller with the Cross and the motor, press the roller onto the shaft of the motor. It is easier if this is done against something solid like a table top.
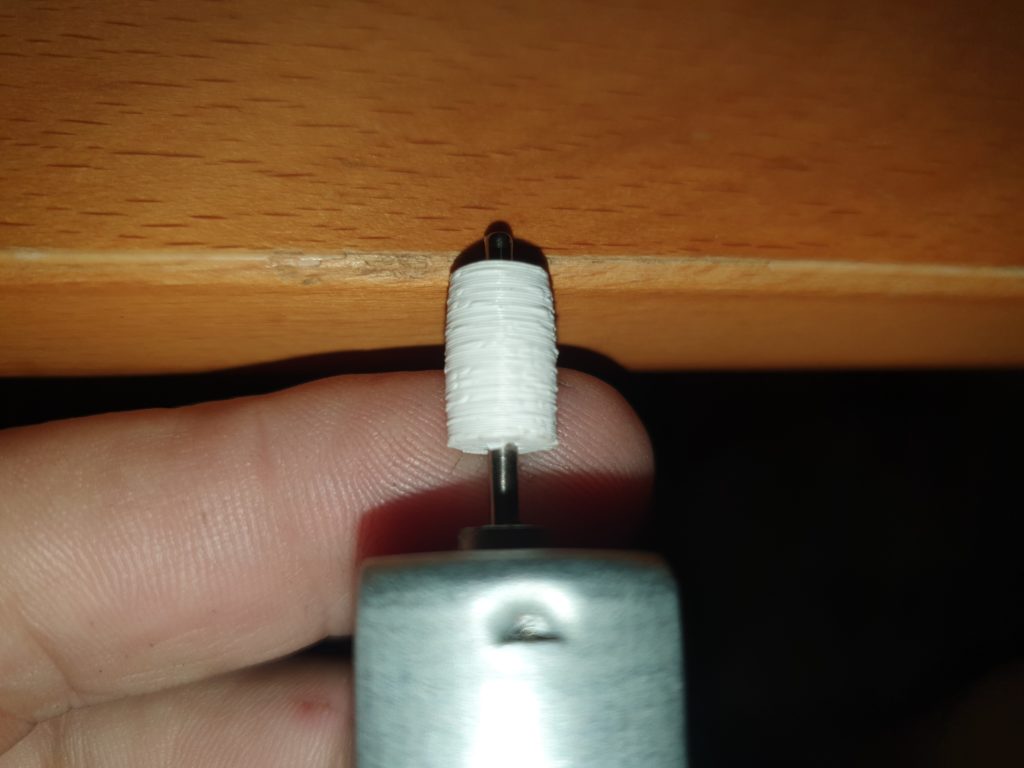
Use the edge of something solid to push the roller down the shaft.
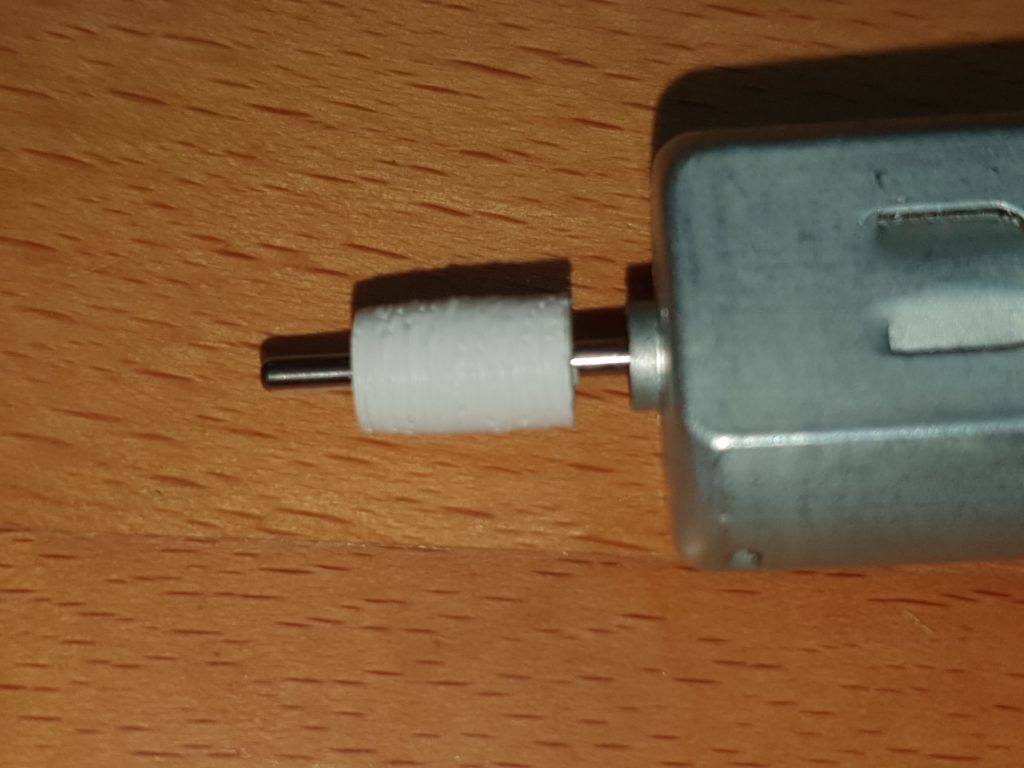
Until it is 5mm away from the body of the motor.
Take the side piece shown,
and push into the slot in the motor cradle.
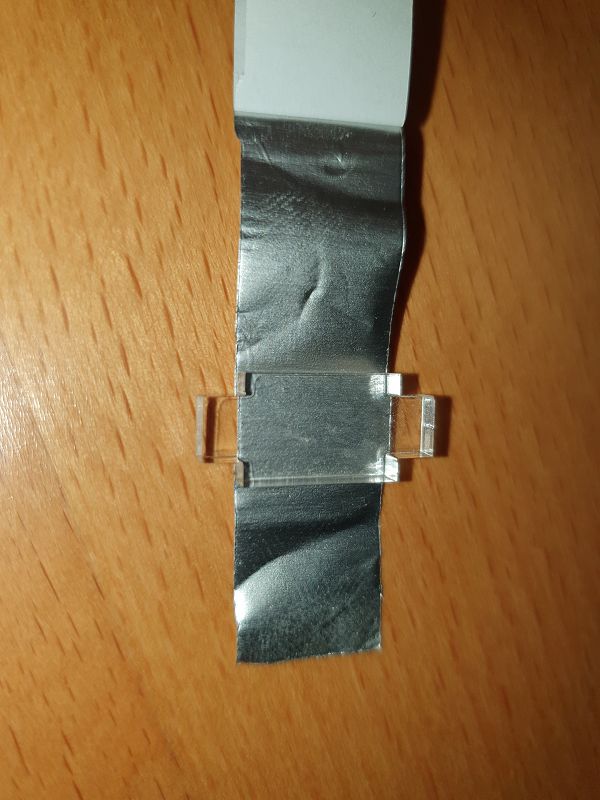
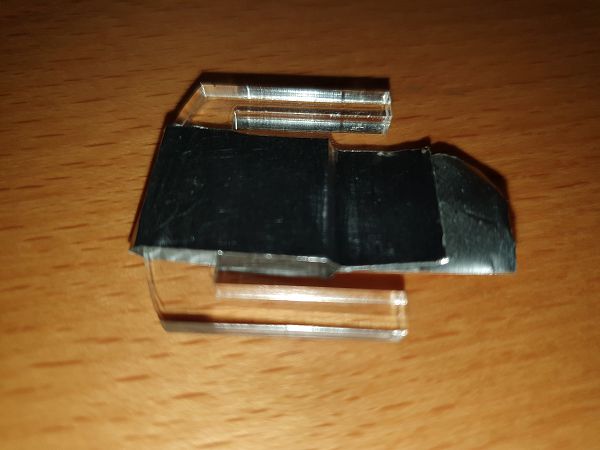
Take the lower comb, and cut a 10mm strip of foil, at least 30mm long
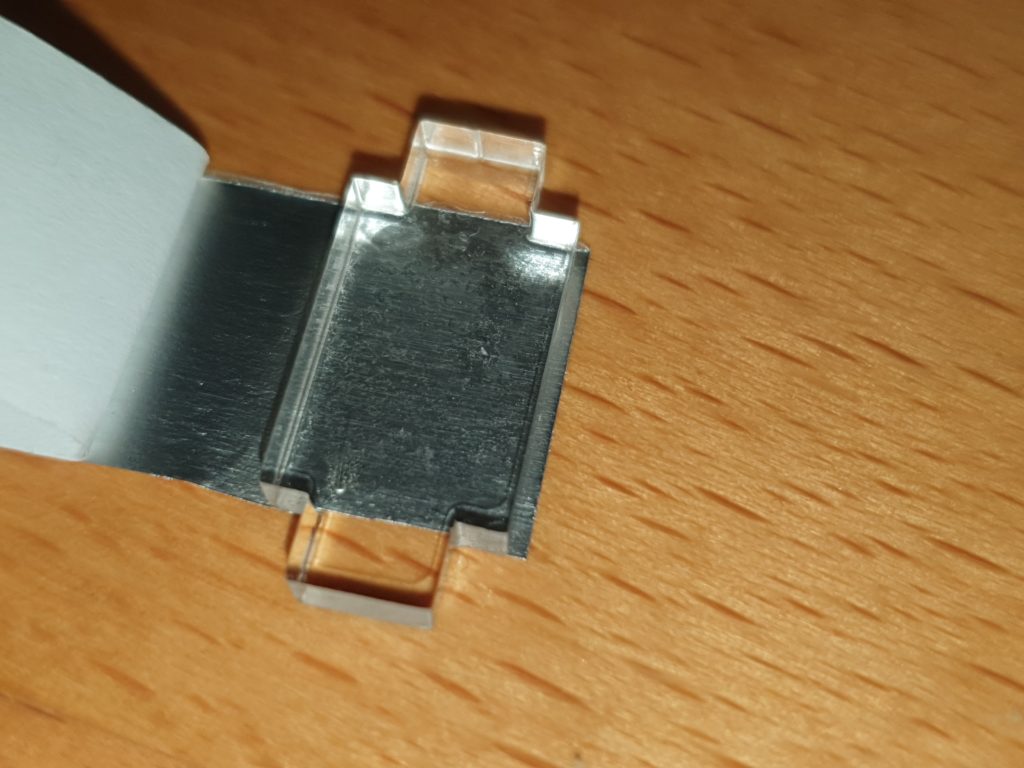
stick the foil onto the bottom comb trimming one side 1mm from the edge of the acrylic
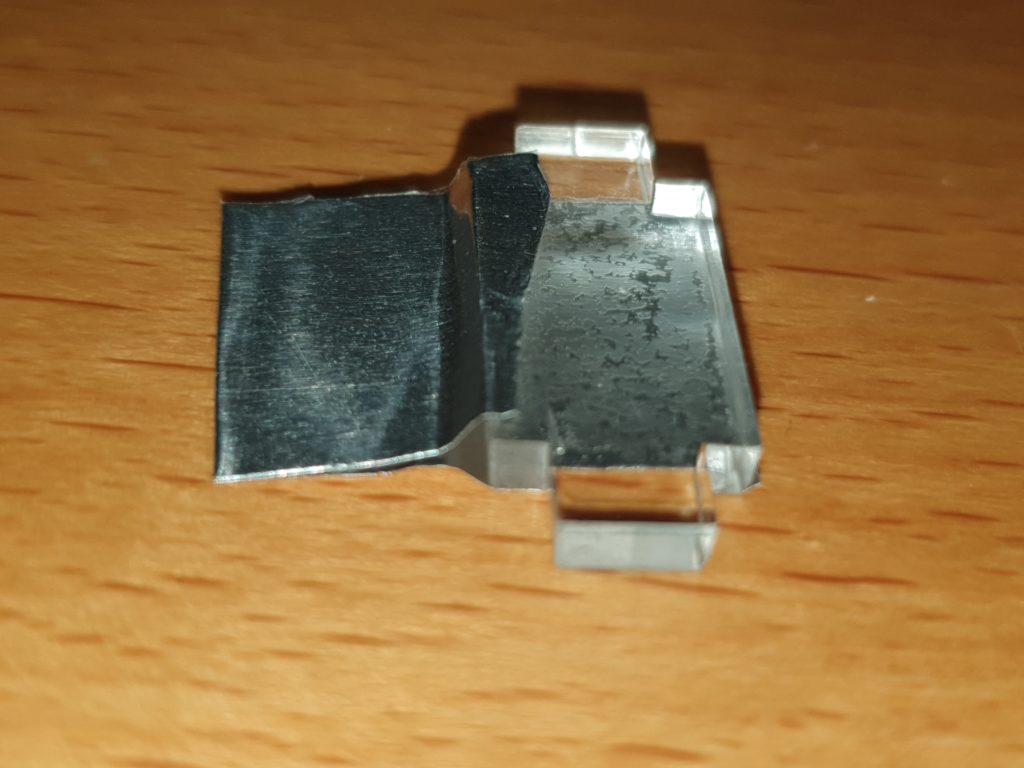
Fold the other end of the foil back on to itself making a 10mm tab, and trim off any excess.
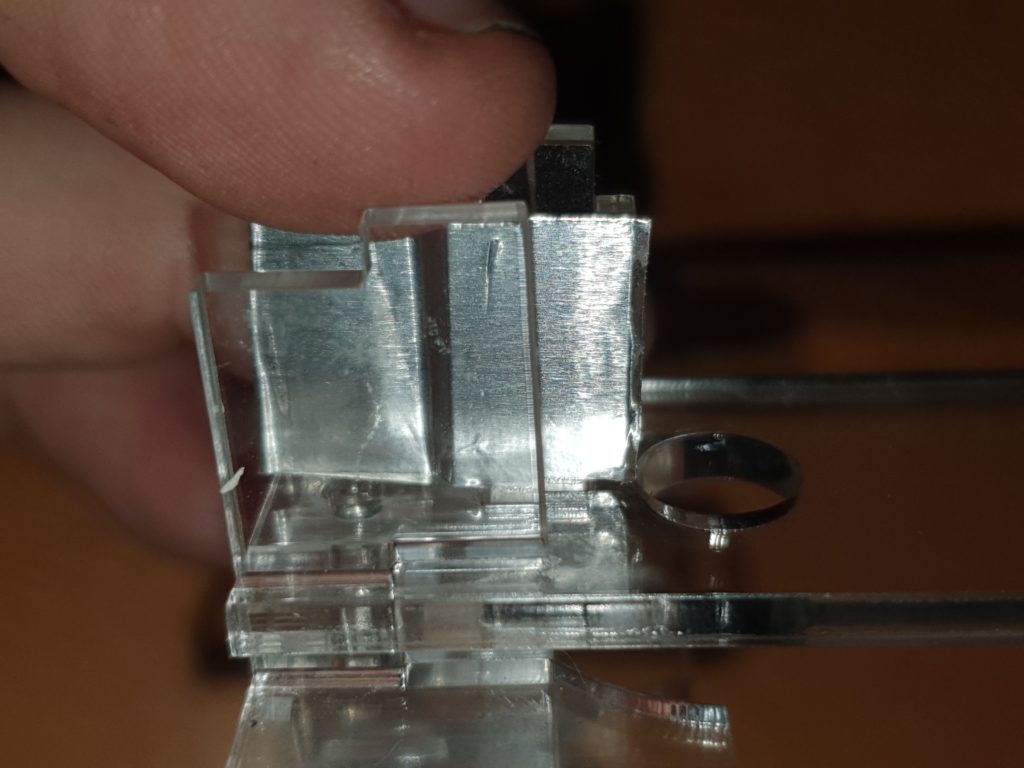
insert the bottom comb into the slot between the two pieces from the motor cradle.
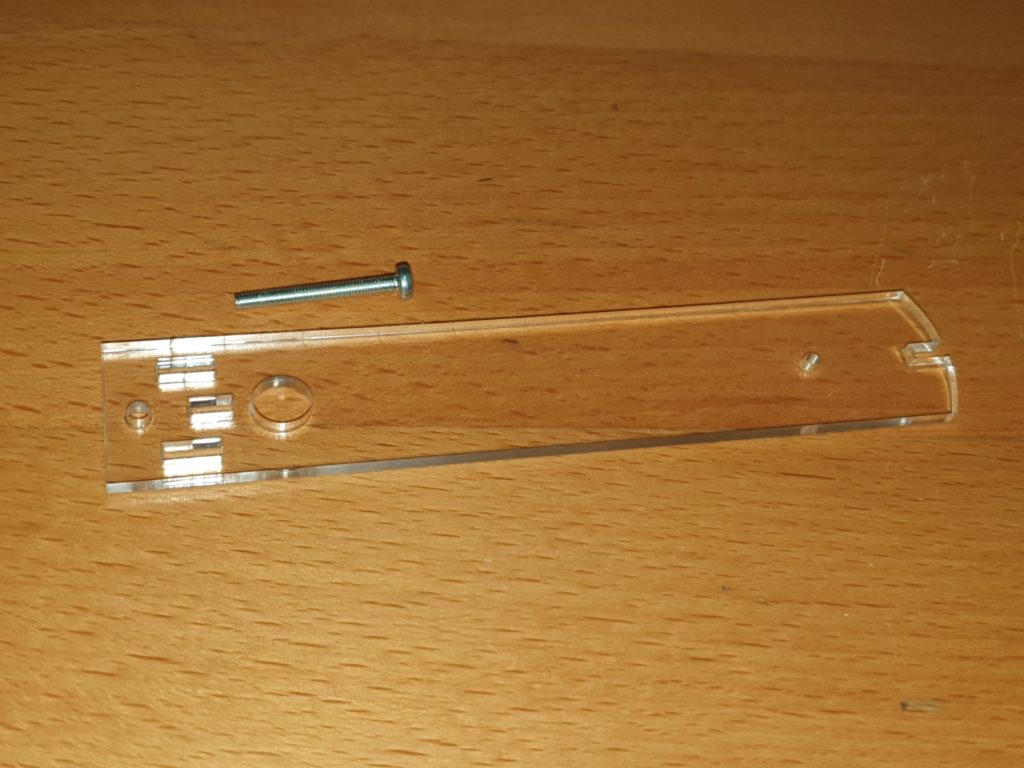
Take the other side piece and the 30mm m3 Screw.

Screw the side peice on to the ends of the motor cradle, securing the bottom comb.
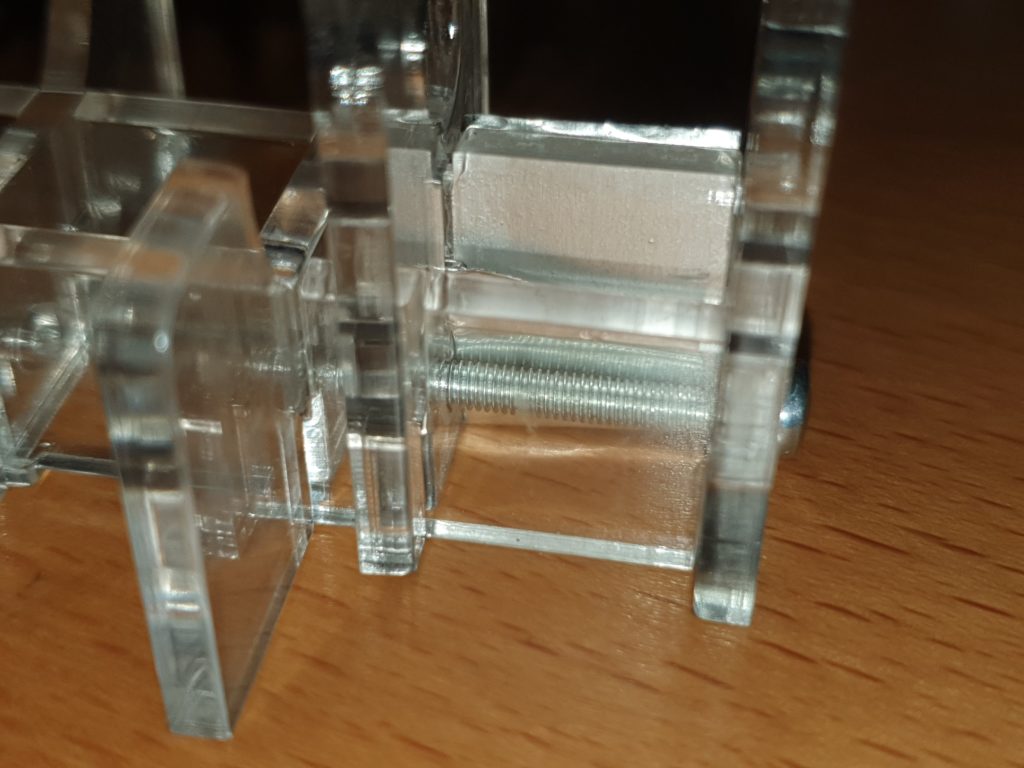
Ensure that their is still the 1mm of aluminium sticking up proud of the bottom comb.
Stretch the elastic band to its full extent a couple of times to ease installation.
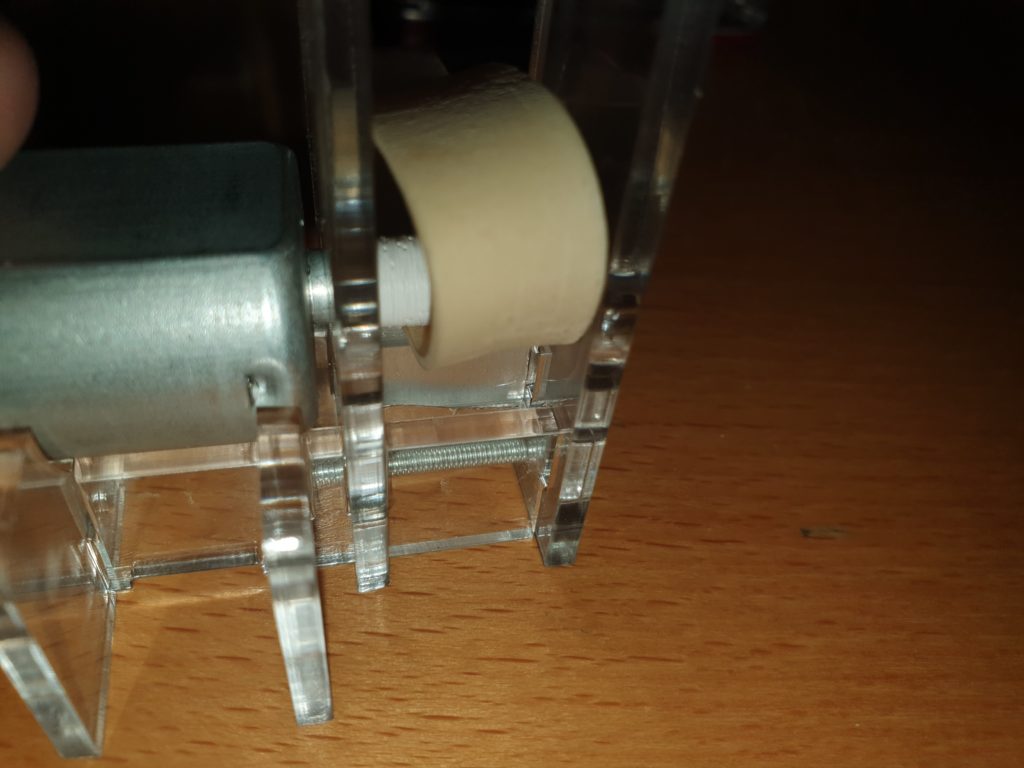
Push the motor shaft through the side hole, with the elastic band under the roller, and seat the motor flat into the cradle. Try not to flatten the foil on the bottom comb.
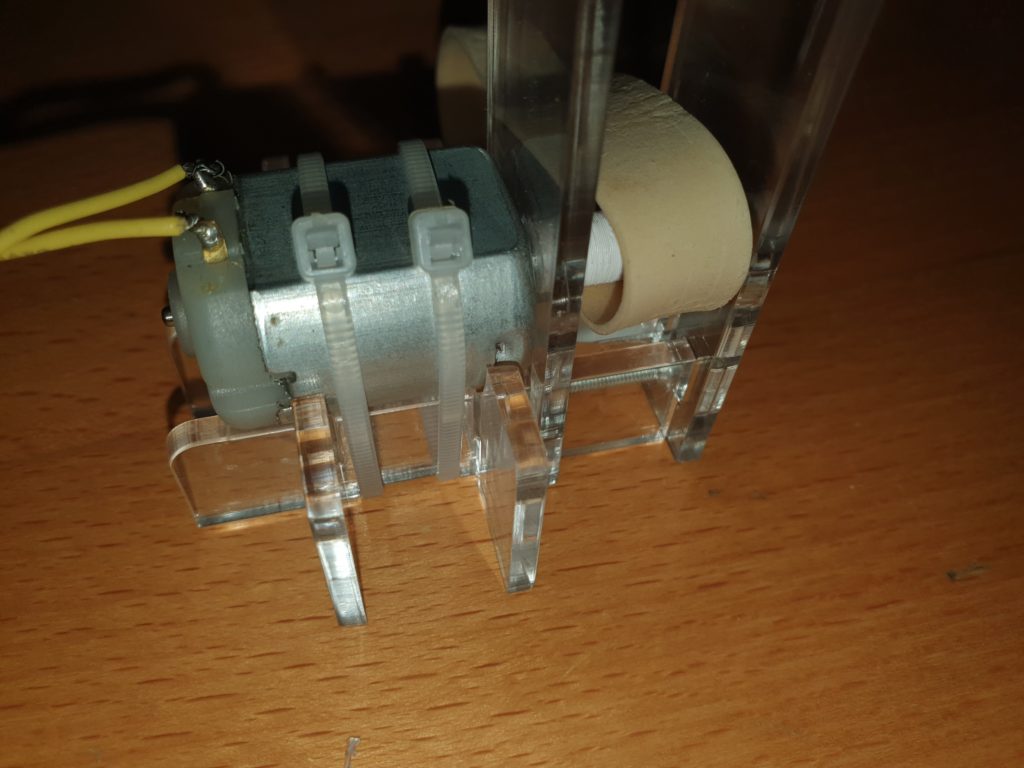
Secure the motor with the cable ties.
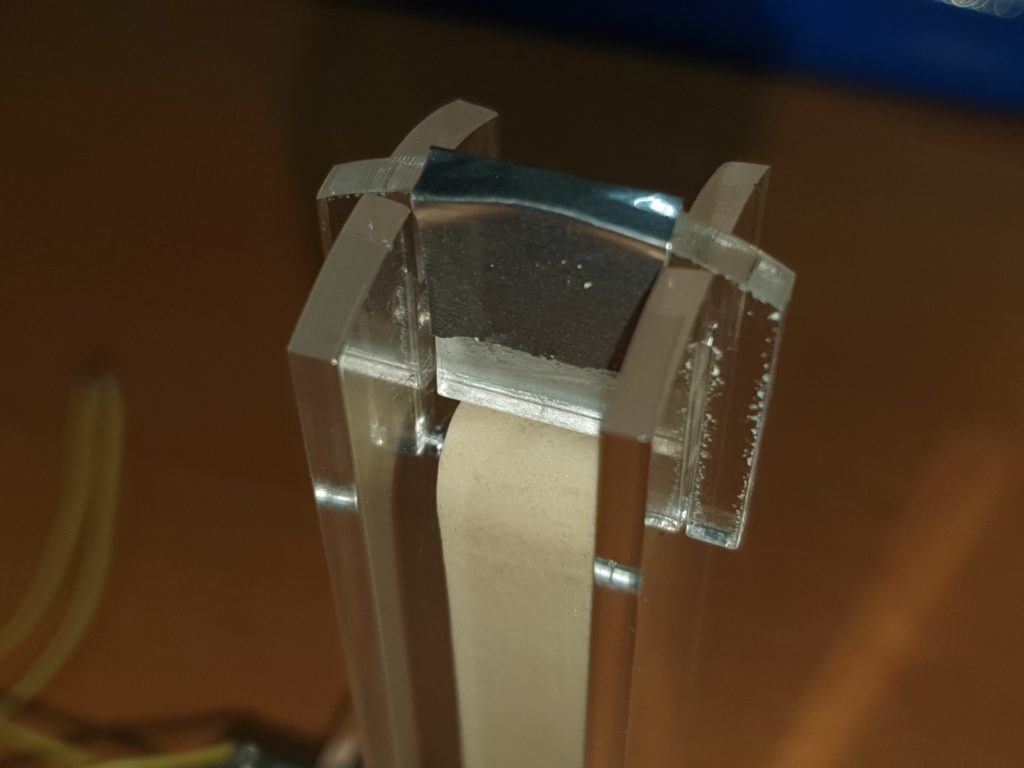
Take the top comb and wrap a 10mm wide piece of foil right around the comb.
Trim the foil so the bottom of the comb has 1 mm of foil proud of the acrylic.
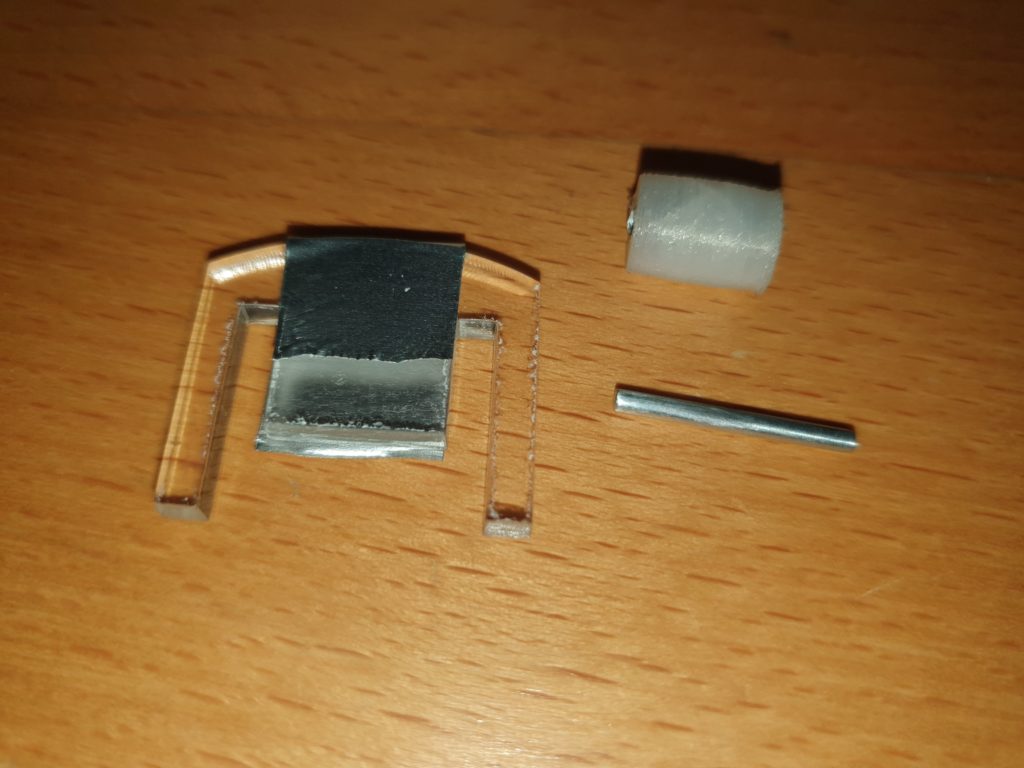
Take the top comb, top roller and axel.
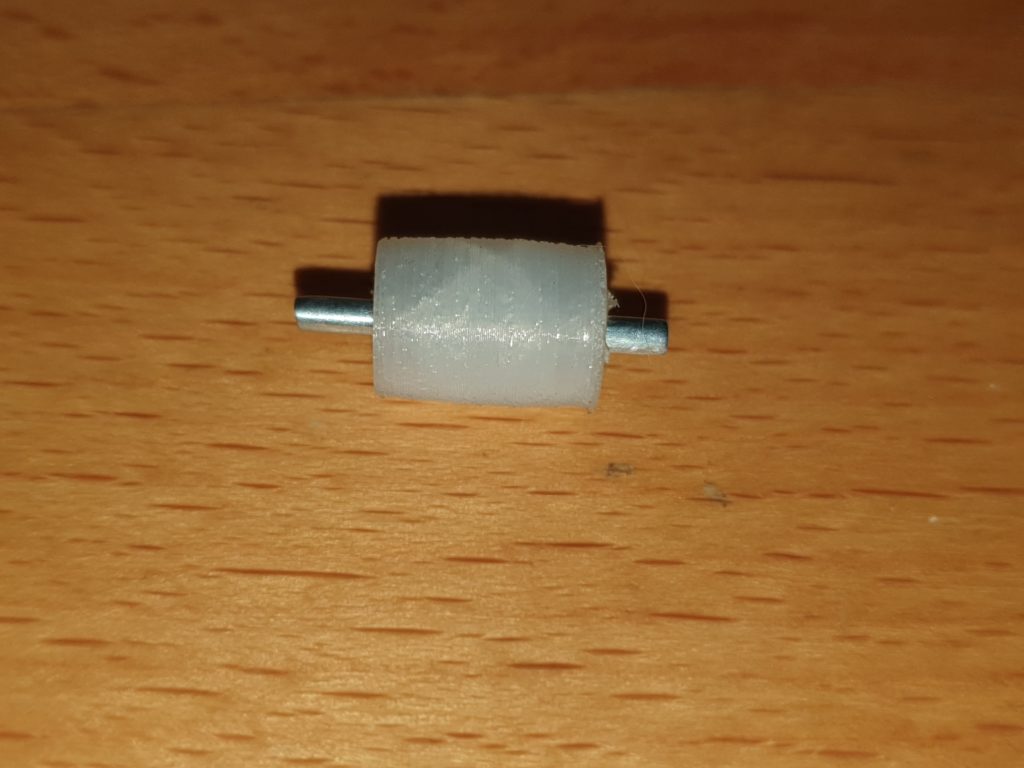
Push the axel through the metal sleeve in the roller. If the shaft is tight widen the metal sleeve slightly with the end of a nail, or large needle.
Ensure that the roller is free to spin on the axle.
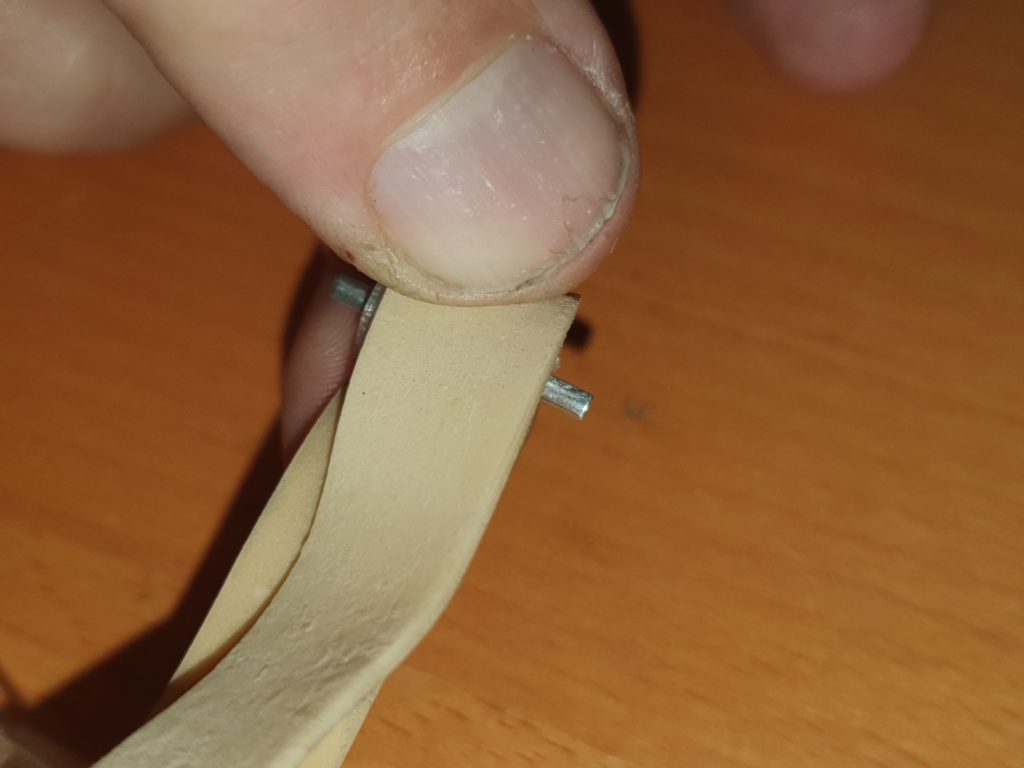
Grab the roller, axel and the elastic band.
and push the axel into the motor side hole on the VDG frame.
Bring the other side of the frame up to the axel and seat the axel so it is resting on both sides.
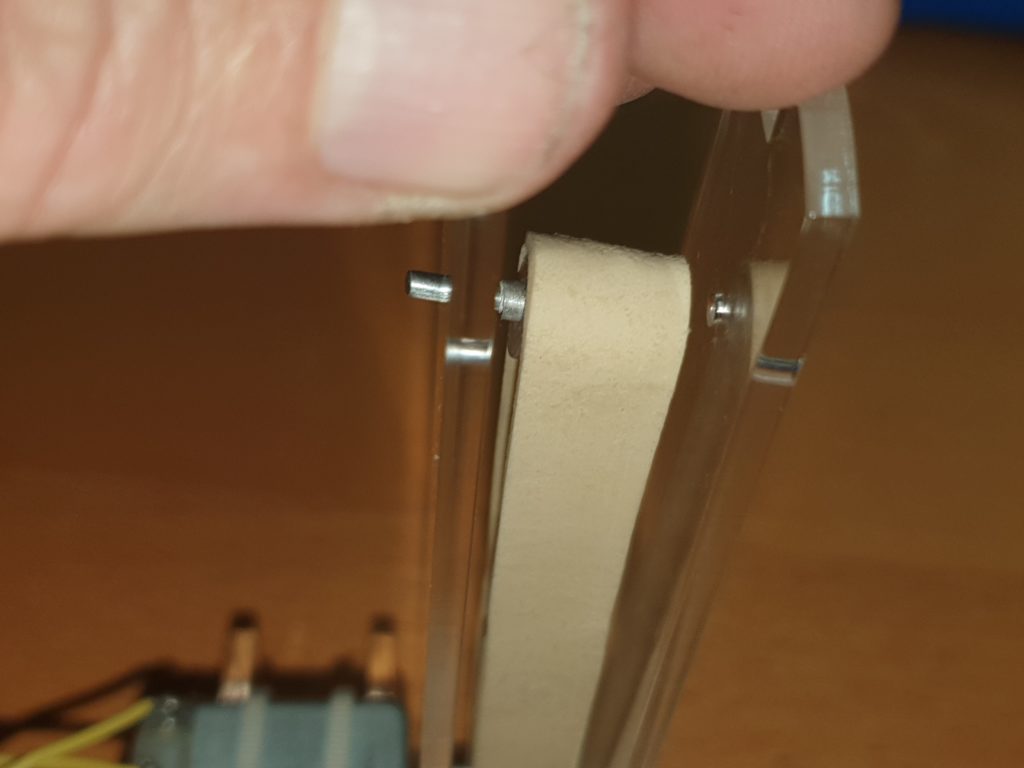
Slot the top comb in place, to secure the axel and roller.
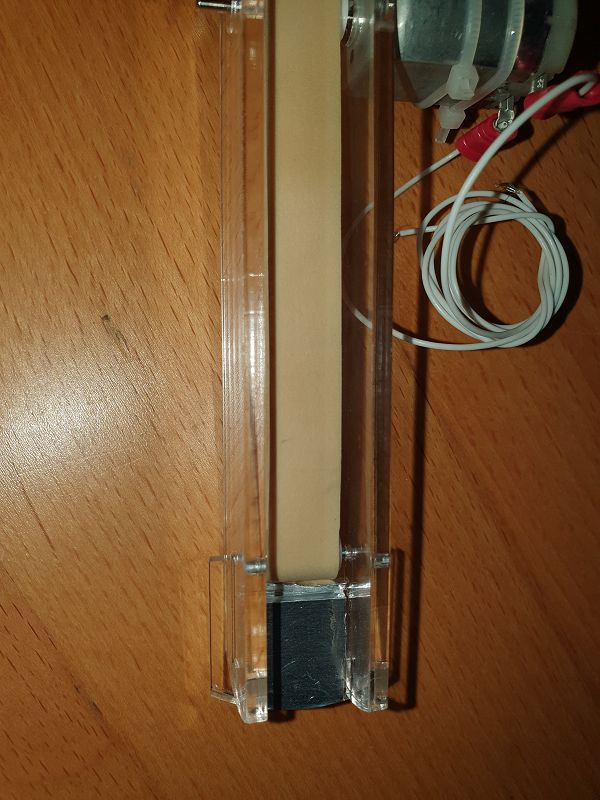
Check that the foil on the top and bottom combs is close, but not touching the elastic band, a gap of 0.5mm is ideal.
Run the motor from your power supply and ensure that the top roller is not getting hot. If it is, it is likely that the axle is binding against the roller.
The roller should be free to spin on its axel. If the axel is binding to the roller it will spin in the acrylic and will melt.
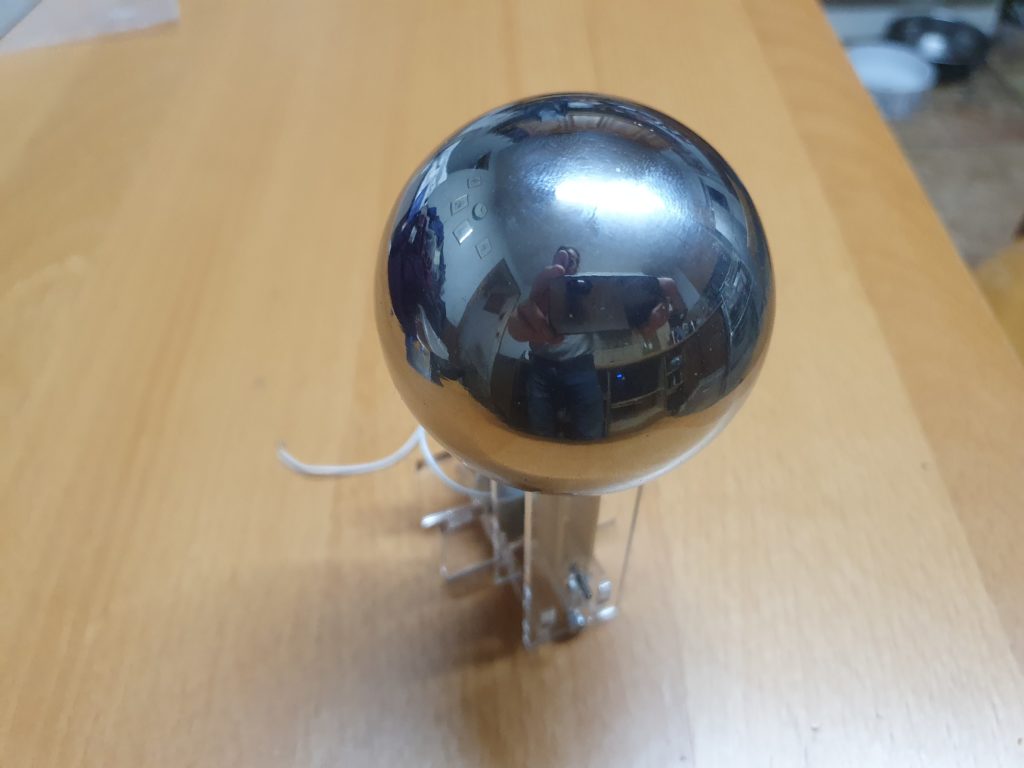
Place the metal sphere on top of the top comb and ensure it sits as far down as possible.
Running your VDG
The foil from the bottom comb needs to be connected to something earthed. Connect an earthed wire to the bolt at the base of the machine, This can be to a metal table top, radiator or any large metal object, Do Not connect this to any part of mains wiring.
Connect the motor to a 12V supply. Ideally this needs to be capable of providing 2A or more at 12V. A car or motorbike battery is an ideal choice, or 8 x AA cells in a holder.
Congratulations you have completed your Van De Graaff Generator.