Tools required. Scissors, 2 small screwdrivers, one straight bladed (-) and one phillips (+) Construction First carefully take out all of the pieces of your VDG kit, be careful some of the pieces are small and easily misplaced
Step1
If you have a stainless steel dome.. You can skip this step..

Parts Key
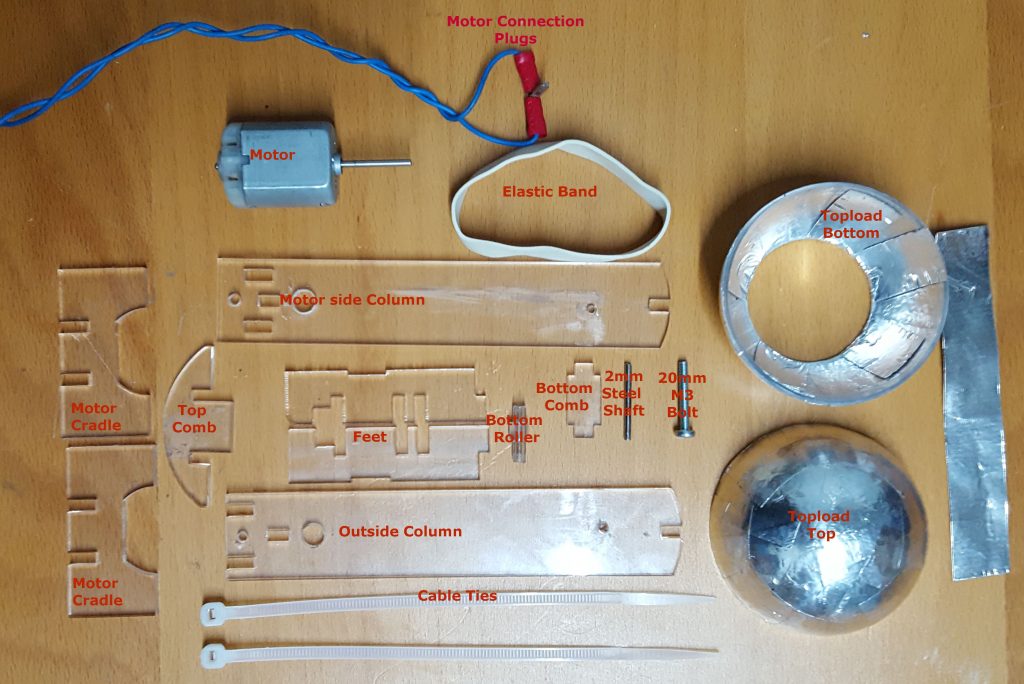
Step 2 Remove the backing plastic from all of the acrylic parts, and ensure that all of the holes and slots are clear of remnants.
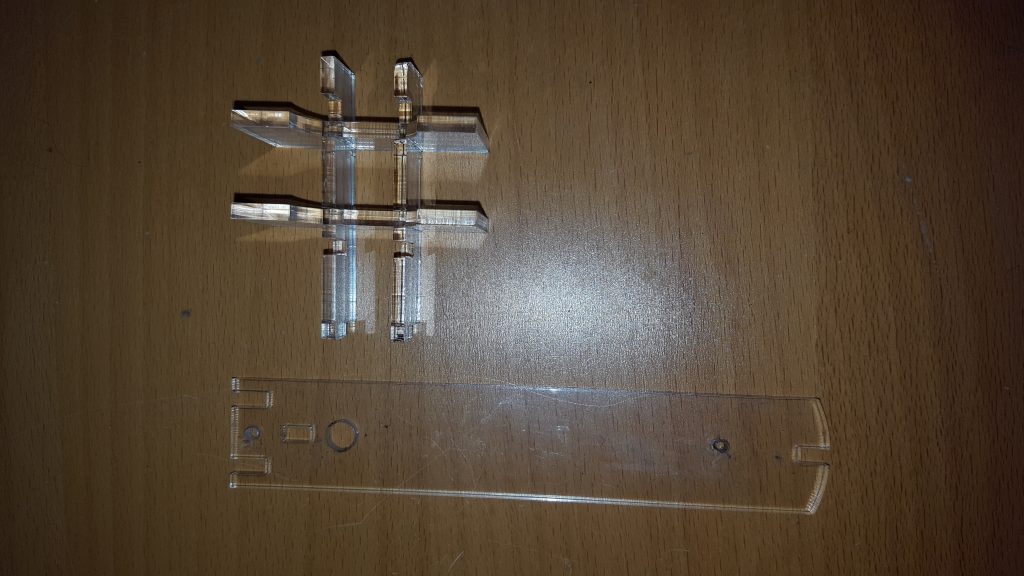
Step 3 Making the base of your VDG by slotting the two motor cradle pieces into the two feet.
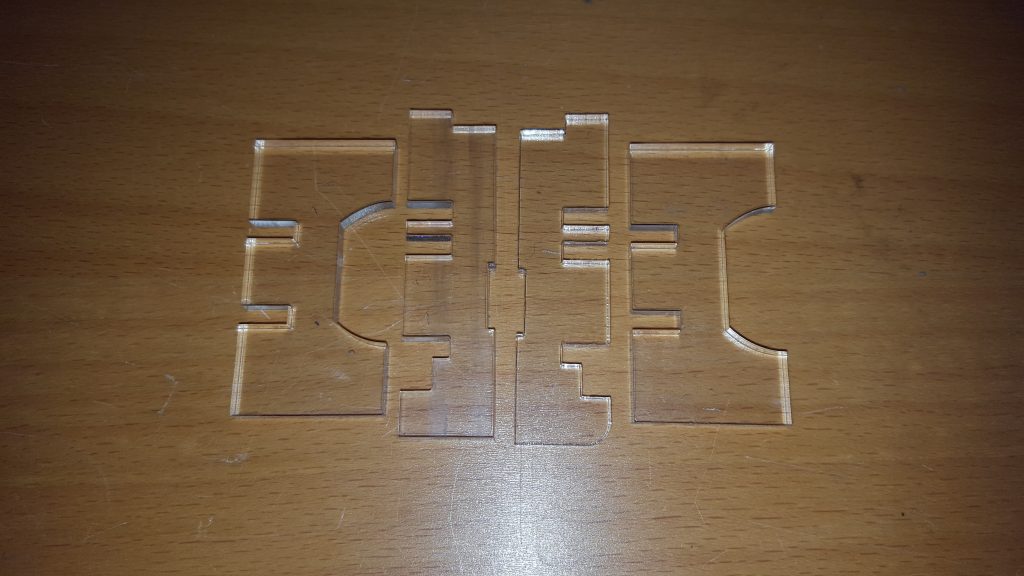
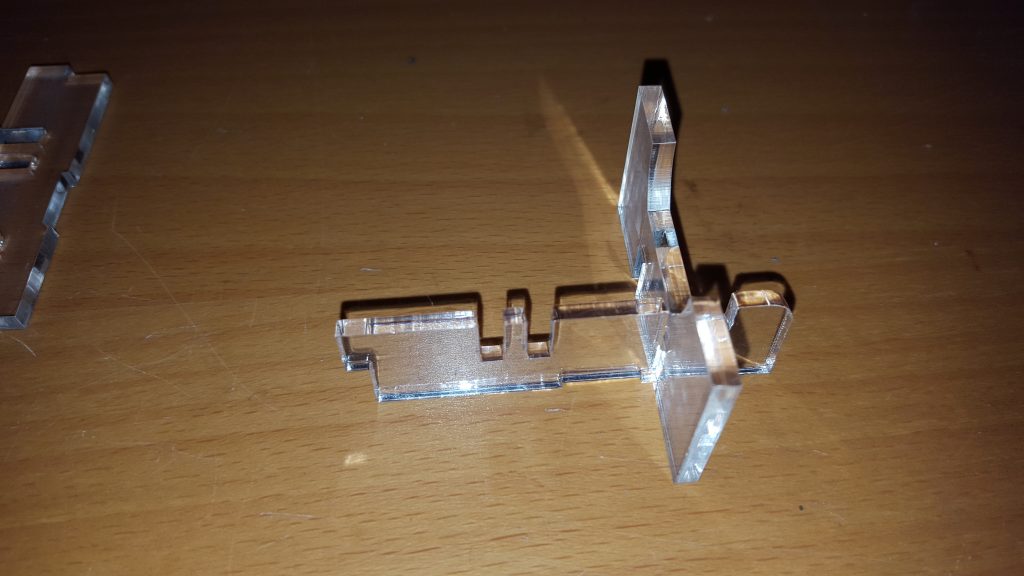
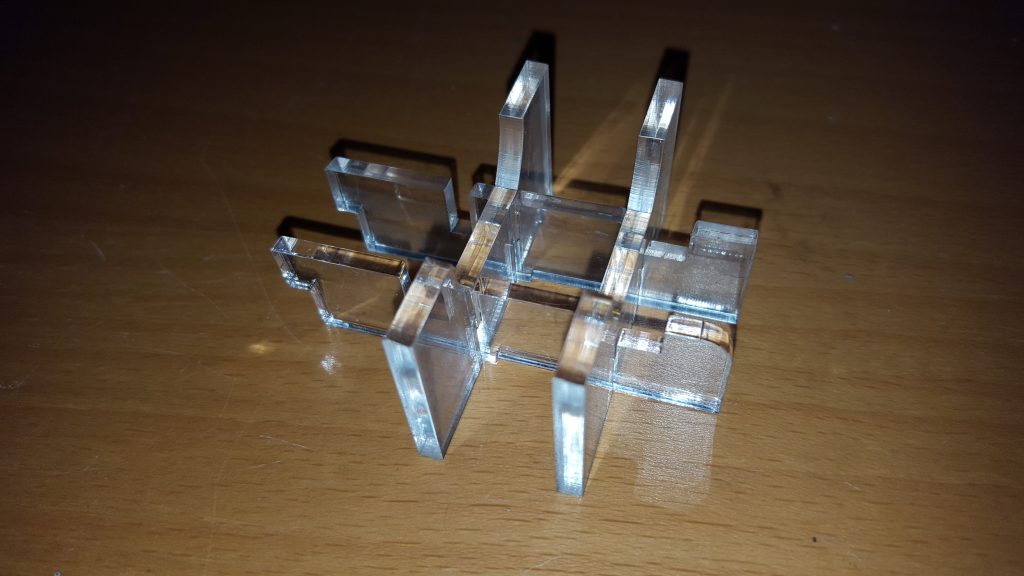
Step 4 There are two types of motor.
Type 1 has holes in the top where you need to insert the leads
Type 2 has terminals that you need to attach the wires to
Instructions for Motor Type 1 Bend the two red plugs on the wires by 90 degrees as shown, Insert the two plugs into the motor. These must go into the holes on the top of the motor. DO NOT PUSH THESE INTO THE BACK OF THE MOTOR, YOU WILL DAMAGE THE MOTOR.
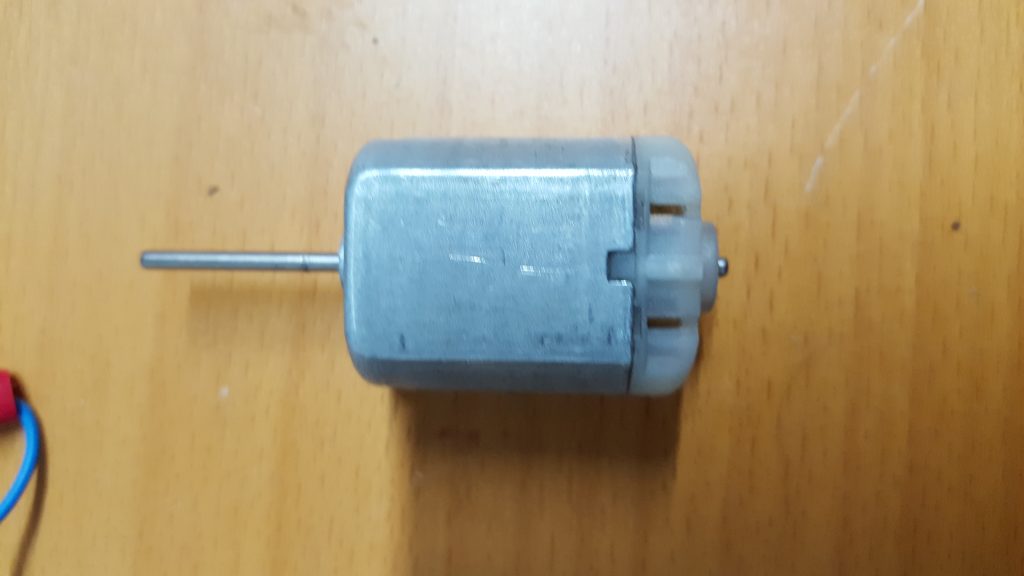
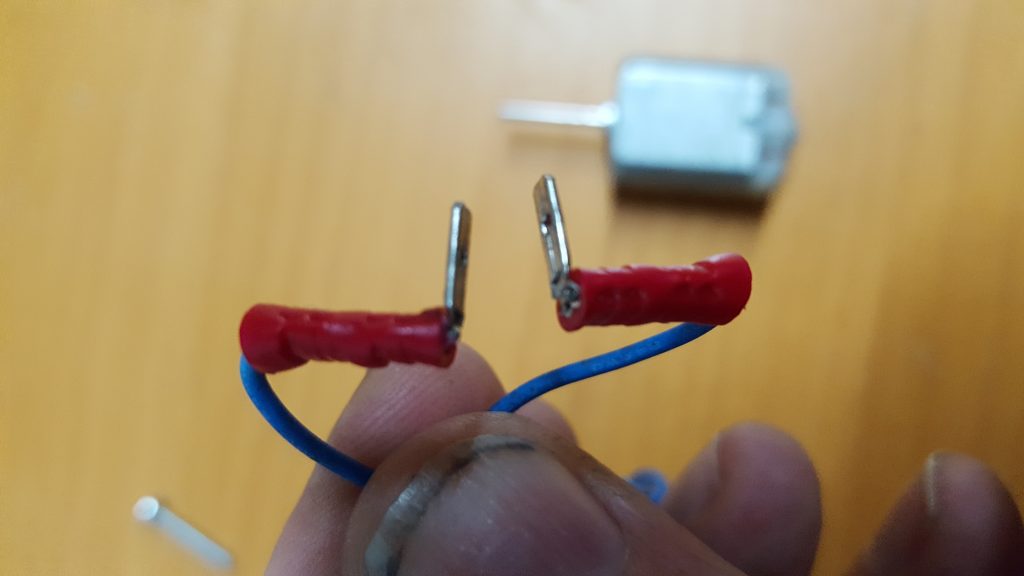
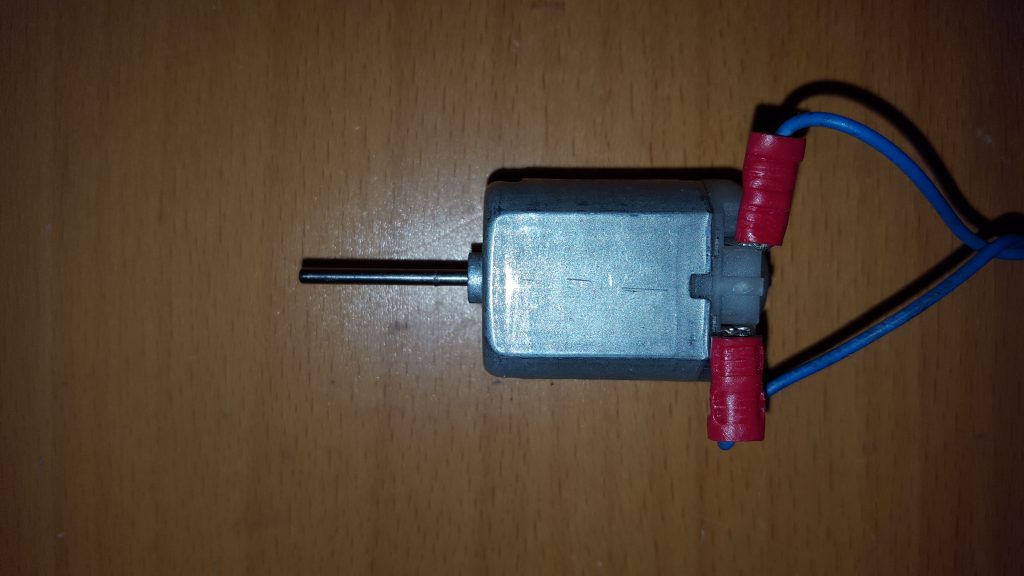
Instructions for Motor type 2
Strip 12-15mm of the insulation off the end of the wires. Thread the bare wires through the holes in the motor terminals.

Wrap the wire back around the end of the wire to make neat.
If you have access to a soldering iron you can solder the leads on for a more permanent connection.

Step 5 Place the motor, with the connections downwards into the motor cradle. Push the shaft and the motor shoulder into the column piece, so the motor fits snugly against the column and flat in to its cradle. Use the two cable ties to secure the motor into its cradle.
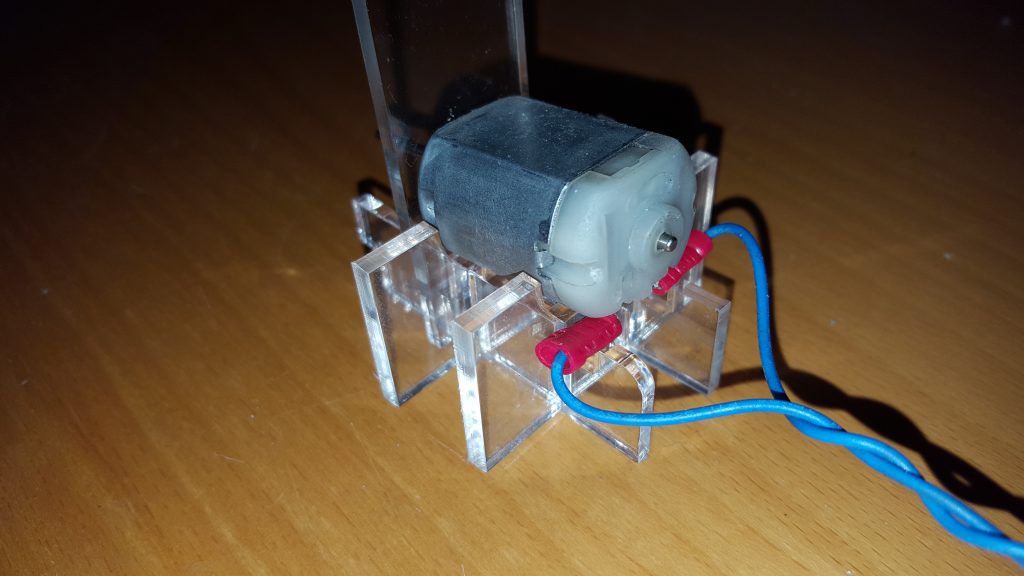
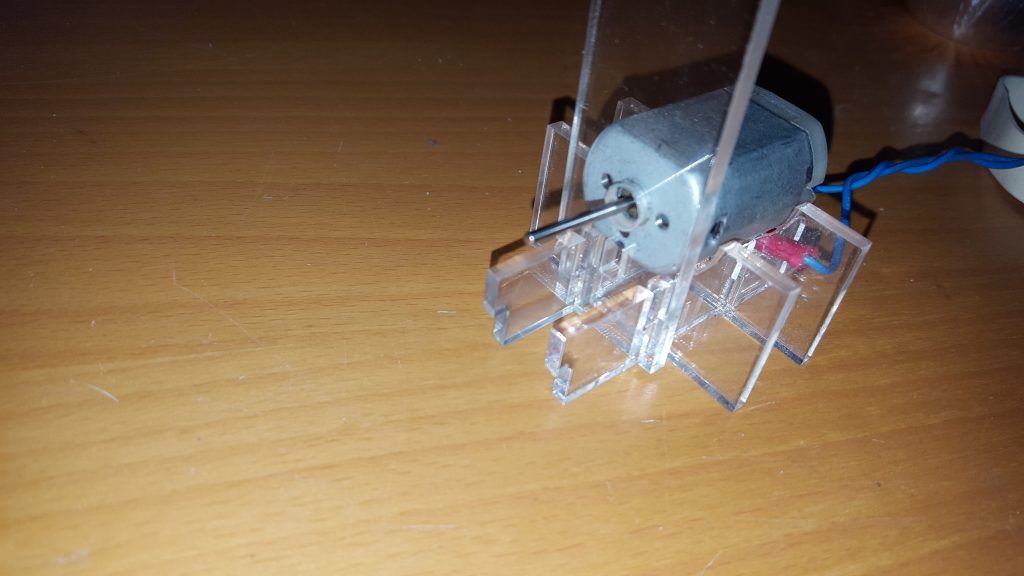
Step 6 Take the two pieces of clear silicon tubing, push the smaller (3mm) diameter piece into the larger (5mm) diameter piece until it sits half way. This makes the Bottom Roller.

Push the two pieces of tubing together onto the motor shaft.
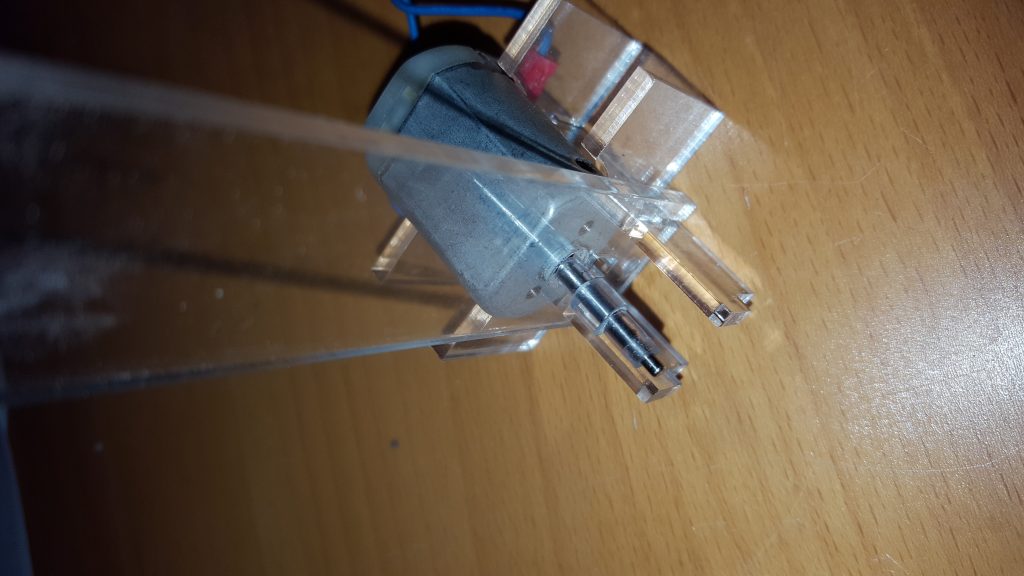
Step 7 Using the 10mm strip of adhesive aluminium foil set aside from the topload construction and stick this to the lower comb as shown in the picture. Leave 5mm one side and 10mm the other
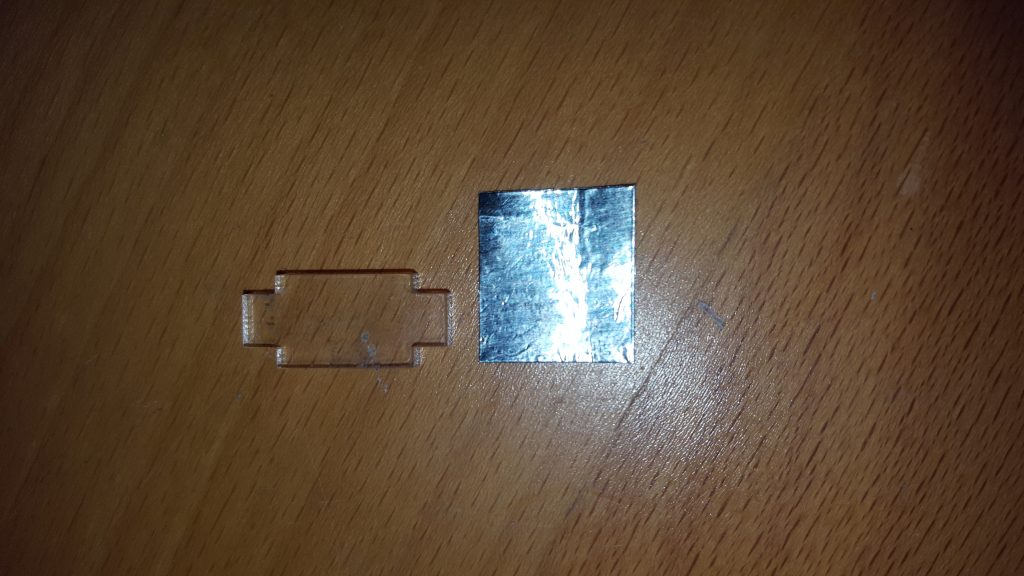
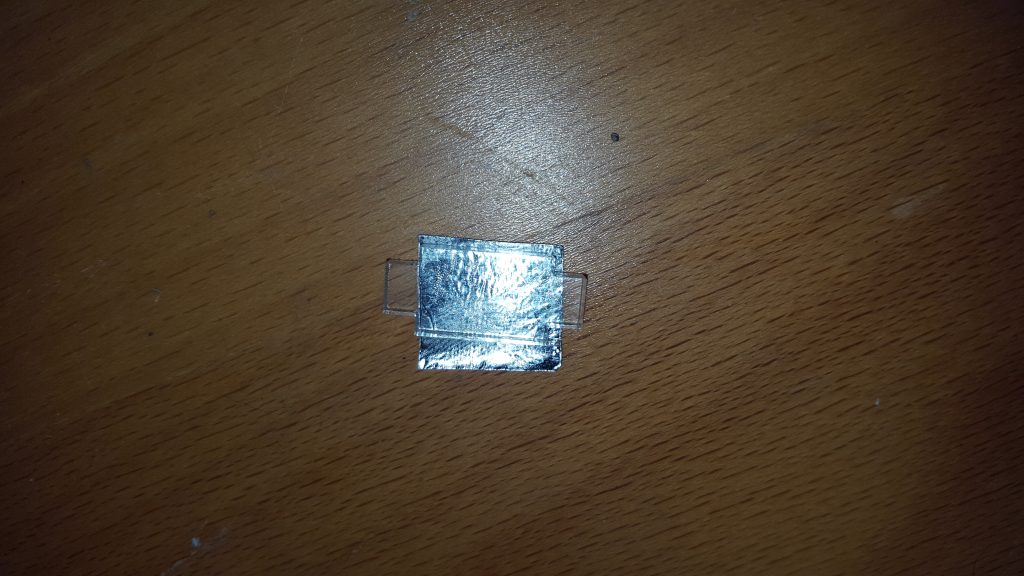
Place the lower comb into the slot below the motor shaft with the 5mm aluminium uppermost. Trim the foil so the top piece of foil sits just under the elastic band without touching, for the best results this needs to be as close as possible. Step 8 Place the 2mm steel shaft into the top hole in the column. Place the black nylon top roller over the 2mm steel shaft. Taking one of the elastic bands stretch it over the motor shaft and the top roller.

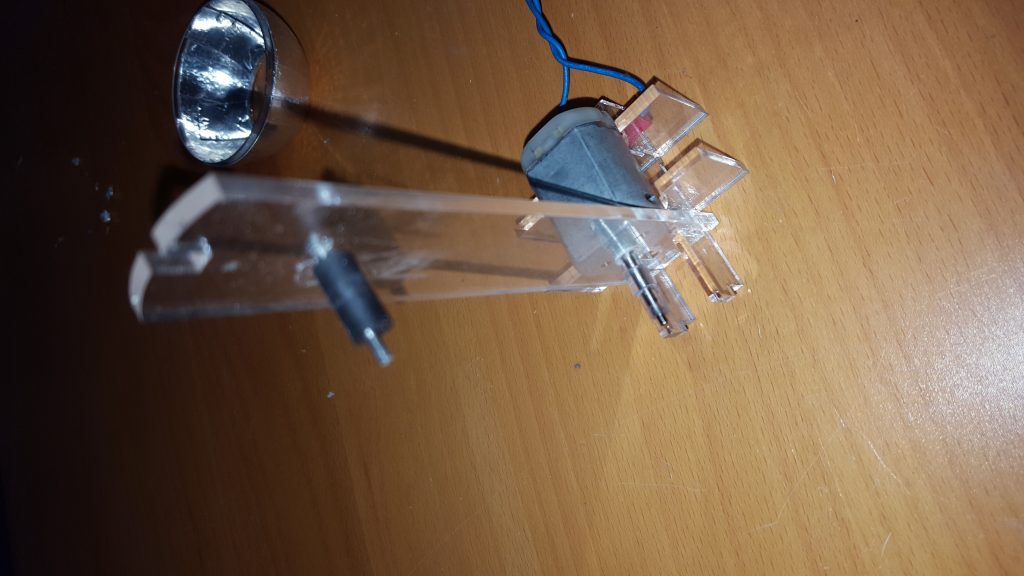

Step 9 Put the other column piece on to the steel shaft, bottom comb, and on to the tags on the feet. Secure with the 20mm m3 bolt. (this will self tap in to the hole in the motor side column piece.)


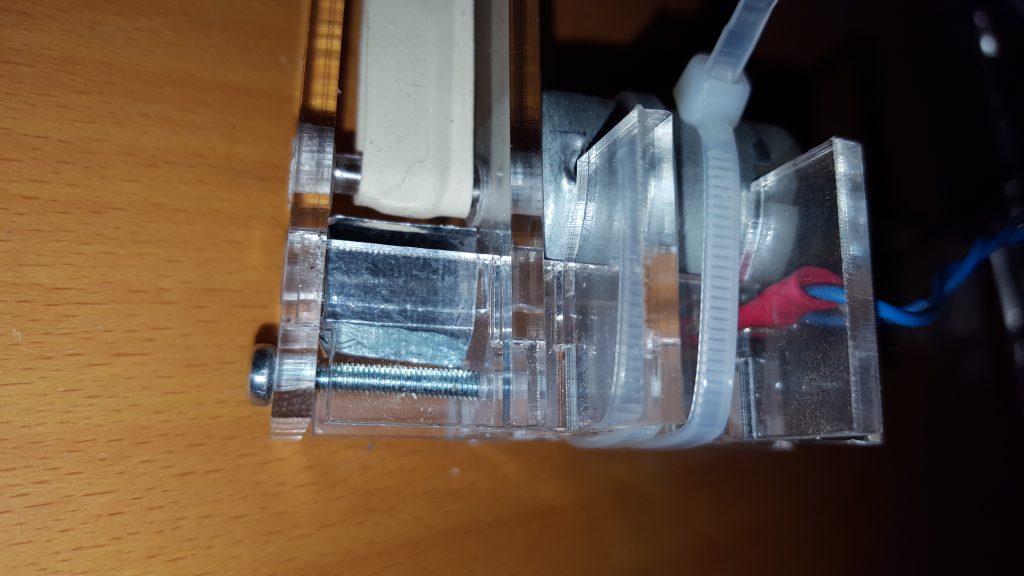
Step 10 Stick the flap of foil from the bottom comb to the 3mm screw. Step 11 Add the two securing clips on either end of the 2mm shaft. If they are tight use a small straight bladed screwdriver to gently widen the clip.

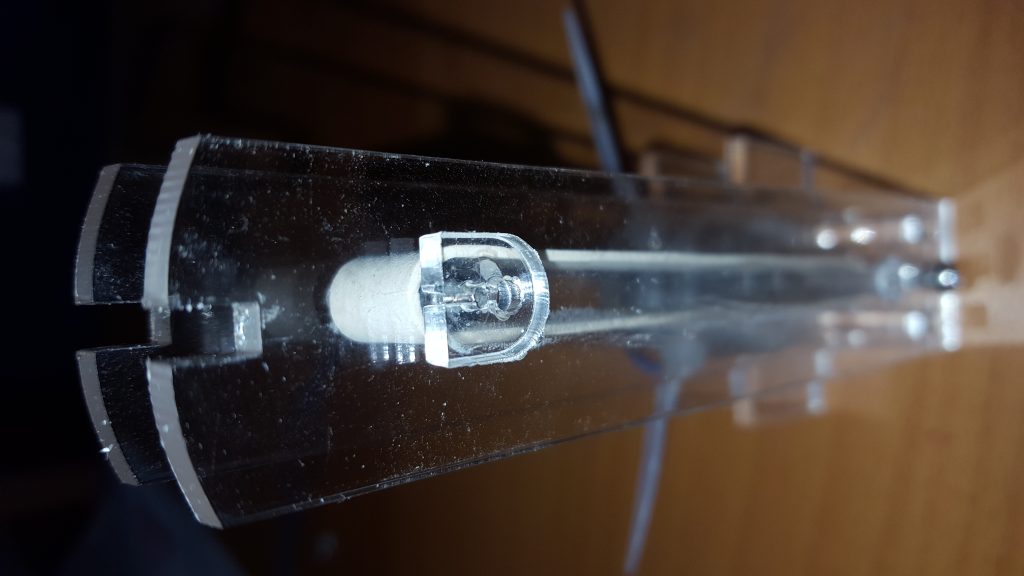
Step 12 (Plastic & foil Domes Only ) Place the bottom section of the dome over the two column pieces
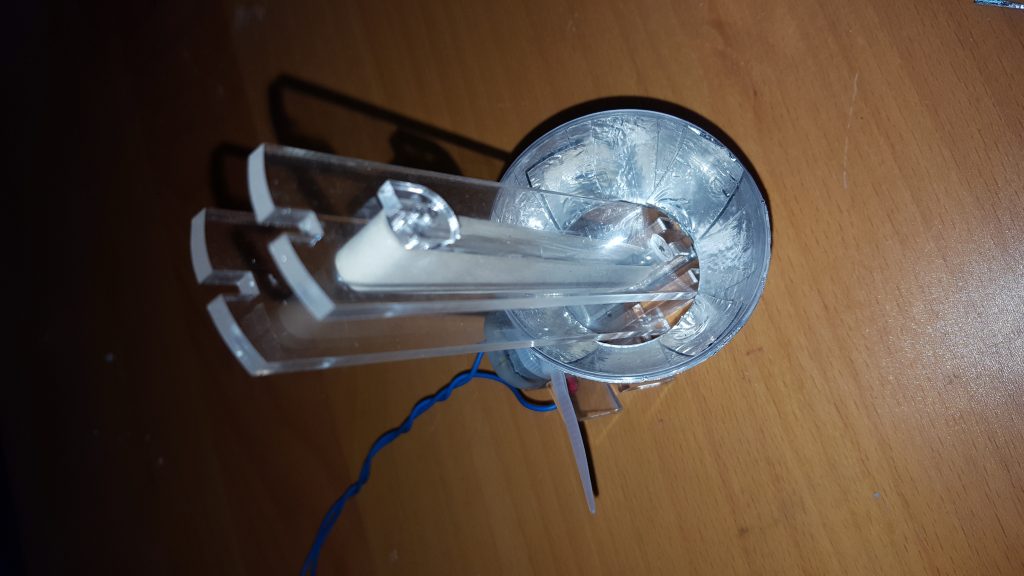
Attach a piece of aluminium foil to the top comb, so it just goes over the top of the curve and extends down below the bottom of the straight acrylic tab.
Slot in the top comb, and trim the aluminium foil so that the bottom of the foil sits just above the elastic band without touching. Place the top section of the plastic & foil dome or the stainless steel dome over the top comb.

(Plastic & foil Domes Only -) Bring the bottom section of the dome and push fit to the top section of the dome.

Congratulations, you have built a Van De Graaff generator…

