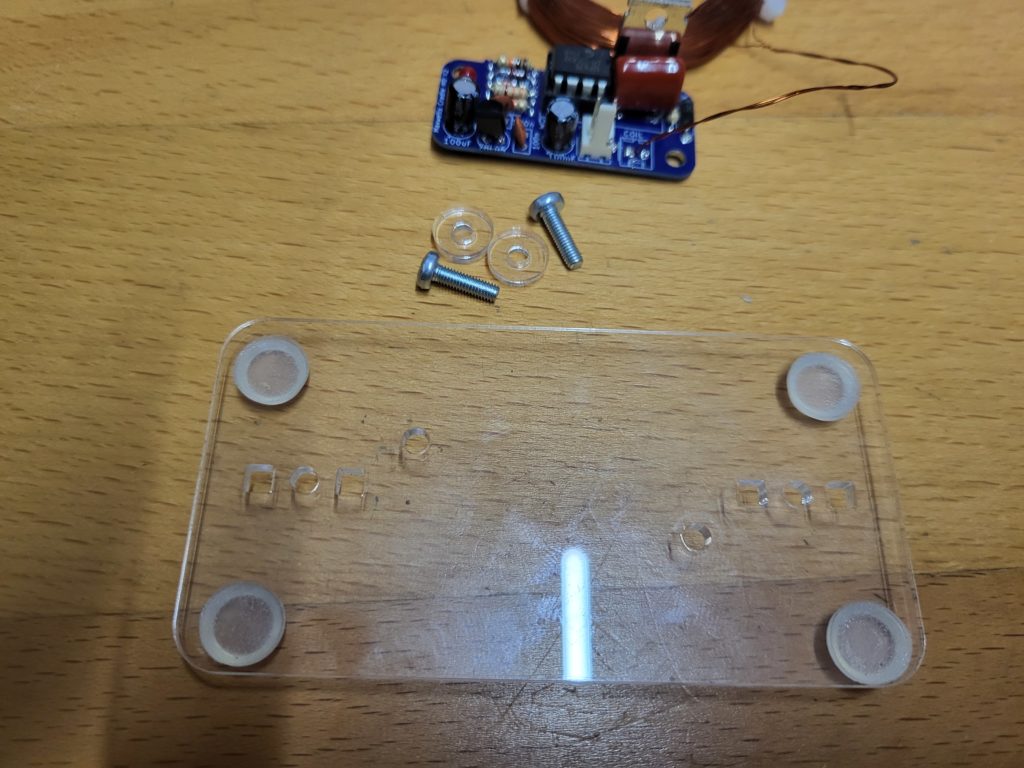
Remove the protective backing from all of the pieces of acrylic, and make sure that all of the acrylic has been removed from cut-outs and holes.

Take the base plate and stick the four rubber feet to each corner.

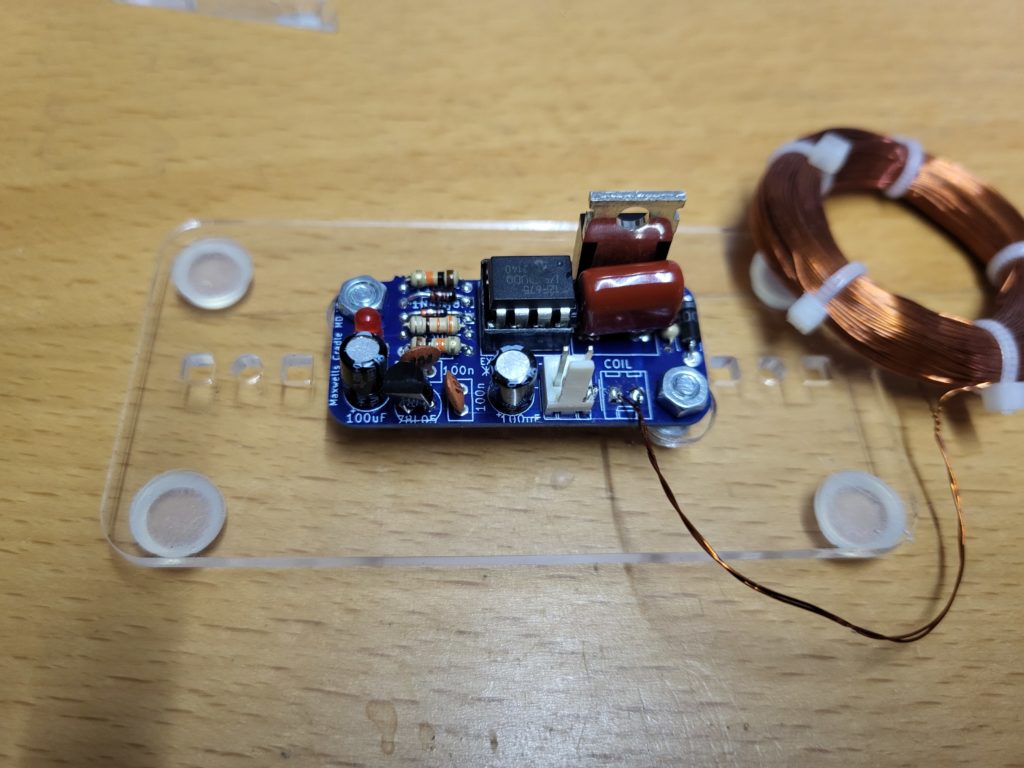
Using 2 x 10mm m3 bolts, 2 x m3 nuts and 2x acrylic washers,

screw down the completed PCB to the base plate.

Taking the acrylic bridge, insert into the base plate as shown. Secure with 2 x m3 10mm nuts and bolts.

Take the two acrylic runners and the sandpaper, smooth the top (inside) edge’s to remove any rough artifacts left by the laser cutting.
Only the edges matter, as the ball doesn’t touch the tops of the runners.
These need to be really, REALLY smooth. Be careful not to bend the runners as you are sanding.

Take the two 2 x 20mm M3 bolts and 2 x m3 nuts and 4 acrylic spacers

Place the coil into the cut-out on the bridge, and place both of the runners cut outs either side of the coil

using a spacer each side of the bridge attach both runners with the m3 x16mm bolt and m3 nut.
Do this at both ends of the bridge.

Your Maxwells cradle II kit is complete.
