
 Prepare the solenoids by unscrewing the domed nut and removing the rubber ring and spring.
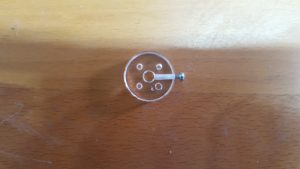 Take the two hubs and screw in the m3 x 8mm screw into the tapped hole on the flat side.
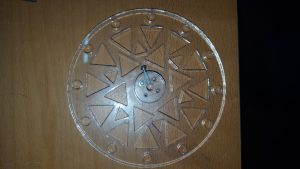 Using three m2 x 8mm bolts attach the flywheel by screwing them into the tapped holes in the hub
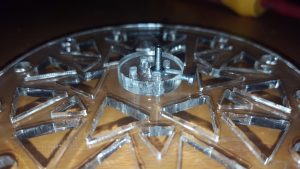 Add in the m2 x 15mm bolt and secure with a m2 nut on the hub side of the flywheel
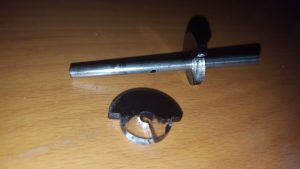 Slide the timing cams onto the 4mm axle roughly 23mm from each end
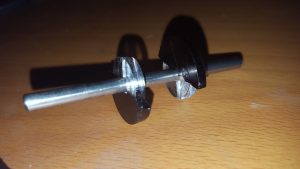 Place the two cams 180 degrees opposed from each other.
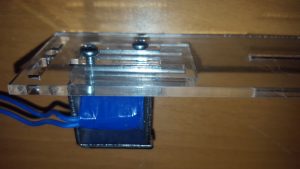 Taking the two sides, two solenoids and mounting plates. Screw the solenoid coils on to the side plates using 2 x m3 x 10mm bolts into the tapped holes on each solenoid.
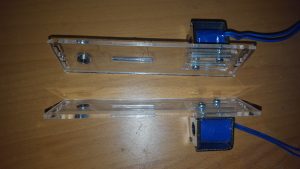 Push the two bearings home into each of the side pieces (if they are not already in place). Place the two side pieces and solenoids next to each other and push each end of the axle into the bearings.
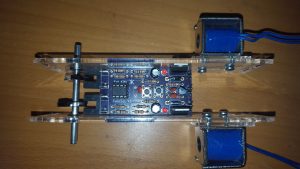 Take the electronic control board and insert it into the two long slots on either side
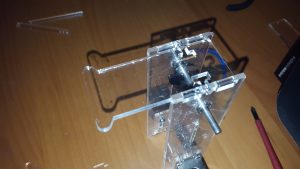 Add the front plate and push the sides so the tabs are fully home.
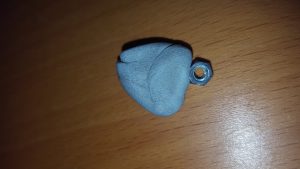 Using 2 x M3 x 10mm bolts and 2 x M3 nuts screw together the sides and front plate. A tip here is to use a piece of blue tack to hold the nut until the bolt has started into the nuts thread
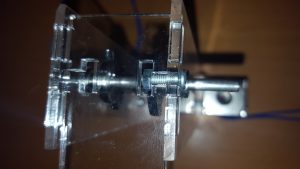 Tighten the nuts with a screwdriver and narrow pliers.
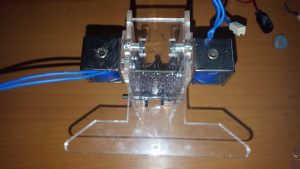 Repeat this process with the rear plate
 Place the two star acrylic washers on each end of the axle
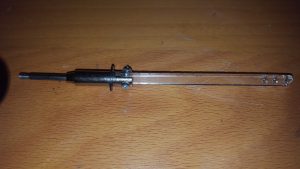 Attach the con rods to the solenoid armatures with the m2 x 10mm bolt and nut.
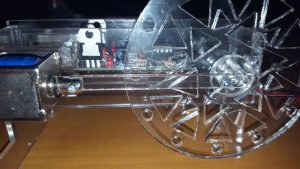
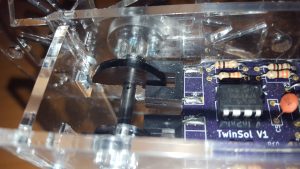
Attach the flywheel to the axle and attach the con rod to the long m2 bolt sticking out from the hub with a m2 nylock nut. Tighten this to allow movement, but not to grip the con rod.
The Solenoid should not quite bottom out when the hub bolt is nearest the solenoid. This can be adjusted by slackening the bolts holding the solenoid and sliding the solenoid.
With the solenoid armature in the fully in solenoid position above adjust the axle until the cams are in the position shown above. Tighten the hub bolt to lock the flywheel/hub in this position.
 Repeat with the other side and again set the axle, cam and armature positions. these should be 180 degrees different from the first side.
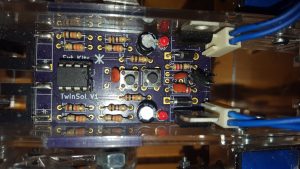
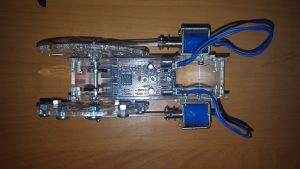
Plug in the two solenoids as shown. Connect the battery ensuring the + on the PCB (at the bottom on the photo above) matches the + on the 12V battery. Giving the Flywheels a push should start the motor running.
For smoother running you can put 12x M5x6mm bolts with half nuts as weights around the outside of the flywheel. These can be purchased here . (you will need 3 bags of 8 )
