Posted on

FUZIX on the RC2040 board

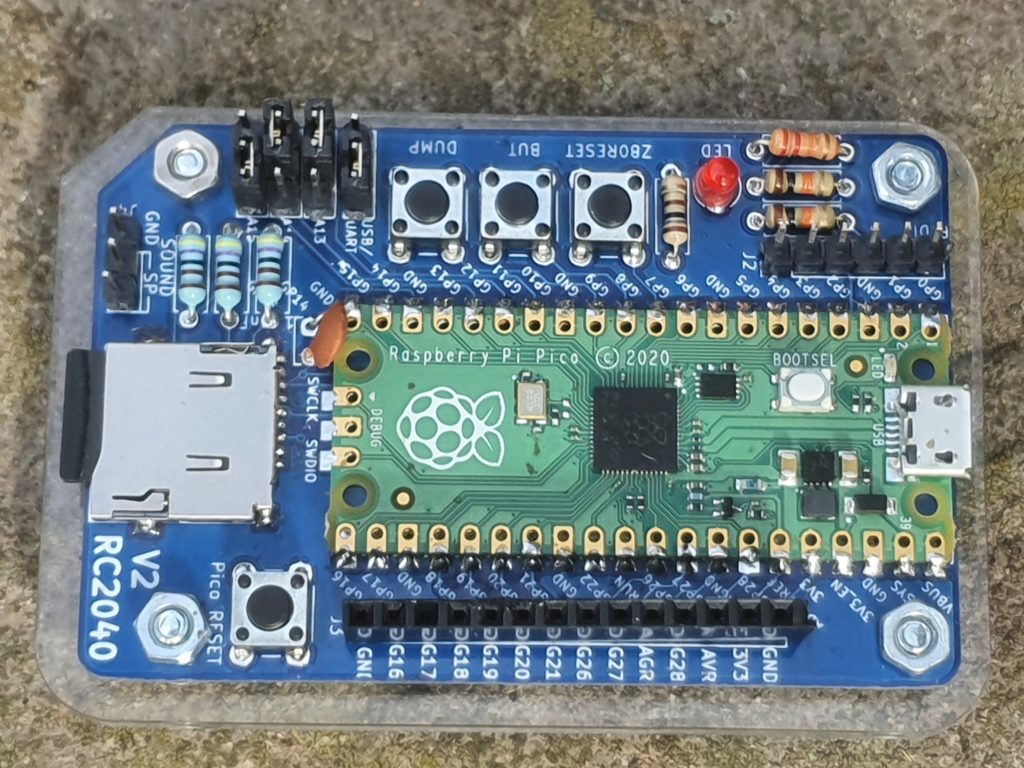
The increasingly badly named RC2040 board was initially designed to run an emulated version of the RC2014 hence the name, but its finding many other uses as a PICO operating system development board.

The RC2040 board will currently run.

And quite a few other development systems.

The latest of these is FUZIX a UNIX os by Alan Cox and the port to Pico by David Given

David has a working pico FUZIX on his GIT and pages (above) but they are now quite out of date, as the pico port has been included into the FUZIX tree. But how and where, is not entirely obvious, mostly due to the HUGE amount of systems Alan supports on the FUZIX GIT

The pico support also decrees the SPI port that the software uses, and of course this is the incorrect one for the RC2040, but that is easy to sort.

I have compiled FUZIX for the RC2040 here https://extkits.co.uk/files/FuZIX/FuZIX.zip this is current to 4/2/2023, but will not be updated as the FUZIX project moved forwards. See below for loading them onto your RC2040 Board.

So, to compile FUZIX on the PICO for the RC2040

Start by getting a copy of the FUZIX source from https://github.com/EtchedPixels/FUZIX either as a ZIP or with
git clone https://github.com/EtchedPixels/FUZIX

download the file https://extkits.co.uk/files/FuZIX/devsdspi.c

and replace the one in the FUZIX tree at FUZIX-master/Kernel/platform-rpipico/devsdspi.c

Then go to the FUZIX-master/Kernel/platform-rpipico/ directory and run make

If your Pico-SDK environment path isn’t set correctly you may need to change the paths in the CMakeLists.txt to match your environment.

A successful make should create two .uf2 files filesystem.uf2 and fuzix.uf2

To Program your PICO on the RC2040 board. Connect your pico’s USB to your computer and press and hold the BOOT button and click the Pico Reset button.

Copy BOTH the .uf2 files onto the pico folder. Your Pico should reboot.

Attach a terminal program (TeraTerm or Minicom or similar) to the pico’s USB serial port and set the speed to 115200 8 bit, no Parity, 1 stop bit
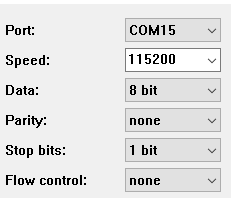
Attach a terminal program (TeraTerm or Minicom or similar) to the pico’s USB serial port and set the speed to 115200 8 bit, no Parity, 1 stop bit

(your computer probably won’t be using COM15)

If nothing happens, hit CR

You should see a prompt to set the time, enter the time in MM:HH format and press return.

You should get a login prompt. The username is root and the password is blank (just hit return)

Your in 🙂

Notes:

It is well worth reading this https://github.com/EtchedPixels/FUZIX/blob/master/Kernel/platform-rpipico/README.md for formatting your SD card and adding Swap (ignore the SD card wiring diagram this is different on the RC2040 board)

To get backspace working you need to enter.

stty erase '^?'

at the FUZIX prompt

There is NO TCP/IP

Posted on

Retro DVD/CD rewinder

You know that pain, you want to watch your favourite DVD or CD and find that the last person to use it has put it back in the case without rewinding it.

Of course you can put it into your drive and rewind it to the beginning that way, but wouldn’t it be better to be able to rewind it whist playing another DVD/CD ?

This to me is an already solved problem, years ago cassettes could be rewound with the use of a biro, or pencil and no special tools. Why not CD’s

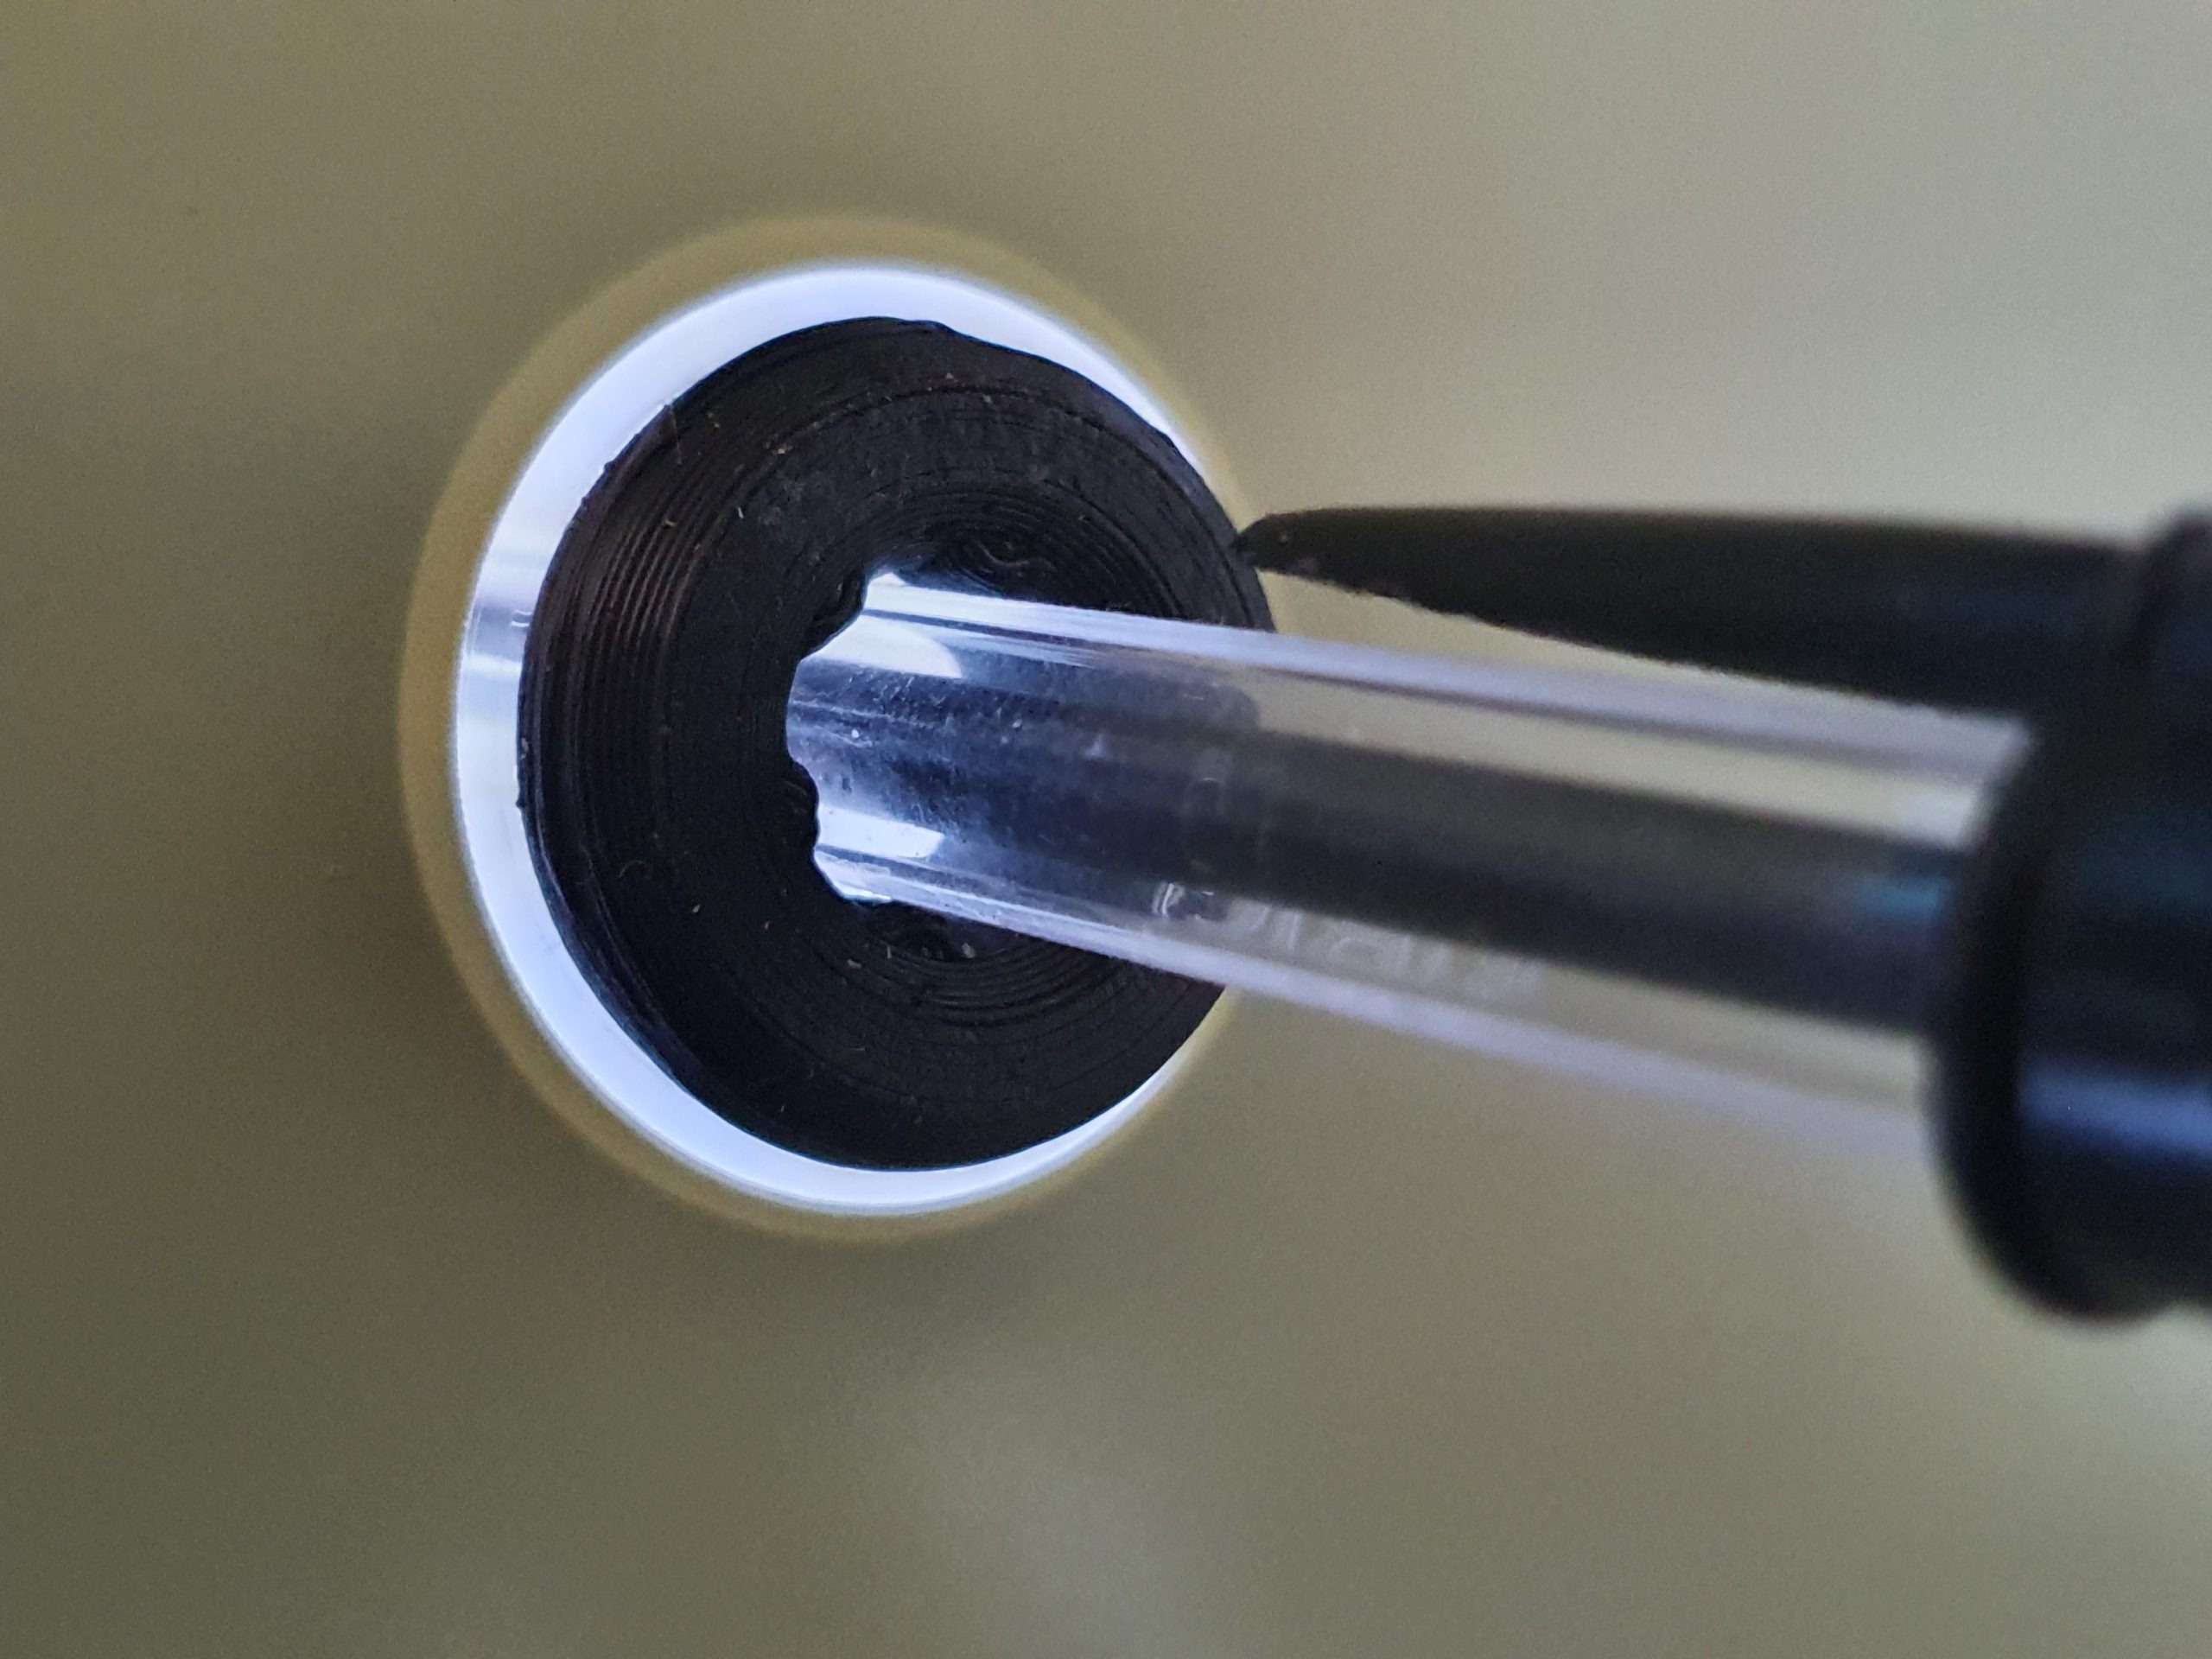
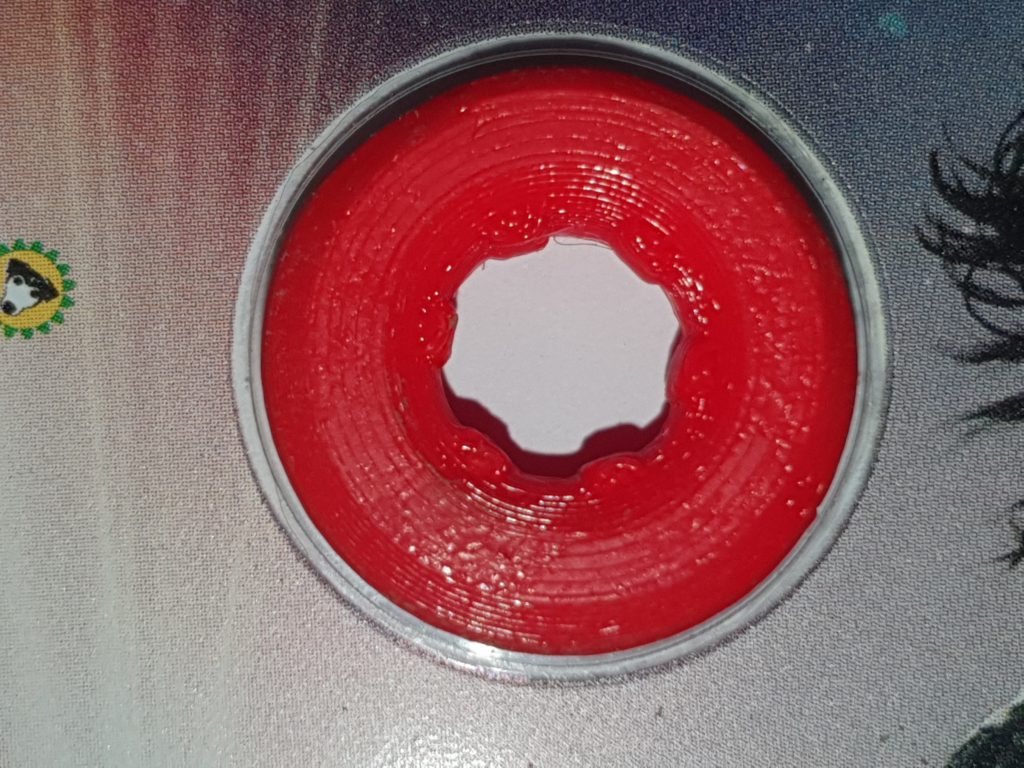
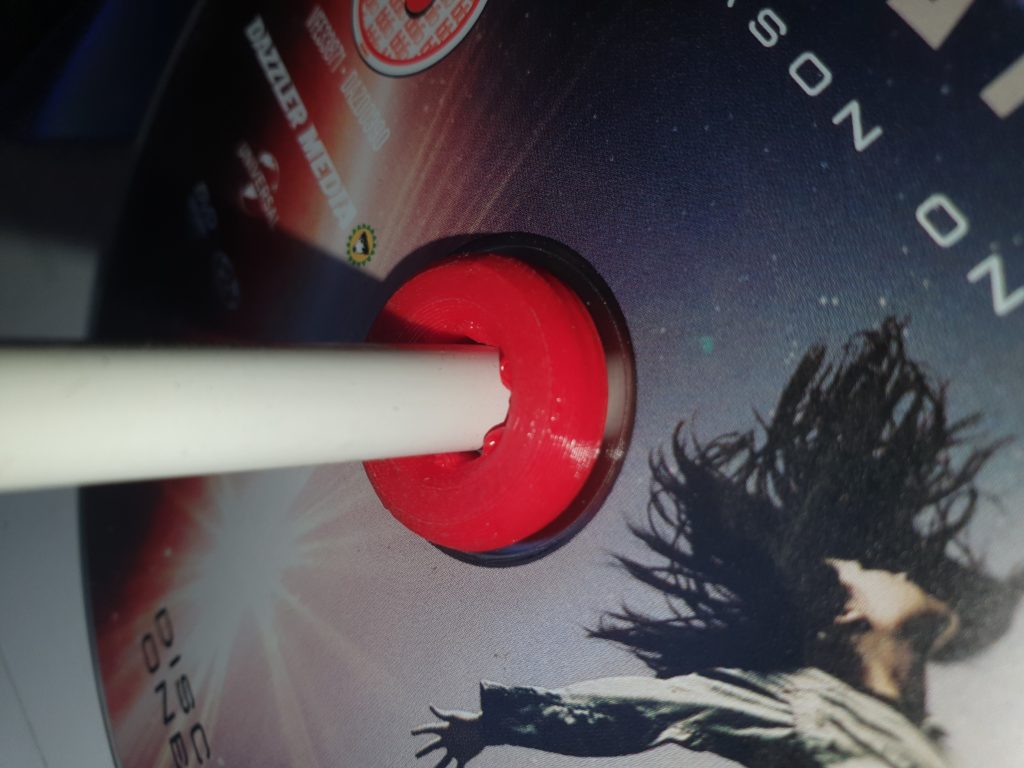
So the answer was simple, make a 3Dprinted adapter that will fit into the centre of a CD/DVD and allow it to be rewound with a pencil or pen, just like a cassette.

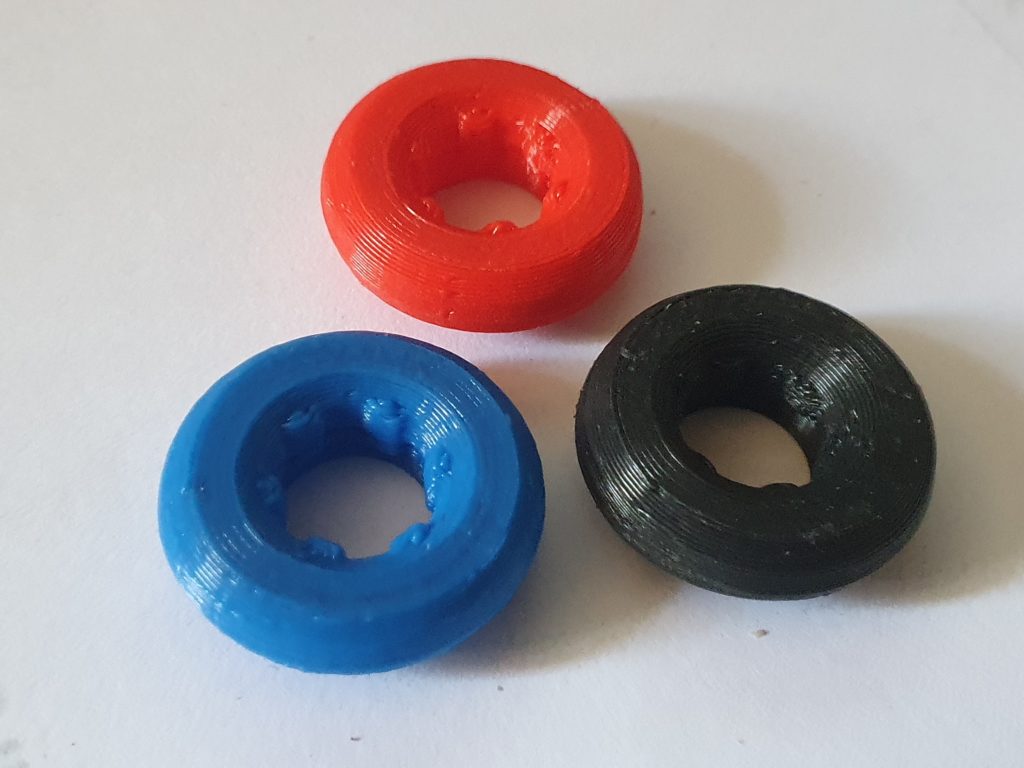
A couple of quick 3dPrints later the DVD/CD Rewinder was born.

Taking less than 10 mins to print, and capable of rewinding a 2.5hour DVD back to the start in under 5 seconds (using a good quality hex shanked Bic) this is set to take on the competitors expensive (and usually gold plated) re-winders found on many HiFi web sites.

Available in a multitude of colours (depending what filament you have in stock)

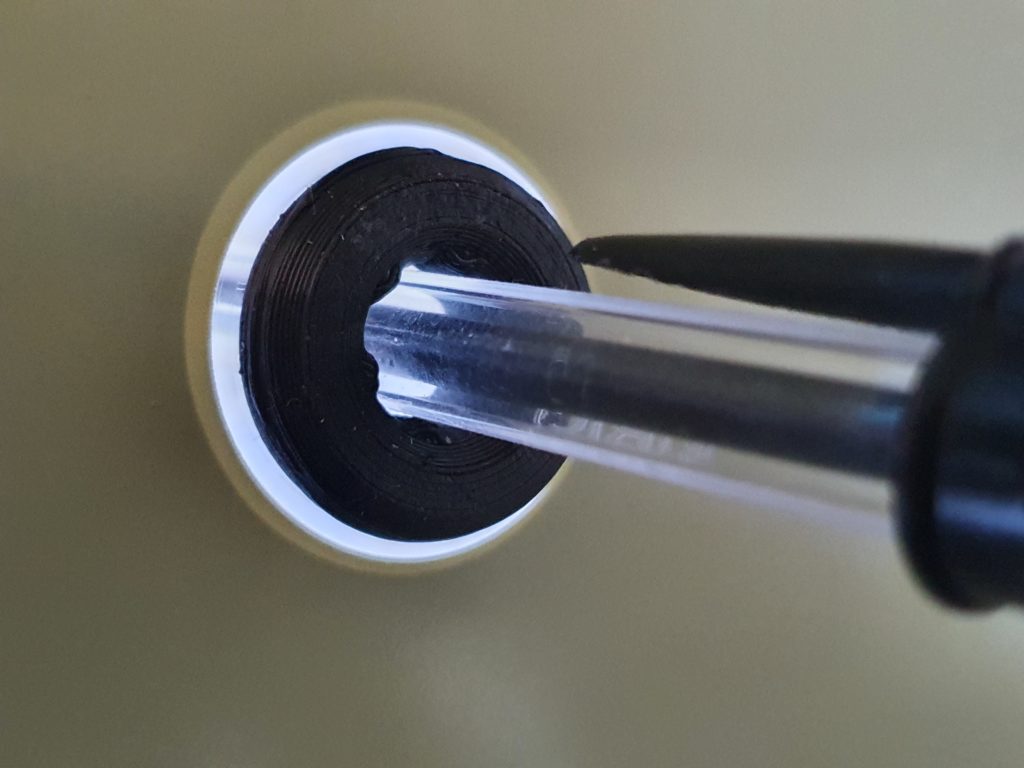
Compatible with all hex shafted pens (with shafts of 7.5mm across flats +/-0.5mm) and most pencils. Will also work with DVD/RW and DVD/R up to 5.5 Gb

We have however noticed some compatibility issues with a small range of pencils similar to this below, and we are looking into the problem.

Because we are so good here, we give you free access to this invaluable tool.

3DPrint files for the CD/DVD Rewinder

Posted on

What is a solenoid engine

A solenoid engine is a simplified version of a piston engine where steam or petrol is replaced by electricity and the pistons replaced with solenoids.

Solenoids are a simple electrical device composing of three parts. An electromagnetic coil, an armature and a frame.

The electromagnetic coil is simply a coil of wire. When a DC current is applied this coil creates a magnetic field. Inside this coil is the armature made from a soft iron. When power is applied it is attracted to the magnetic field. So when power is applied to the coil the armature is pulled into the centre of the coil. Converting electric energy to mechanical energy.

The Frame has two purposes. It completes the electromagnetic circuit and allows the armature to move in and out of the coil. The electromagnetic force produced, is dependent on the current inside the coils and the number of turns in the coils. 

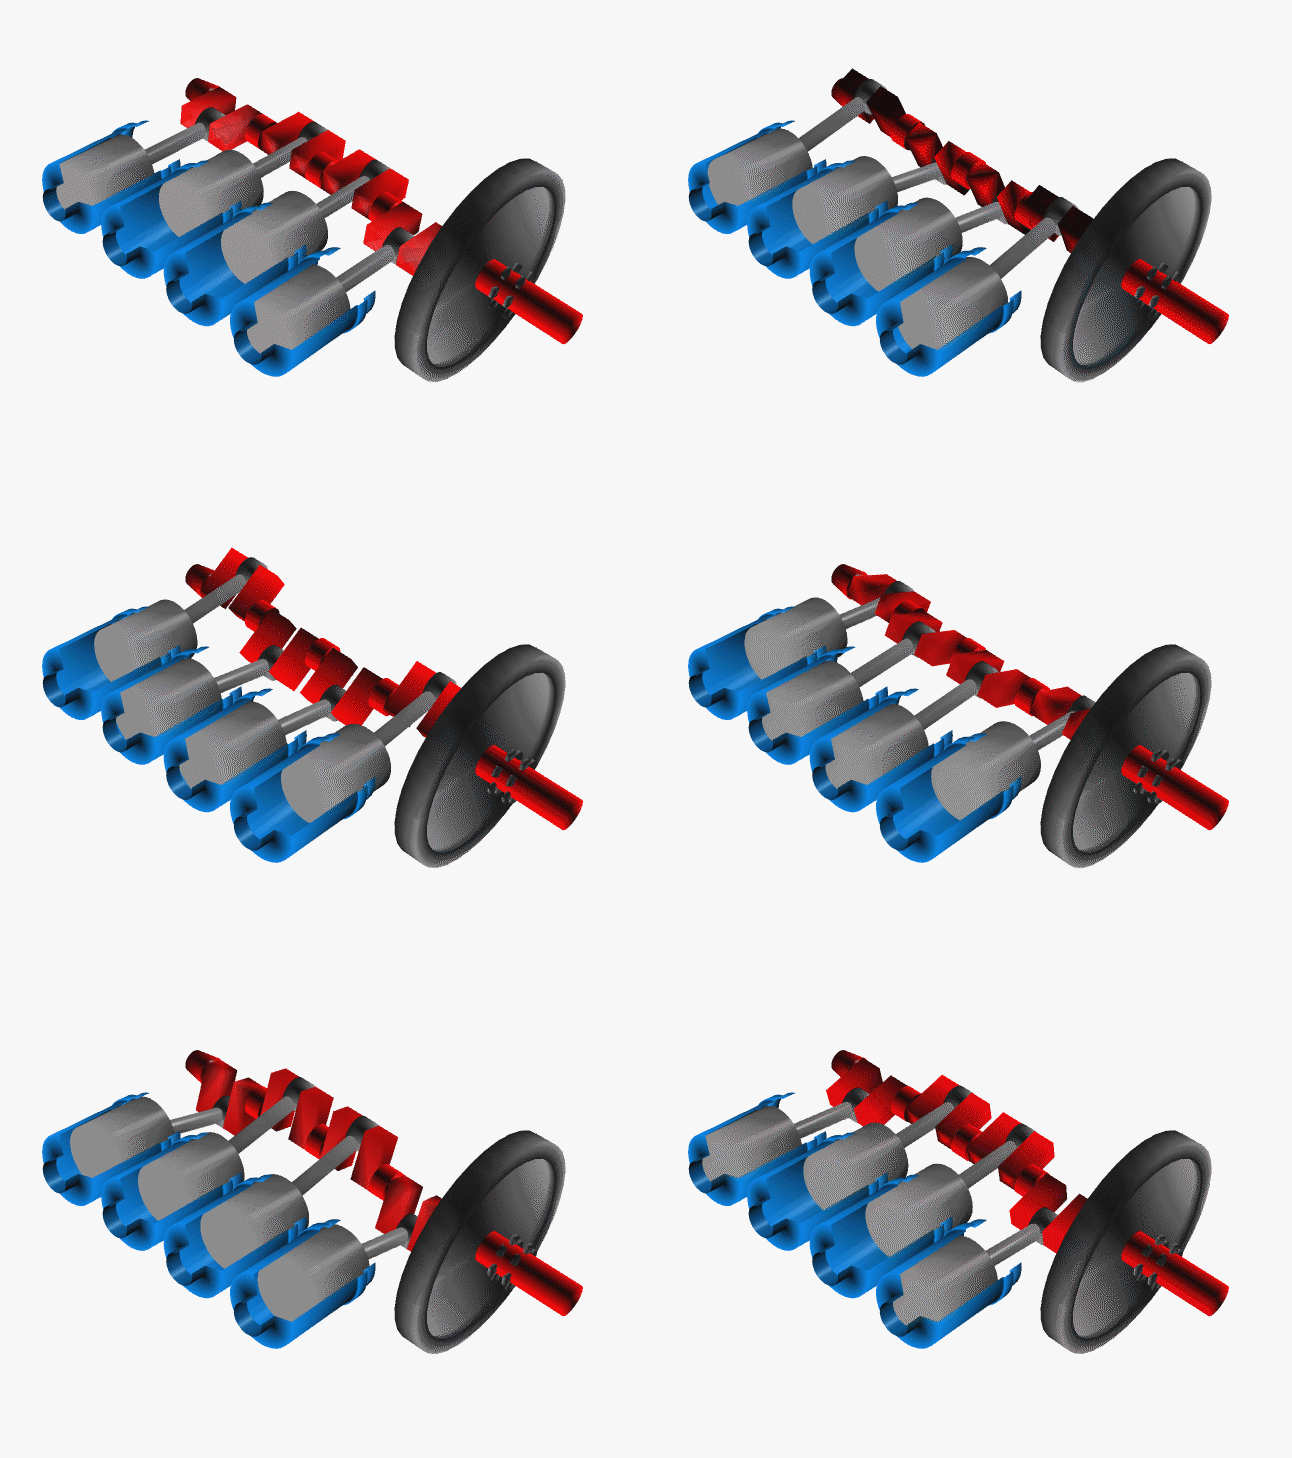
In a Solenoid Engine the armature is attached to an axle and a flywheel via a crank, or an excentric cam. Energising the coil pulls the cam as close as it can to the solenoid. This pulls the axle and flywheel around with it. At this point (known as top dead centre) the solenoid can’t pull the flywheel around any more. In fact the solenoid will now try to stop the flywheel moving any further. So to prevent this, the engine arranges to switch off the power so the flywheel can continue to turn.

With the power off, the flywheel turns the crank and will pull the armature out of the solenoid. When the armature is all the way out, the solenoid engine engages the power again. This pulls the armature back into the solenoid and the cycle continues.

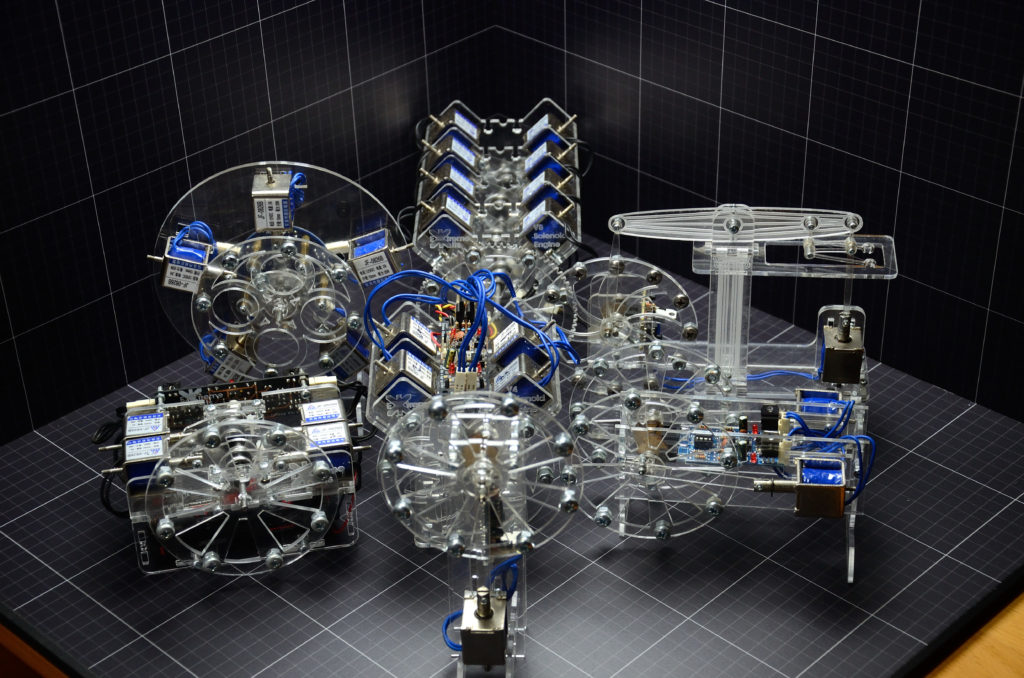
Many solenoid engines have a rotating set of contacts that are attached to the axle to control the timing of powering the solenoid, or solenoids. Extreme Kits do this with optics and electronics, this allow us to control the motion and timing more accurately than with a mechanical solution.

Posted on

Van De Graaff’s Birthday

20th December 2017 Is Robert Van De Graaff’s Birthday.

Robert Van De Graaff was born in Tuscaloosa, Alabama  on the 20th December 1901. Robert received his B.S. and master’s degrees from The University of Alabama and gained a second degree  during 1926 at Oxford University.

He was of course most famous for his Van de Graaff generator A machine capable of making high voltages.

Van de Graaff generators use a motorized insulating belt (usually made of rubber) to conduct electrical charges from a high voltage source on one end of the belt to the inside of a metal sphere on the other end. Since electrical charge resides on the outside of the sphere, it accumulates to produce an electrical potential much greater than that of the primary high voltage source. Practical limitations restrict the potential produced by large Van de Graaff generators to about 7 million volts.

Our kit van de Graff Generator only produces around 40,000V, but has all of the features of the original, it contains a rubber belt to take the charge from the bottom to top rollers and a sphere that collects the charge. This is all powered by a 12v DC motor. Although the Van De Graaff kit is capable of 40000V, due to its size it is perfectly safe for kids to build, and experiment with.

With the addition of some house hold items the Van De Graaff kit can be used  for the following experiments

Conductive balls for HV experiments

Ping Pong Cyclotron
Electro Static Motor
Franklyn Bells 

Pi Tray Fountain (use small 5-7mm diameter disks of Aluminium foil rather than pie trays)


Posted on

Van de Graaff lite – Instructions

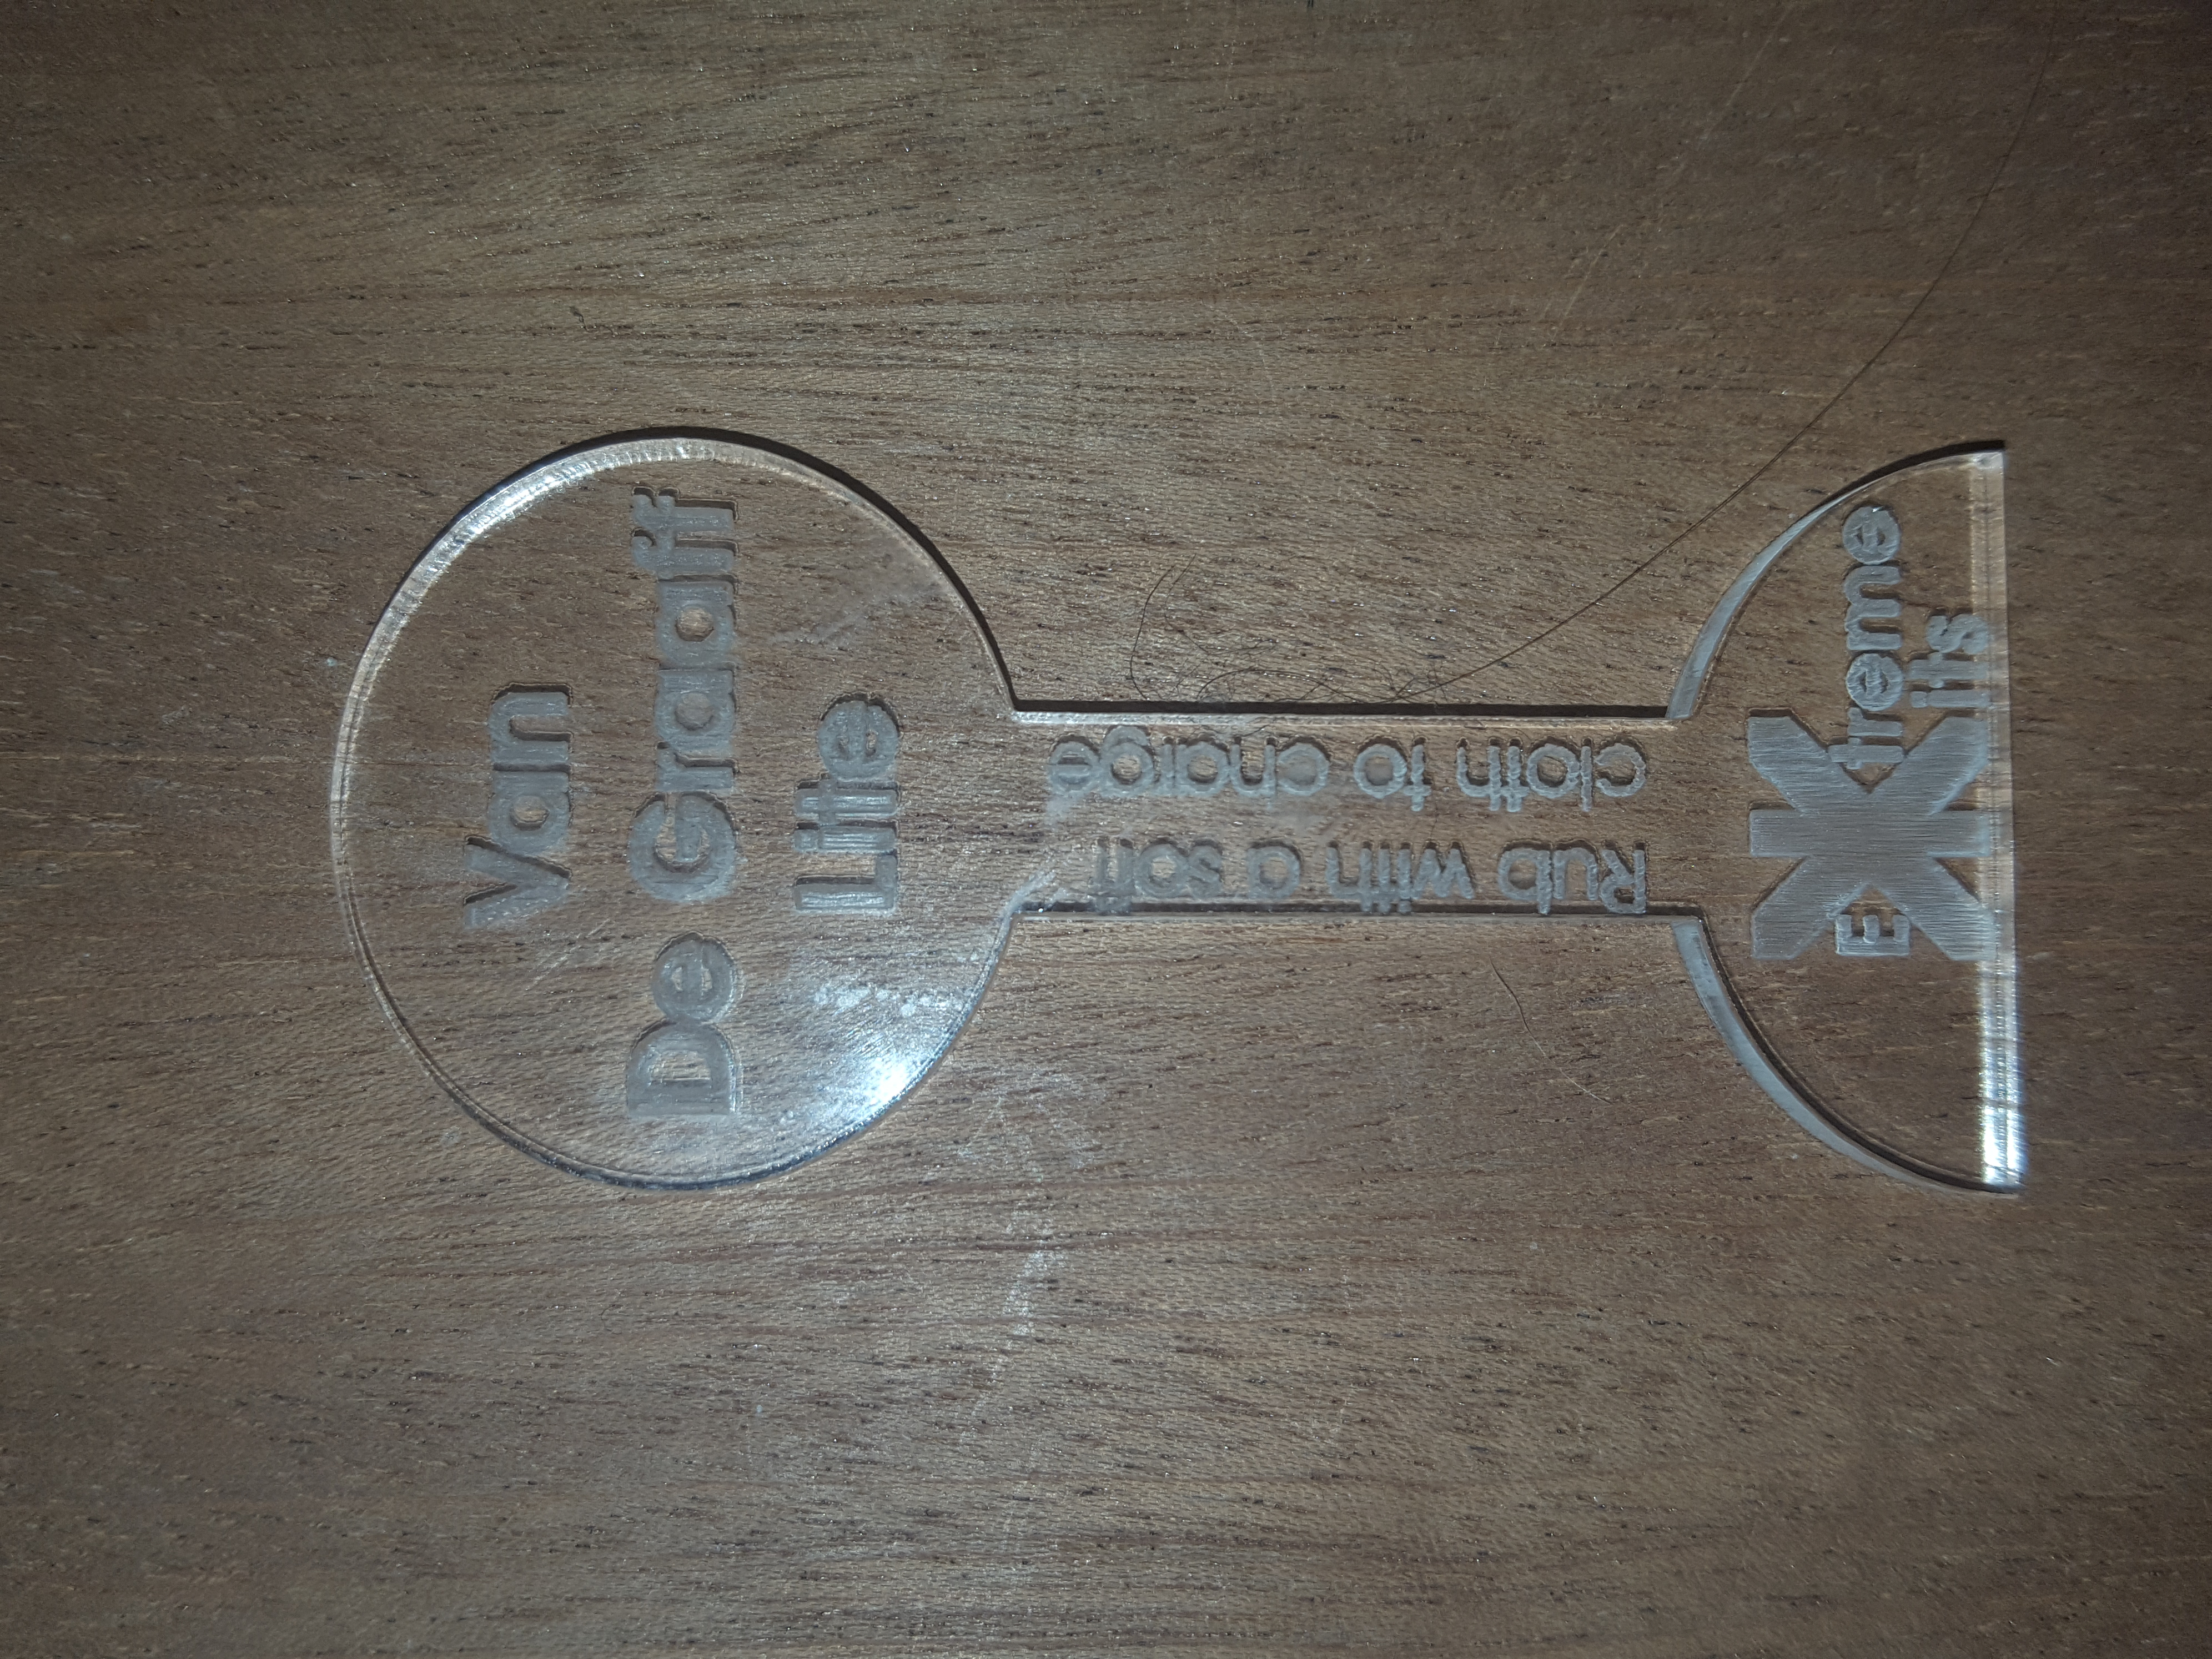
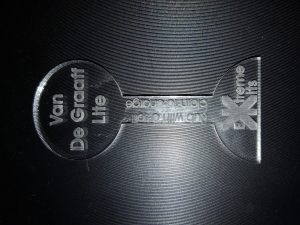
Your Van de Graaff lite is a working, tiny static electricity generator.

First remove the white plastic backing (if there is any) and make sure your Van de Graaff lite is clean and dry.

Holding the ExtremeKits end rub the VDG lite a few times with a clean jumper, tea shirt or cloth.

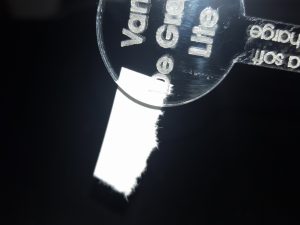
If you have a few small pieces of paper you will now find the the circular end will pick them up, like a magnet.

You can try this with any small light item, hair, rice crispies etc. Some items it will work with, some it won’t. See if you can predict which will work before trying it.

Or

With a bath or kitchen tap run water very slowly so it creates a smooth (no droplets) flow of water. Rub your VDG lite to recharge it, and carefully bring it to the flow of water, without touching the water

you will find that the water is attracted to the VDG lite. Be careful not to get your VDG lite wet as this will stop the effect. Don’t worry if you do, just dry it thoroughly with kitchen towel and try again when it is absolutely dry.


Tips & Warnings

Do not try to dry your VDG lite with anything hot, or you will damage it, or it may burn. Your VDG lite will continue to function as long as it is kept clean and dry. To clean, wash in slightly soapy water, Rince thoroughly in clean water and towel dry.


How it works…

Its not the rubbing….

When two items are brought together, they pick-up some electricity from whatever they touch, some items naturally attract positive electricity, some negative. When the items are pulled apart they keep some of this electricity. Rubbing brings the items together and pulls them apart many many times so the effect is that the plastic picks up positive electricity and the cloth negative electricity.

As the plastic is a really good insulator (It does not allow electricity to flow) it will keep this positive charge.

If you have two items that have different charges they will attract each other (like the north and south poles of a pair of magnets). Most small insulators (pieces of paper,hair, rice crispies  etc)  are negative or neutral in change and are therefore attracted to the positive plastic.

If the plastic gets dirty or damp, then the plastic will become slightly conductive and the electrical charge will leak away.


Posted on

Solenoid Engine Twin Horizontal – More Power

Solenoid Engine twin.
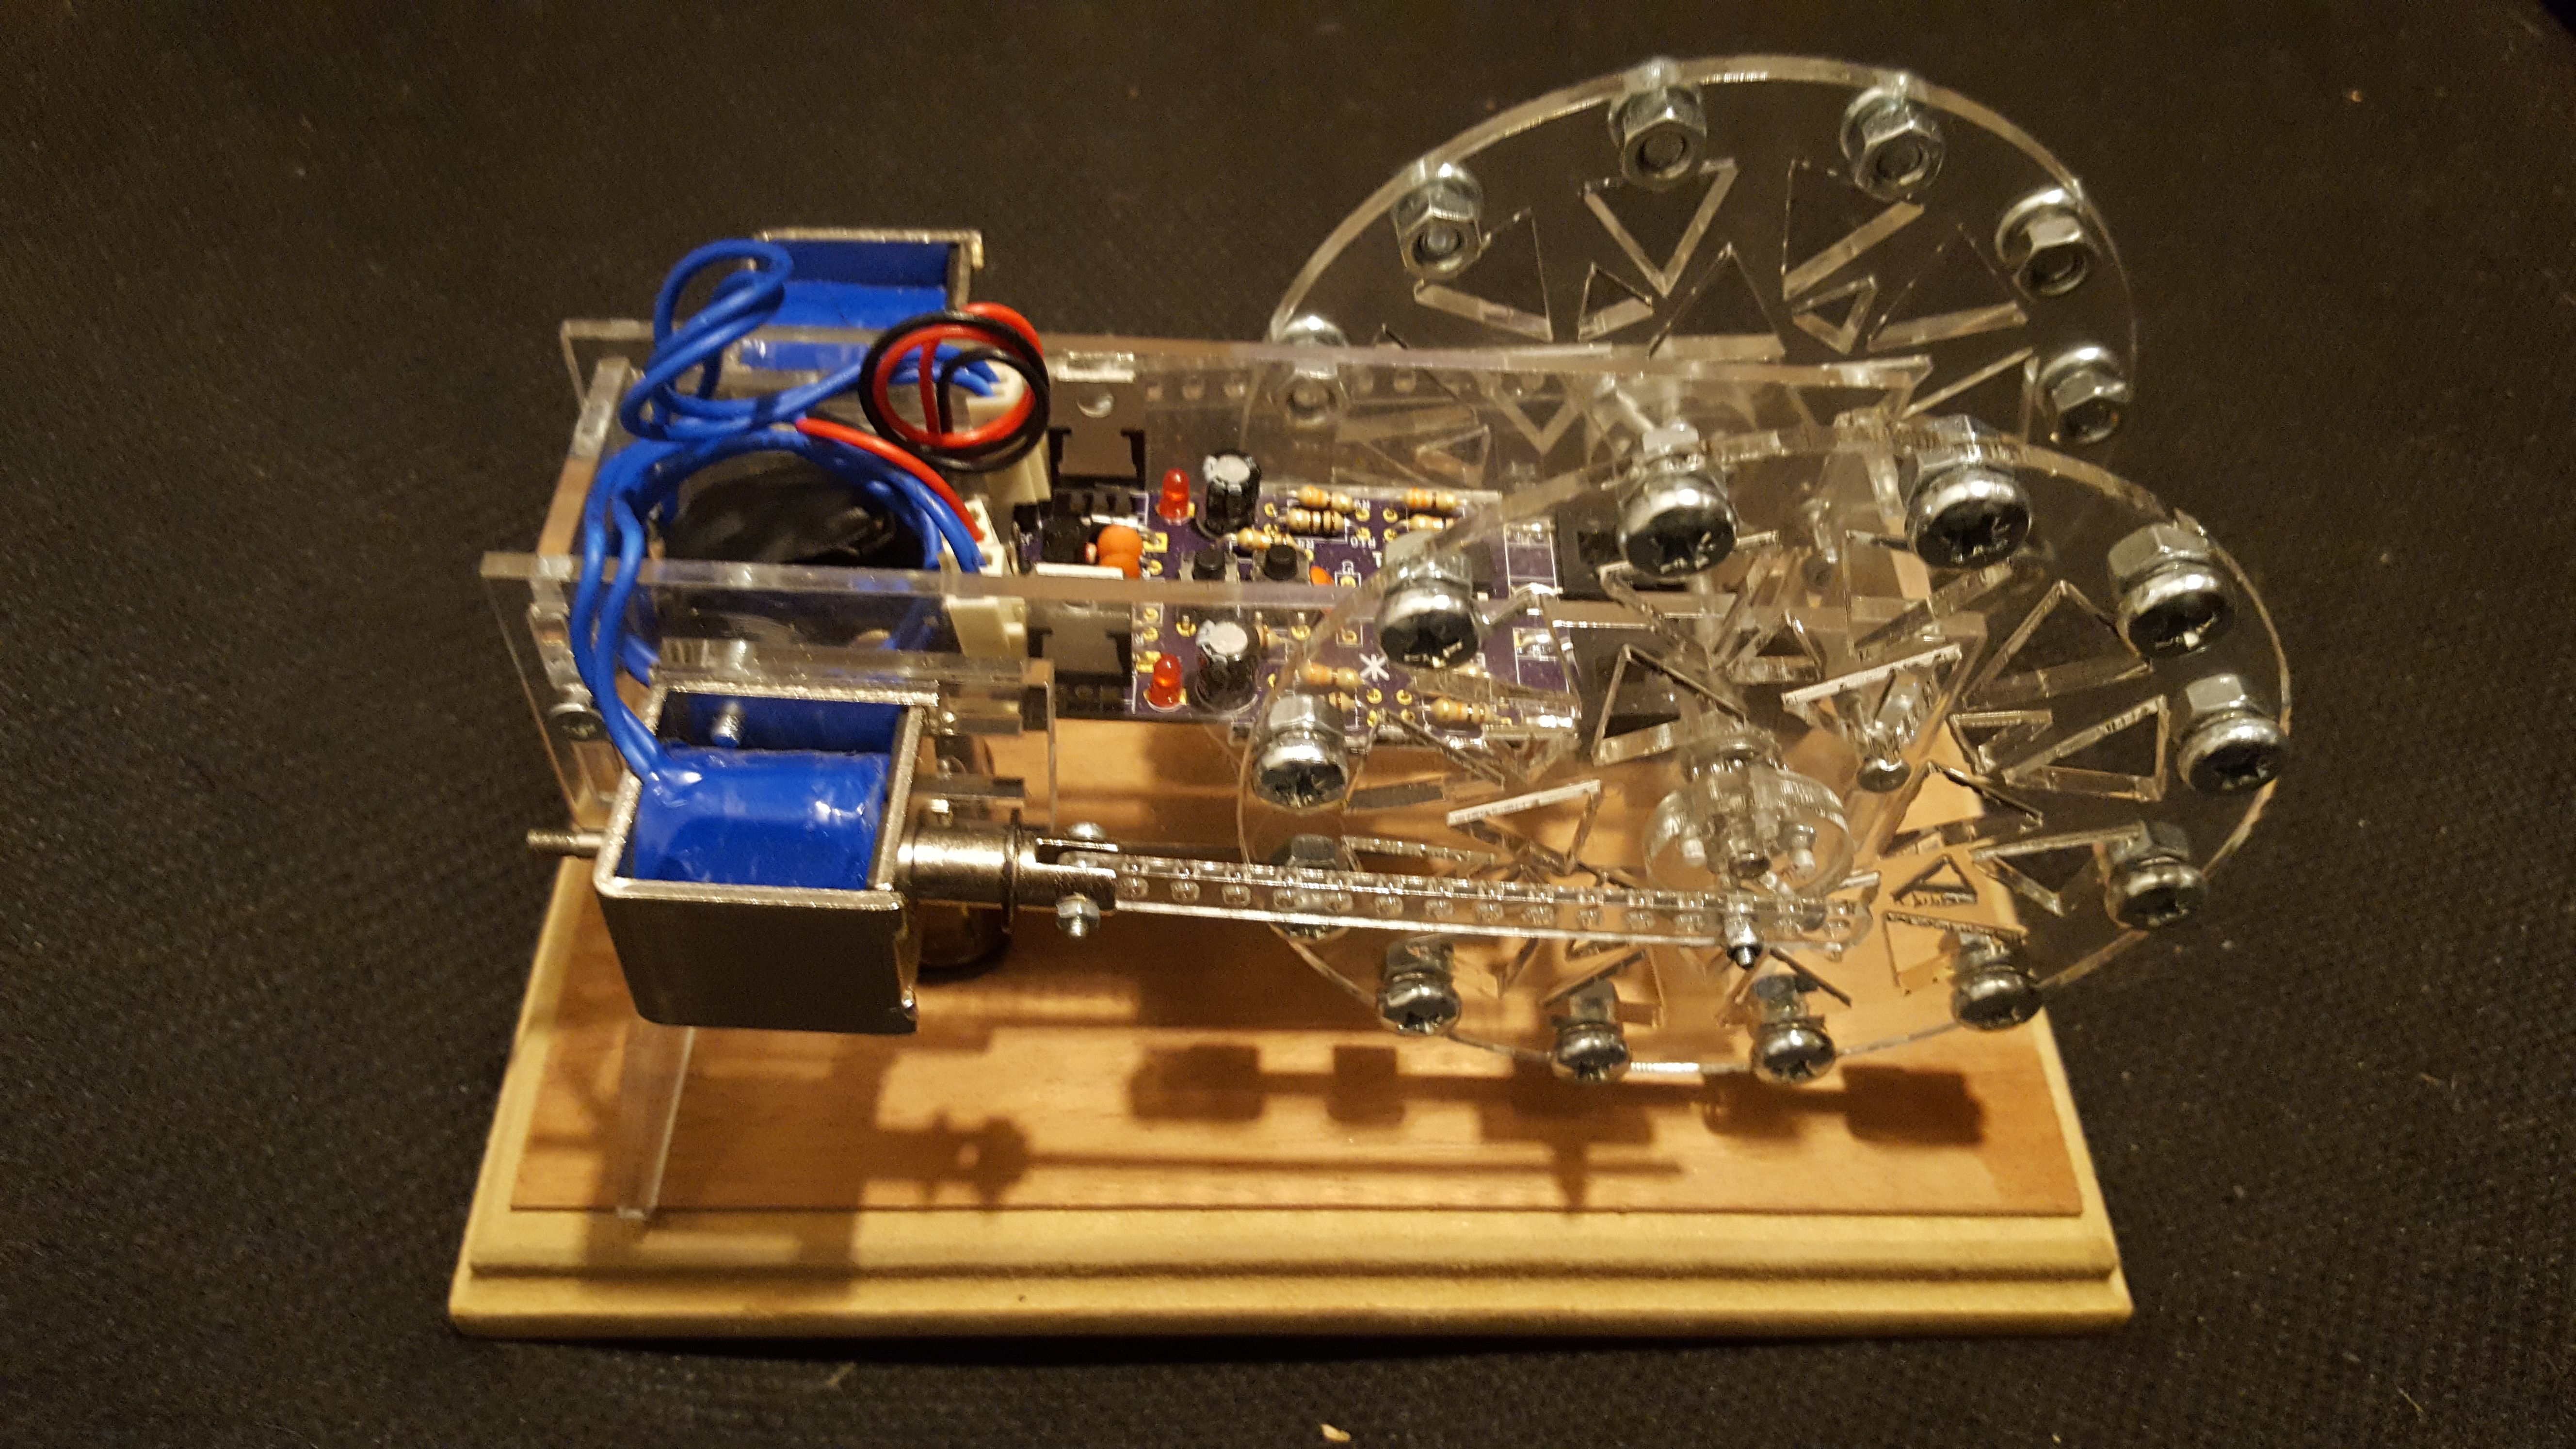
Solenoid Engine twin horizontal engine

After the success of the horizontal solenoid engine I was repeatedly asked when I would be producing a Solenoid Engine twin.
So here it is Solenoid Engine Twin Horizontal

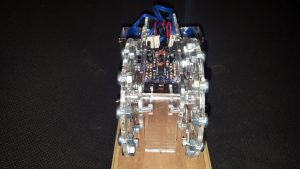
The Twin is a horizontal engine as this allowed us to easily fit in the extra hardware needed. The Solenoid Engine Twin does away with the timing from the flywheel and has two timing cams to give the pulses to the control electronics.

This gives not only excellent speed control, but the ability to reverse the direction of the motor. This is achieved by two push buttons on the control PCB, slowing the engine right down will (when the speed it slow enough) reverse the direction of the motor.

Posted on

Knocker Kit – Open Source

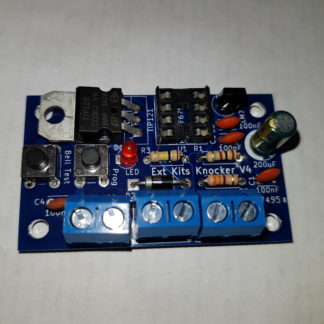
Knocker Kit

Want to make a Knocker Kit…

Want to source the pieces  yourself?

Well now you can.

I have added the circuit diagram to the Knocker Kit Resources page. Plus a link to OSH Park so you can order your own PCB’s. This is done under a Creative Commons Attribution-NonCommercial 4.0  Which means that they are free to use for non Commercial uses.

Of course, if you want the full kit (or kits) without the hassle, then you can still order it from us.

Posted on

Buzz wire – Open Sourced

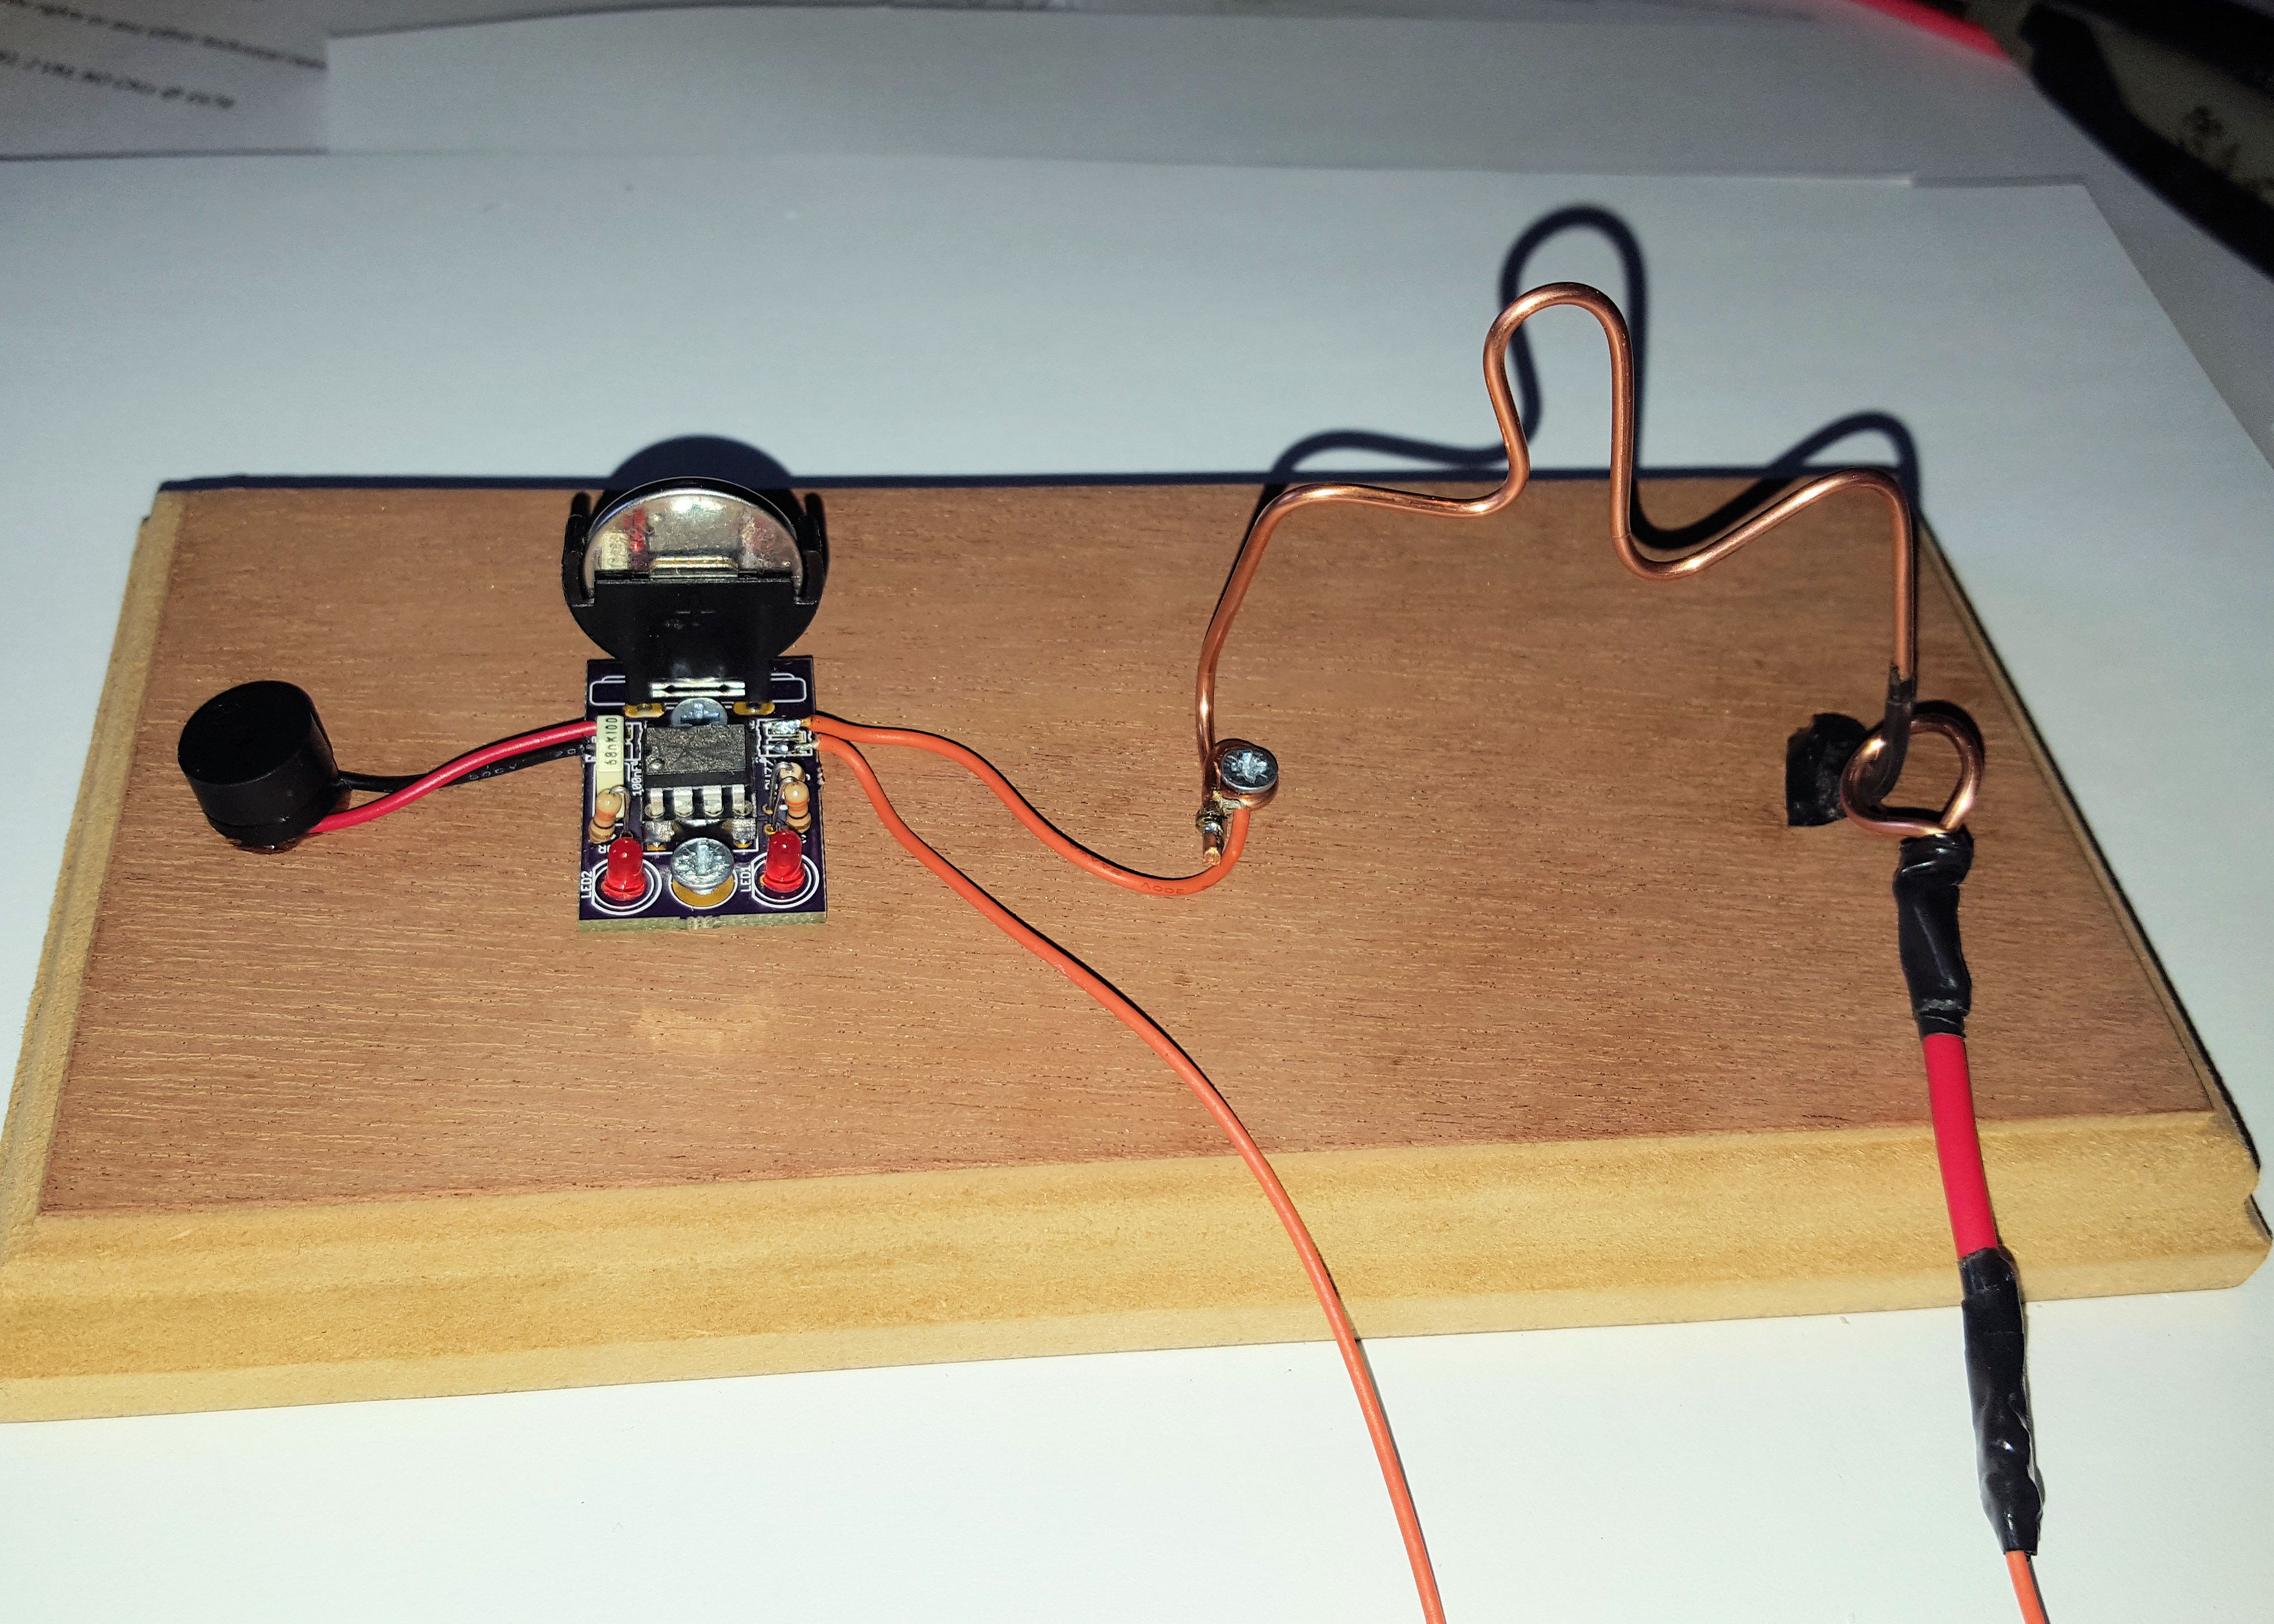
Want to make a Buzz Wire Kit… Want to source the pieces  yourself? Well now you can.

I have added the circuit diagram to the Buzz wire resources page Plus a link to OSH Park so you can order your own PCB’s. This is done under a Creative Commons Attribution-NonCommercial 4.0  Which means that they are free to use for non Commercial uses.

Of course, if you want the full kit (or kits) without the hassle, then you can still order it from us.