

Remove all of the protective plastic from the acrylic pieces. check the concave edges of the large pieces to ensure they are smooth. If any slight imperfections are found lightly sand down with 1000 grit sand paper until a smooth finish is restored.

Take two of the short pieces with a cut-out and using two of the M3x15mm nuts and bolts lightly bolt the side pieces together. Do not tighten the bolts at this stage.
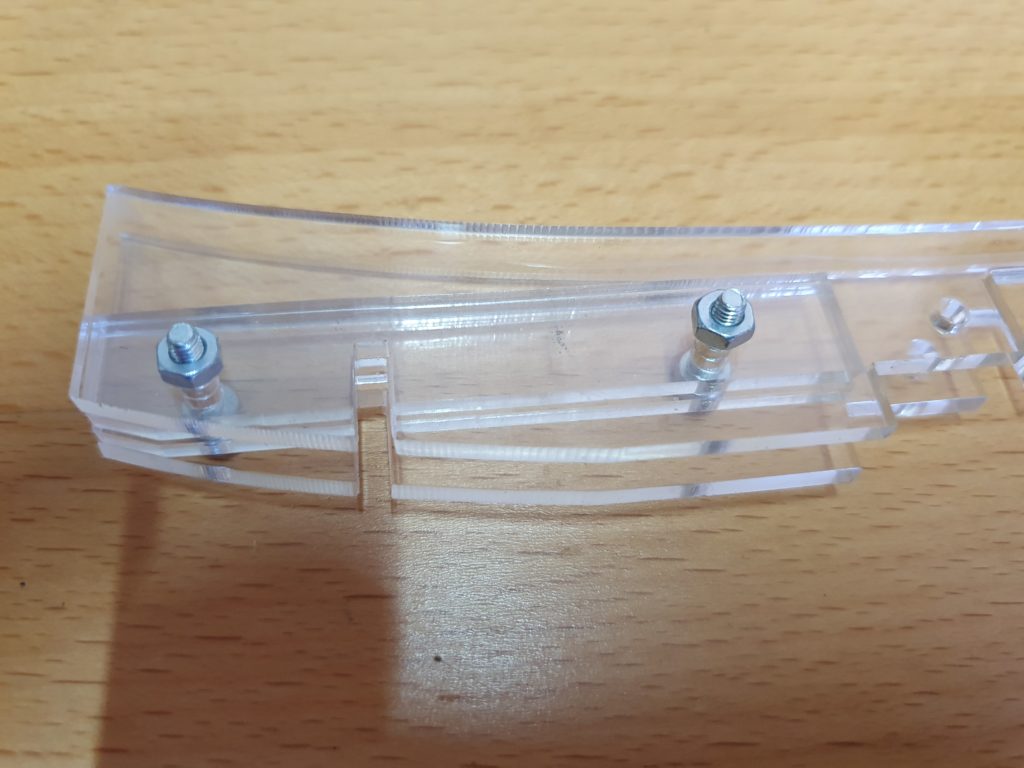
Take the other two of the short pieces with a cut-out and using two of the M3x15mm nuts and bolts lightly bolt these side pieces together. Do not tighten the bolts at this stage.
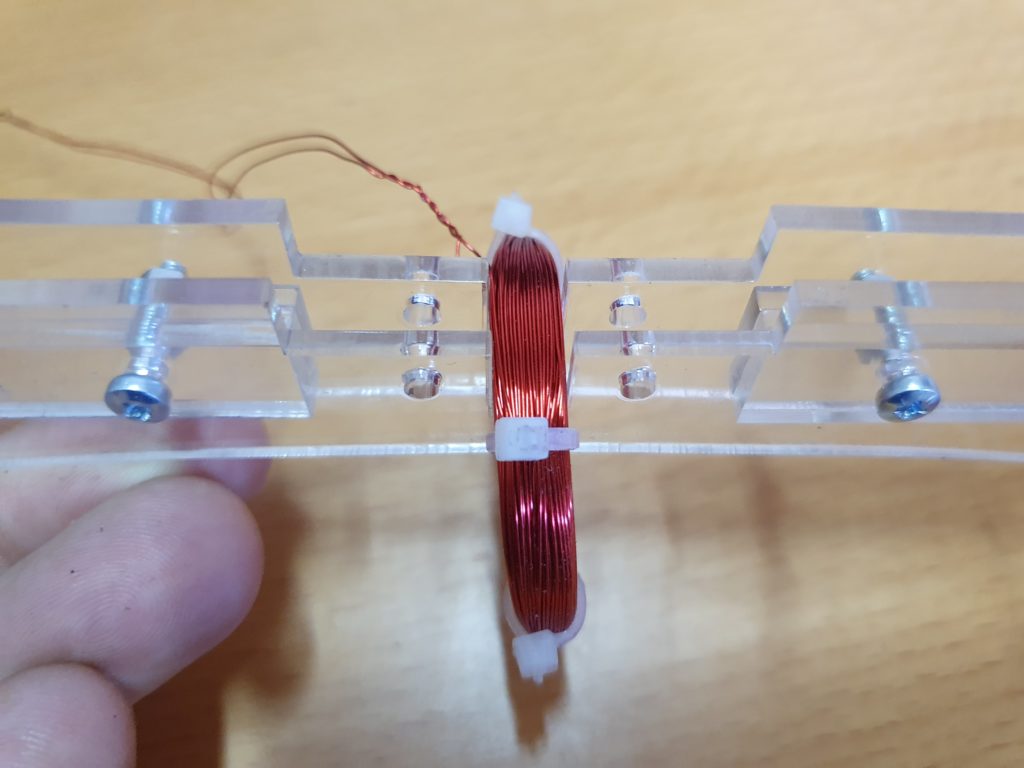
Taking the completed assembly install the coil into the central cutout.
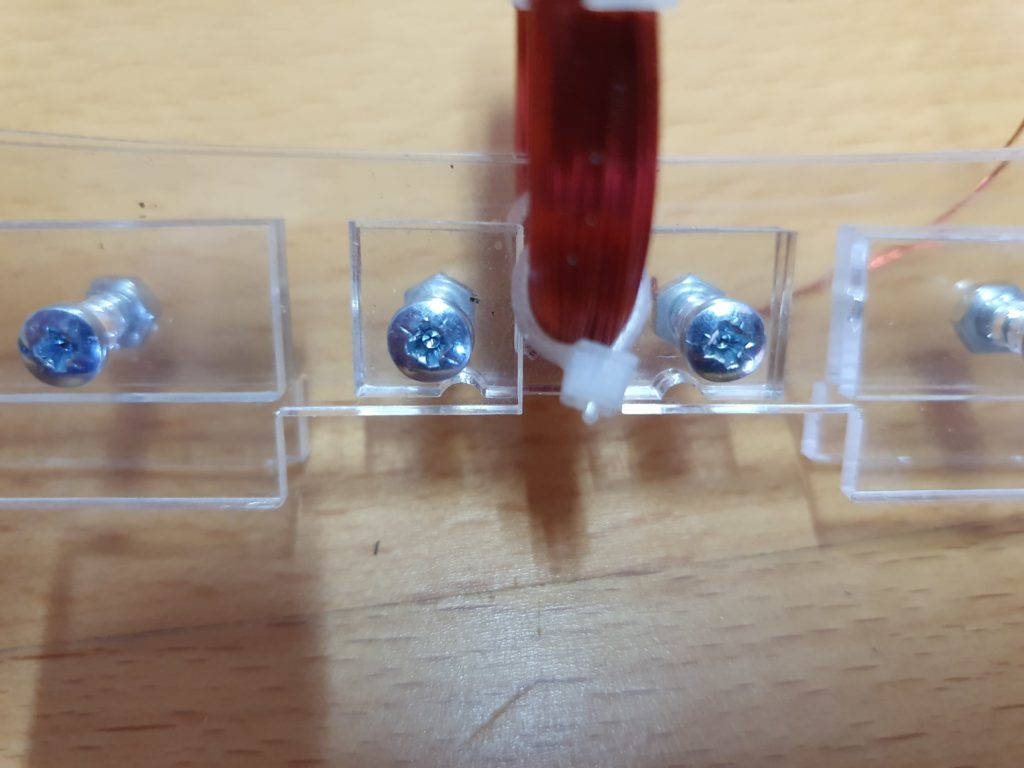
Using the two small peices of acrylic clamp the coil in place and secure with the remaining M3x15mm nuts and bolts. Do not tighten the bolts at this stage.

Offer up the completed electronics board to the assembly, and push the two opto sensors into the slots shown. If they dont easily fit, loosen off the nuts and bolts. Dont force the opto’s in place as you will bend the leads. The LEDS from on the board should sit into the two small cutouts in the coil clamp.

Push the feet into place onto the completed assembly and make sure that it sits flat to the surface.
That’s it. place the ball on to the track and give it a slight push (not forgetting to apply power to the PCB) As the ball passes the sensors, the LED should flash and the coil should energise for a split second.
Enjoy your Maxwells cradle
Tips on safety, and running your maxwell cradle are here..
